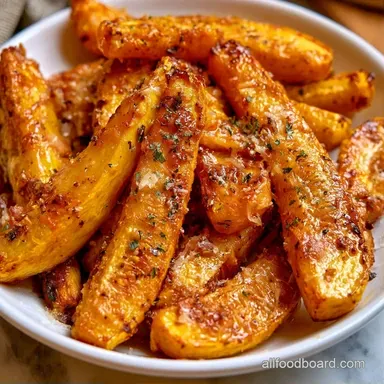
Crispy Roasted Yellow Squash
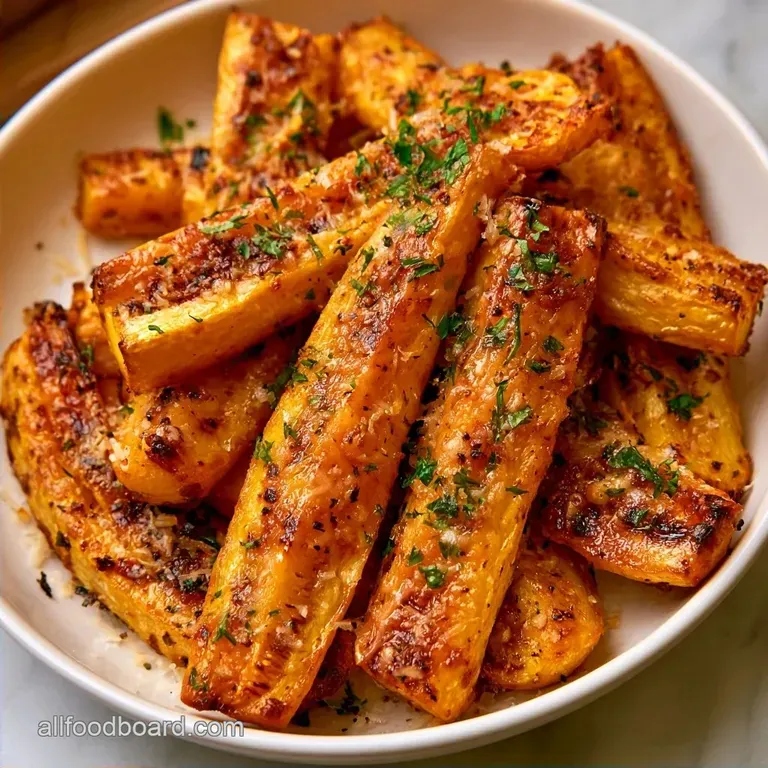
- Time: 10 min active + 15 min roasting
- Flavor/Texture Hook: Golden brown crust with tender centers
- Perfect for: Fast weeknight sides or plant based meal prep
The aroma of salty, browning cheese hits you immediately. You can hear the squash sizzling against the parchment paper in that 400°F heat. They emerge from the oven looking like mahogany gold, a far cry from the pale, limp vegetables often served at potlucks.
I used to avoid summer squash because it consistently turned into a soggy mess in my oven. I would crowd the pan and keep the temperature too low, resulting in something that tasted like wet cardboard.
It took some trial and error to realize that squash acts like a sponge and needs to be dried out quickly to develop real flavor.
Now, this Roasted Yellow Squash is a staple for me because it actually maintains its structure. You get a wonderful contrast between the crispy outer edge and the soft interior. It is a vibrant, plant based way to enjoy a garden harvest without any of the mush.
Why the High Heat Works
- Rapid Evaporation: Roasting at 400°F (200°C) forces the water out of the squash quickly. This prevents it from stewing in its own juices.
- Surface Area: Cutting the squash into spears increases the edges that can brown, which means more savory flavor in every bite.
Recipe Specs
For this dish, timing and temperature are everything. If you drop the heat, you lose the crust. If you overcrowd the pan, you get steam.
| Method | Temperature | Timing | Result |
|---|---|---|---|
| Oven | 400°F (200°C) | 15 minutes | Browned and tender |
| Stovetop | Medium High | 8-10 minutes | Softer, less caramelization |
The oven is the winner here because it surrounds the vegetable with heat, hitting all sides at once.
Ingredient Deep Dive
I prefer using a mix of high-quality fats and a punchy seasoning to keep the flavors bright.
| Component | Purpose | Substitute Notes |
|---|---|---|
| Yellow Squash | Main base | Zucchini works well; slightly milder |
| Olive Oil | Heat conductor | Avocado oil for higher smoke point |
| Garlic Powder | Savory depth | Fresh minced garlic (add halfway through) |
| Parmesan | Salty crust | Nutritional yeast for a vegan version |
Keeping the oil coating thin is the key. Too much oil makes the squash greasy, while too little prevents that golden color.
Ingredient Swaps
Since I focus on sustainable and plant based eating, I've tested a few variations that keep the dish healthy.
| Original Ingredient | Substitute | Why It Works |
|---|---|---|
| Parmesan (1/4 cup) | Nutritional Yeast (3 tbsp) | Similar salty, cheesy profile. Note: Entirely vegan. |
| Olive Oil (2 tbsp) | Melted Coconut Oil (2 tbsp) | Similar fat content. Note: Adds a subtle sweetness. |
| Fresh Parsley | Fresh Basil | Both are aromatic herbs. Note: Basil adds a peppery note. |
Right then, let's get into the tools you'll need to make this happen.
Gear for the Job
Just a few basic tools are needed here to ensure proper airflow.
- Large Rimmed Baking Sheet: A spacious pan prevents the squash from crowding, which is essential for achieving a crisp texture.
- Parchment Paper: This keeps the cheese from sticking to the tray and makes cleaning up easy.
- Large Mixing Bowl: Ideal for tossing the ingredients together without bruising the squash.
- Paper Towels: Used for patting the squash dry before adding oil.
Bringing It All Together
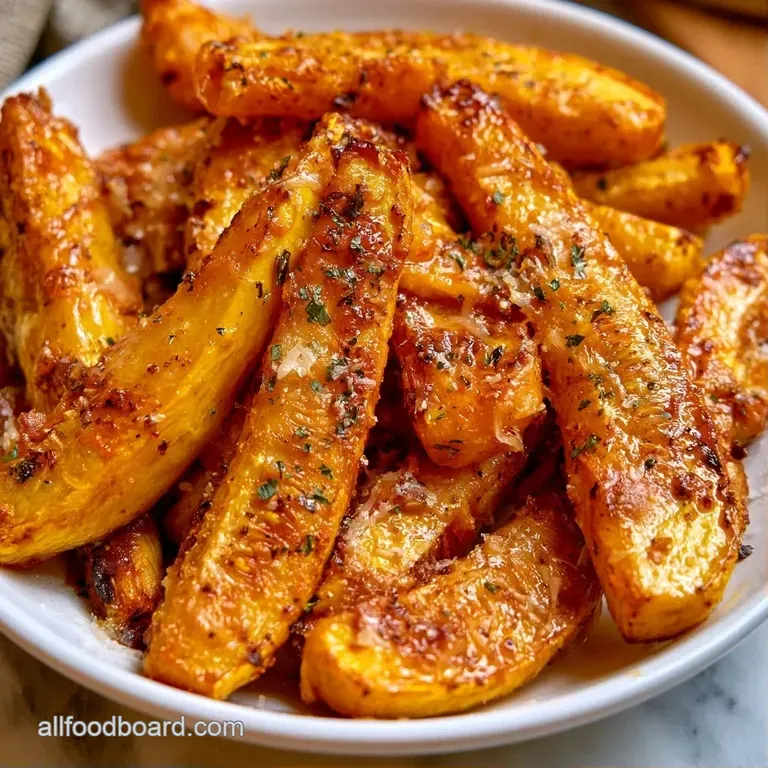
Staying organized prevents overcooking the vegetables. I prefer having all my components ready to go before the oven finishes warming up.
1. The Strategic Prep
Set your oven to 400°F (200°C) and line a baking sheet with parchment paper. Cut the yellow squash lengthwise into quarters to make spears, or simply cut them in half. Pat the cut surfaces dry with a paper towel to eliminate excess moisture.
2. The Flavor Infusion
In a large bowl, combine the squash with 2 tbsp olive oil, 1/2 tsp salt, 1/4 tsp pepper, and 1 tsp garlic powder. Stir gently so every piece is lightly and evenly coated.
3. The over High heat Roast
Spread the pieces in a single layer on the pan, making sure they aren't touching. Roast for 12 minutes until the edges start to soften and brown.
4. The Crispy Finish
Pull the pan from the oven and distribute 1/4 cup grated Parmesan evenly across the top. Bake for another 3 minutes, or broil for 60-90 seconds until the cheese bubbles and turns golden brown.
5. Final Touch
Remove from the oven and sprinkle with 1 tbsp chopped fresh parsley while the squash is still hot.
Fixing Common Issues
Even with a plan, vegetables can be temperamental. Here is how to handle the usual hiccups.
Squash is Too Soggy
This usually happens because the pan was too crowded. When the pieces touch, they trap steam between them, which boils the squash instead of roasting it. Use two pans next time to give them room to breathe.
Cheese Burned Too Fast
If you use the broiler, it can go from golden to black in seconds. Keep the oven door cracked or watch it through the glass. If it burns, just scrape the char off with a knife, but lower your broiler rack next time.
Squash is Mushy
You might be overcooking them or using squash that is too old and watery. Check your oven temp with a thermometer to ensure it's actually 400°F. Stop cooking the moment the centers are tender but still hold their shape.
Customizing Your Plate
Roasted Yellow Squash is incredibly versatile. I typically adjust the seasonings to match the rest of my meal.
2 Flavor Twists
Mix in some red pepper flakes with the oil for a bit of heat. For a deeper, smokier profile, use smoked paprika instead of garlic powder.
2 Dietary Swaps
To make this vegan friendly, substitute the Parmesan with nutritional yeast and a touch more salt. To reduce the sodium, swap the kosher salt for a splash of fresh lemon juice once the squash is roasted.
If you're looking for a filling main course, these Vegetarian Enchiladas pair perfectly with these squash spears.
Keeping Leftovers Fresh
Since these are best when crispy, storage takes a little care.
Refrigeration: Store in a glass container for up to 3 days. Avoid stacking them too deep or they'll crush each other.
Freezing: I don't recommend freezing this recipe. The high water content in the squash breaks down during freezing, leaving you with a gummy texture once thawed.
The Reheating Ritual: Don't use the microwave, as it makes them soggy. Toss them back in a 350°F oven or an air fryer for 4-5 minutes. This brings back that crisp cheese crust.
Zero Waste: If you have squash ends or peels left over, toss them into a freezer bag for homemade vegetable stock.
Best Pairing Ideas
This side dish is light, so it works well with something more substantial.
The Lean Protein Pairing: Serve these alongside grilled tofu or a lemon garlic chickpea salad. The salty parmesan crust complements the neutrality of tofu.
The Hearty Comfort Pairing: This side dish works well alongside a rich homemade spaghetti sauce for a full meal. The acidity of the tomato sauce cuts through the richness of the roasted cheese.
Kitchen Myths
Myth: You need to peel the squash. The skin is thin and holds most of the nutrients. Plus, it ensures the spears keep their shape in the oven. Leave it on.
Myth: Searing in a pan first produces better results. It adds another step without adding much flavor. A 400°F oven does the trick as long as the pan isn't crowded, and you avoid dirtying an extra skillet.
Myth: All summer squash roast identically. Zucchini is slightly more watery than yellow squash. If you're using zucchini, you may need an extra 2 minutes of roasting to keep it from becoming soggy.
Now you know how to make Roasted Yellow Squash that tastes like it's from a restaurant instead of a steamer. Trust the high heat, and you'll never go back to mushy vegetables.
Recipe FAQs
What temperature do you roast yellow squash?
Roast at 400°F (200°C). This high heat evaporates moisture quickly to prevent the vegetables from steaming in the oven.
What's the secret to avoiding mushy squash?
Arrange the pieces in a single layer on a baking sheet without them touching. This prevents steaming and creates a perfect side for a juicy homemade meatloaf.
How to prepare a yellow crookneck squash?
Slice the squash into spears or halves and pat the cut sides dry with a paper towel. Removing excess surface moisture ensures the oil and seasonings adhere better.
Is it true that you must peel yellow squash before roasting?
Surprisingly, no. The skin is tender and edible, which helps the spears maintain their shape during the roasting process.
Roasted Yellow Squash Spears