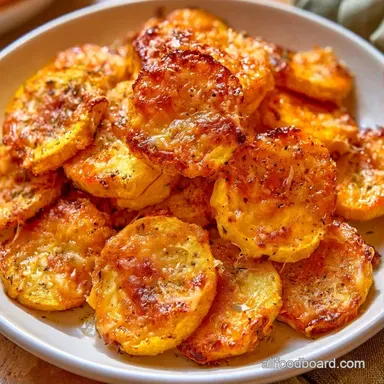
Parmesan Baked Yellow Squash in 20 Minutes
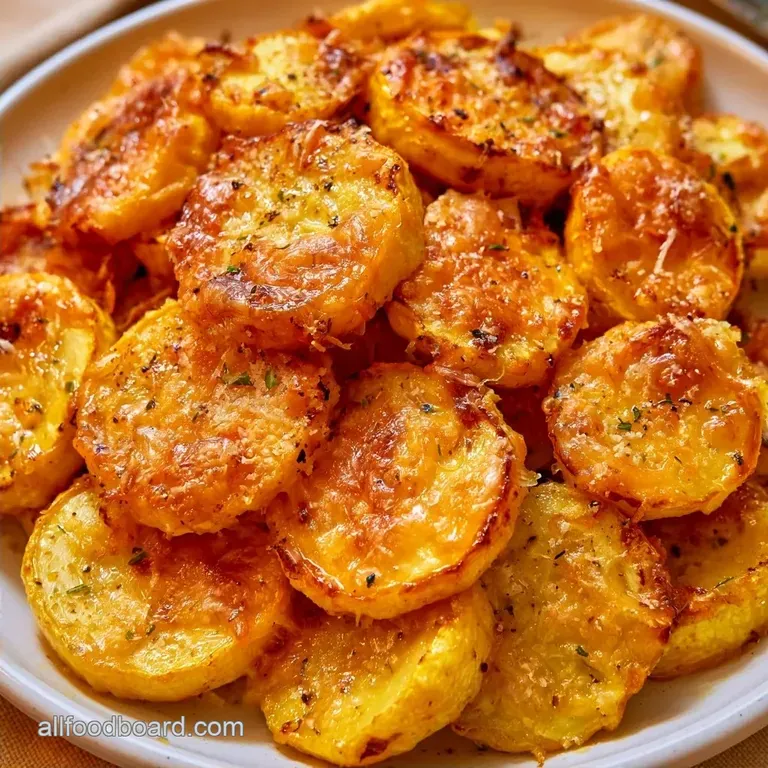
- Time: 5 minutes prep + 15 minutes baking
- Taste Profile: Savory, browned cheese with a soft interior
- Ideal for: Fast weeknight accompaniments or garden surpluses
Parmesan Baked Yellow Squash
The aroma of melting cheese wafting from a hot oven is pure summer. I still remember those humid August afternoons in a kitchen that felt like a sauna, wondering how to use up a huge harvest of garden yellow squash. While many people simply sauté it, that usually results in a watery dish with very little flavor.
I was looking for something with more of a crunch. Eventually, I realized that turning up the heat and adding plenty of Parmesan makes all the difference. Rather than a soggy heap, you get golden, bubbling slices that maintain their structure.
I always turn to this Parmesan Baked Yellow Squash when I want a side dish that feels elevated without requiring much work. It’s salty, straightforward, and doesn’t involve any complex methods. Believe me, the high heat is the real secret here.
Quick Recipe Details
When you're planning your meal, it's helpful to know the flow. For this dish, the prep is basically just slicing and tossing. Since it only takes 15 minutes in the oven, you can slide these in while your main protein is resting.
The timing is tight, so have your pan ready. If you spend ten minutes searching for parchment paper, your oven will lose that initial burst of heat. I usually get the oven humming and the pan lined before I even touch the squash.
Right then, here is the breakdown. It's a fast process, but the result tastes like you spent way more time on it.
| Goal | What to change |
|---|---|
| More crunch | Use a wire rack on the pan |
| Lower salt | Use unsalted butter instead of oil |
| Extra zing | Add a pinch of lemon zest |
What's Inside
This dish relies on basic pantry staples, so there's no need for a specialty shopping trip. The oil distributes the flavor, while the cheese creates the structure for that crispy crust.
I highly recommend using a large bowl for tossing. Using a container that is too cramped often leads to uneven coating, leaving some squash pieces oily and others bare. Make sure there is plenty of space for them to move.
Here is the breakdown of what's happening in the bowl.
| Component | Purpose | Substitute Notes |
|---|---|---|
| Yellow Squash | Base vegetable | Zucchini: Works well but is slightly more watery |
| Olive Oil | Heat conductor | Melted butter: Richer flavor, browns slightly faster |
| Parmesan | Flavor and crust | Pecorino Romano: Saltier, more pungent punch |
| Garlic Powder | Savory depth | Fresh minced garlic: Can burn at 425°F, use carefully |
The Produce
Choose squash that feels firm to the touch. If it's soft or squishy when squeezed, it has likely lost moisture and may become mushy during roasting. I find medium sized squash provide the most consistent texture throughout.
The Seasoning Mix
Go easy on the salt. Because Parmesan is inherently salty, you only need a small amount of kosher salt. A pinch of black pepper adds a spicy note that balances the savory cheese.
The Crispy Topping
Opt for grated Parmesan over the pre-shredded variety if possible. Pre-shredded cheeses are often tossed in potato starch to prevent clumping, which can hinder the melting and browning process.
The Tool Kit
This recipe is quite straightforward. A sharp knife and a sturdy baking sheet are the only real requirements. I suggest opting for a rimmed pan to prevent any oil from dripping off the edges.
Parchment paper is incredibly helpful here. It keeps the cheese from sticking to the pan and makes cleanup much easier. If you're out of parchment, a light coat of oil works, though you'll spend more time scrubbing later.
I also recommend using a large mixing bowl. It streamlines the tossing process and ensures that the oil and garlic powder reach every curve of the squash rounds.
How to Make It
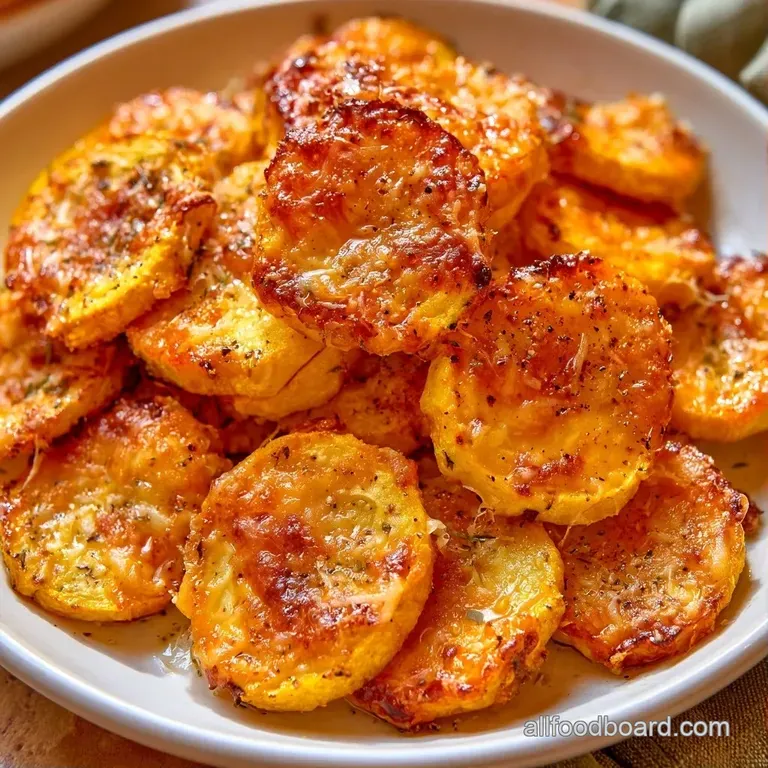
Here is the method. We are aiming for high heat and a fast cook.
- Set your oven to 425°F (218°C) and line a rimmed baking sheet with parchment paper. Note: High heat is what creates the crust.
- Cut the yellow squash into uniform 1/2 inch rounds. Note: Consistent thickness means they all finish at the same time.
- In a large bowl, toss the squash with olive oil, garlic powder, salt, and pepper. Note: Use your hands to ensure a velvety coating on every piece.
- Arrange the squash in a single layer on the prepared baking sheet. Note: Leave space between pieces so they roast instead of steam.
- Evenly sprinkle the grated Parmesan cheese over the squash.
- Cook for 12-15 minutes until the cheese bubbles and the edges turn a deep mahogany.
If the cheese browns too quickly but the squash remains too firm, you can shift the pan to a lower rack. However, 15 minutes is typically the ideal time.
Once removed from the oven, let them rest for about two minutes. This allows the cheese to set and the squash to firm up slightly before transferring them to a plate.
Fixes and Tips
One of the biggest hurdles with yellow squash is the water content. If you've ever had a "soup" of roasted vegetables, it's usually because the pan was too crowded. When the pieces touch, the steam has nowhere to go, and the squash just boils in its own juices.
Another common issue is the temperature. If your oven isn't truly at 425°F, the squash will soften and collapse before the cheese has a chance to brown. Always make sure your oven is fully preheated.
Here is a quick guide for the most common issues.
Fixing Mushy Squash
This usually happens from overcrowding or low heat. Make sure each slice has its own space on the pan.
Managing Burnt Cheese
If the cheese burns before the squash is done, your oven might be running hot. Try moving the pan to the middle rack.
Handling Dull Flavor
If it tastes flat, you might have skipped the salt. Parmesan is salty, but the vegetable itself needs a bit of seasoning to pop.
| Problem | Fix |
|---|---|
| Sogginess | Spread pieces further apart on the pan |
| Burnt Topping | Lower oven rack or reduce time by 2 mins |
| Bland Taste | Add a squeeze of fresh lemon juice after baking |
Flavor Swaps
This recipe is great because it's so versatile. After mastering the base version, feel free to experiment with different toppings. I often toss in some crushed red pepper to give it some heat.
For another squash based dish, try this Spaghetti Squash recipe if you want something heartier. While it employs similar high heat principles, the end result has a completely different consistency.
To add an herbal touch, mix in some thyme or dried oregano along with the garlic powder. For extra crunch, I recommend stirring a tablespoon of Panko breadcrumbs into the Parmesan.
If you prefer a dairy-free option, nutritional yeast works well as a Parmesan substitute. It provides that same salty, nutty taste, although it doesn't bubble or brown quite the same way.
Storage and Scraps
Managing leftovers is simple. Store them in an airtight dish in the refrigerator for around 3 days. Be aware that the crust may lose its crunch as moisture from the squash seeps out.
For the best results when reheating, try to skip the microwave. A toaster oven or a brief sauté in a skillet over medium heat will restore the crisp texture. If a microwave is your only option, heat in 30-second intervals.
Save your squash scraps! I collect the stems and irregular pieces in a freezer bag to use for vegetable broth. Once the bag is full, I simmer the contents with carrot peels and onion skins to make a homemade stock.
I wouldn't suggest freezing this particular recipe. Because the squash has so much water, it often becomes spongy after thawing. It's much better enjoyed fresh.
Serving Suggestions
This dish is a side, so it pairs well with almost any protein. I love it next to a grilled steak or a piece of baked salmon. The saltiness of the cheese complements the richness of the meat.
If you're doing a full vegetable spread, this goes great with a Southern Tomato Pie. The acidity of the tomatoes balances the savory, toasted notes of the Parmesan.
For a simpler meal, serve it alongside some quinoa or brown rice. The juices from the squash soak into the grains, adding a nice layer of flavor to the whole plate.
Final Touch
A sprinkle of fresh parsley or a few drops of balsamic glaze right before serving makes the plate look professional. It adds a pop of color that contrasts with the golden yellow and brown.
Why This Works
Experience has taught me that the right temperature is often what separates a great side dish from a tedious chore. This recipe uses a few simple physics principles to ensure the result is delicious.
High Heat: 425°F evaporates surface moisture rapidly, enabling the cheese to toast and the edges to brown before the center becomes too soft.
Thin Coating: A light layer of olive oil creates a shield that allows heat to penetrate the squash evenly without the need for deep frying.
Spacing: Providing enough room between slices ensures hot air can circulate, preventing the "steaming" effect that leads to mushiness.
Avoid using low-fat cheese for this recipe. The fat in the Parmesan is essential for creating those bubbly edges and a rich, nutty flavor a minor trade off for a massive difference in taste.
Recipe FAQs
How do you bake yellow squash in the oven?
Preheat to 425°F and toss sliced rounds in olive oil, garlic powder, salt, and pepper. Spread them in a single layer on a parchment lined sheet, top with Parmesan, and bake for 12 15 minutes.
Is parmesan cheese good on squash?
Yes, it creates a salty, golden crust. The sharpness of the cheese balances the mild sweetness of the yellow squash perfectly.
Is it true that 400 degrees is the ideal roasting temperature?
Surprisingly, no. Baking at 425°F ensures the edges get a deep mahogany color and the cheese bubbles quickly without the squash becoming mushy.
How to prepare yellow crookneck squash for roasting?
Slice the squash into uniform 1/2 inch rounds or halves. This ensures every piece cooks at the same rate and browns evenly.
Which cooking method is best for summer squash?
Roasting at high heat is the winner. It concentrates the flavor and prevents the wateriness often found in steamed versions. This side pairs perfectly with herby croutons for added crunch.
What can I do with leftover yellow squash?
Reheat in a skillet over medium heat. A quick sear brings back the crispiness of the Parmesan crust much better than a microwave would.
Parmesan Baked Yellow Squash