Golden Crispy Chicken Katsu
Alright, mate, ready for some proper comfort food?
Golden Crispy Chicken Katsu Recipe : Your Japanese Fried Chicken Fix!
Ever fancied a dish that's like a hug in a crispy, golden shell? honestly, that's what chicken katsu is all about.
It's basically schnitzel's cool japanese cousin. this recipe? it's your ticket to mastering this chicken dishes recipes .
What's the Buzz About Chicken Katsu ?
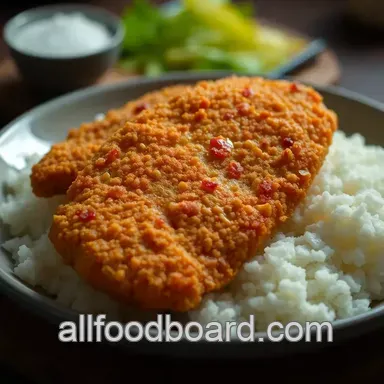
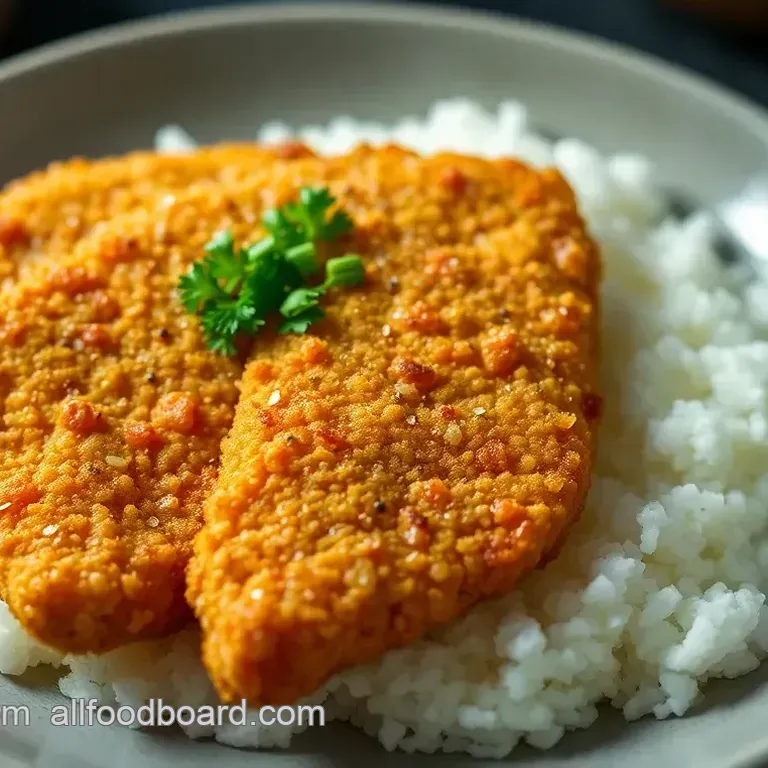
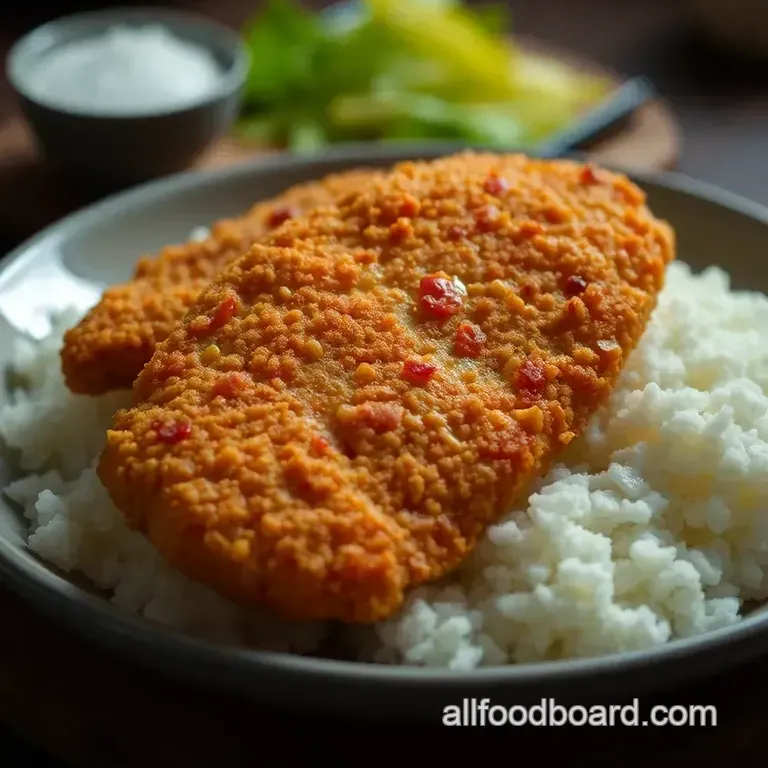
Chicken katsu is proper japanese food easy , think beautifully crisp, golden brown chicken cutlets drenched in a tangy sweet sauce. it's dead easy to get hooked.
It's japanese comfort food at its finest. imagine a taste sensation - it's like a delicious blend of schnitzel and a japanese izakaya, guaranteed to satisfy every palate.
Traditionally, it's served up with rice and shredded cabbage. it makes a smashing quick dinner. this japanese rice bowl recipe originally was just a way to try to use leftover ingredients from the fridge.
It's a mid-level recipe, taking around an hour overall, and easily serves four hungry souls.
Why You'll Love This Chicken Katsu Recipe
Honestly, it's just ridiculously tasty. plus, chicken thigh katsu is a brilliant source of protein. you can also try a healthy chicken katsu recipe if you use lean chicken and bake it.
You can't go wrong with this, it’s special because it combines familiar comfort food with exciting chicken japanese recipes . and when you're feeling a bit under the weather it makes one of those easy meals when sick as it is filling and tasty.
Right then, let's get down to the nitty gritty of what you'll need...
Right then, let’s dive into what you’ll need for the best chicken katsu recipe ever. honestly, getting the ingredients right makes all the difference.
It’s like building a house you gotta have a solid foundation, innit?
The Katsu Kit: Ingredients Sorted
Main Ingredients - Chicken's the Star
- Chicken Breasts : You'll want 4 boneless, skinless chicken breasts, about 6 oz (170g) each. Bash 'em down to about ½ inch (1.25 cm) thick, like you're taking out your stress. The thinner they are, the quicker they cook.
- Flour : 1 cup (120g) of all-purpose flour. This helps the egg stick. Simple as.
- Eggs : 2 large eggs, beaten. Like you're entering them in a boxing match.
- Panko : 2 cups (200g) of Japanese panko bread crumbs. This is key! Seriously, proper Japanese Panko is lighter and crispier. Worth the effort, I promise.
- Oil : About 2 cups (475ml) of vegetable or canola oil for frying. Don't be shy, you need enough to shallow fry.
Oh my gosh, you know what I just remembered? One time I tried using regular breadcrumbs. Total disaster. The katsu was soggy and sad. Never again! Only panko for this gal.
Seasoning Notes Spice It Up!
- Salt and Pepper : 1 tsp (5g) of salt and ½ tsp (2.5g) of black pepper. Season your chicken well!
- Katsu Sauce (Optional, but highly recommended) : This is where the magic happens. Mix ¼ cup (60ml) of ketchup, 2 tablespoons (30ml) of Worcestershire sauce, 1 tablespoon (15ml) of oyster sauce, 1 teaspoon (5ml) of soy sauce, and ½ teaspoon (2.5g) of brown sugar. It’s sweet, tangy, and umami all in one. Can't find Worcestershire sauce? A 1:1 mixture of soy sauce and brown sugar will do the trick. Need an oyster sauce alternative? Hoisin sauce works fairly well.
Want a bit of a kick? add a pinch of cayenne pepper or a dash of sriracha to the egg mix for spicy chicken katsu .
For a gluten-free katsu chicken version, just swap in gluten-free flour and gluten-free panko. there are tons of great chicken katsu recipes out there for inspo!
Equipment Needed Keep It Simple
- Shallow Dishes : 3 of them. For your flour, eggs, and panko. A breading station is key.
- Large Skillet : For frying. Non-stick is your friend.
- Tongs : For flipping the chicken. Don't want to burn your fingers, do ya?
- Wire Rack : To drain the fried chicken. Keeps it crispy.
- Meat Mallet : For pounding the chicken. A rolling pin works too.
- Thermometer : (Optional) But highly recommended to keep an eye on the oil temperature.
That's it! you don't need fancy gadgets. just the basics. ready to cook up some proper chicken katsu ? trust me, you'll be chuffed with the results.
It's one of those chicken dishes recipes that everyone loves, not to mention a fantastic addition to your japanese food easy list! and if you are looking for dinner ideas japanese , chicken japanese recipes , japanese rice bowl recipe , this can be your next meal.
Or if you prefer, you can also cook the baked chicken katsu , if you are looking for something healthy chicken katsu recipe .
If you are into pork you can also check the tonkatsu recipe .
Alright, let's talk chicken katsu recipe ! honestly, who doesn't love crispy, golden brown fried chicken? it's like a hug in food form.
We're talking japanese comfort food at its finest. this isn’t just any fried chicken, this is chicken katsu , and it's about to become your new favourite.
Think schnitzel's cooler, japanese cousin.
Getting Ready for Katsu Magic
First up, mise en place . sounds fancy, but it just means getting everything prepped. chop, measure, and get those ingredients lined up, soldier style.
A key thing is to remember is to be safe! the oil is really hot, so please be careful. we're using boneless, skinless chicken breasts .
Pound them to about ½-inch thick. this helps them cook evenly. season with salt and pepper. for time saving organization tips , set up a breading station.
Three shallow dishes: flour, egg, and panko. more on that in a tick!
Making that Katsu Crunch: step-by-step
Here's the lowdown on getting that perfect golden crispy Chicken Katsu .
- Flour Power: Dredge each chicken breast in flour. Make sure it's evenly coated.
- Egg Wash Time: Dip in beaten eggs. Let the excess drip off.
- Panko Perfection: Coat thoroughly in panko bread crumbs. Press gently, like tucking them in.
- Chill Out: Place breaded cutlets on a plate, cover, and refrigerate for at least 30 minutes . This is essential!
- Heat 'Em Up: Heat ½ inch of oil in a skillet. Get it to 325- 350° F (160- 175° C) . A thermometer helps.
- Fry Time: Carefully place the cutlets in the oil. Don't overcrowd! Cook for 3- 4 minutes per side , until golden.
- Drain the Goodness: Remove and place on a wire rack. Let the excess oil drip away.
Katsu Master Tips: Level Up Your Game
Want to be a katsu ninja? here's how. don't skip the chilling. this is crucial for the panko to stick.
You know? japanese panko is key. seriously, it's lighter and crispier. plus, oil temperature is so important. too low, and it's greasy.
Too high, and it burns. spicy chicken katsu ? add some cayenne to the egg. fancy some cheese katsu ? stuff it with cheese before breading!
Honestly, once you nail this chicken katsu recipe , you'll be making it all the time. serve it up in a japanese rice bowl recipe or with some japanese food easy ideas you find online.
You'll be able to impress your friends and family with how good it is! i make sure to cook up all my chicken dishes recipes ! try it and see!
Alright, let's get into some extra bits and bobs about this banging chicken katsu recipe . these are my go-to notes, honestly, the stuff i wish i knew the first time i tried making it.
It's all about making your life easier.
Recipe Notes for Katsu Perfection
Serving's Up!
Alright, so you've got this amazing chicken katsu all crispy and golden. now what? first off, presentation is key! slice that katsu up, arrange it artfully on a plate with some fluffy rice (a japanese rice bowl recipe is just the ticket!), and a mountain of shredded cabbage.
Seriously, the cabbage is non-negotiable. a drizzle of chicken katsu sauce and you're golden.
Thinking of sides? some edamame never hurt nobody! or, for something a bit different, how about a japanese potato salad? as for drinks, crack open a cold japanese beer asahi or sapporo are classics.
Or, for a healthy chicken katsu recipe vibe, some iced green tea. i love serving chicken thigh katsu this way too.
It is simple dinner ideas japanese .
Storing Like a Pro
Right, got leftovers? cool the chicken katsu completely before you even think about storing it. pop it in an airtight container and it'll be fine in the fridge for up to 3 days.
Honestly, it's best eaten fresh, but sometimes, you know, life happens.
Freezing is doable, but be warned: the breading won't be quite as crispy when you reheat it. wrap each cutlet individually in cling film, then bung them in a freezer bag.
They'll keep for up to a month.
Reheating? oven's your best bet. pop it in at 350° f ( 175° c) for about 10- 15 minutes, or until heated through.
Microwaving is a last resort, trust me, you want to avoid that at all costs as it will create a soggy breading.
Remixing the Recipe
Fancy a bit of a change? you could make this recipe gluten-free katsu chicken simply by swapping the flour and panko for gluten-free versions.
Easy peasy!. alternatively you can try cheese katsu for some extra flavour!
For a spicy chicken katsu , a little sriracha or cayenne pepper into the egg mixture is great. for those easy meals when sick add a side of miso soup.
You can find great chicken japanese recipes online too.
If you are not feeling like frying, try Baked Chicken Katsu for a Healthy Chicken Katsu Recipe.
Want a seasonal twist? In autumn, use sweet potato panko for a hint of sweetness, and you have a new Katsu Recipes variation!
Nutrition Lowdown
Okay, so let's keep this real simple. this chicken katsu recipe is tasty, but it is fried, so keep that in mind.
You're looking at a good whack of protein, some carbs from the breading, and, of course, fat from the frying.
It is also one of the best chicken dishes recipes
Chicken's a great source of lean protein, which is awesome for building and repairing muscles. Just be mindful of the portion sizes, you know?
So there you have it! a few extra nuggets of wisdom to make your tonkatsu recipe experience even better. don't be scared to experiment, have a laugh, and most importantly, enjoy your delicious chicken katsu ! and remember to grab a couple of japanese appetizers easy to pair it with!.
Ton katsu are always welcomed, don't be afraid to search for them!
Frequently Asked Questions
Why is my chicken katsu soggy? What am I doing wrong with this chicken katsu recipe?
Soggy katsu is a common problem, but easily fixed! The most likely culprits are: not chilling the breaded chicken long enough (at least 30 minutes!), the oil temperature being too low, or overcrowding the pan. Chilling helps the panko adhere, while proper oil temperature ensures quick, crispy frying.
Don't be tempted to chuck too many cutlets in at once, or you'll drop the oil temp and get a soggy bottom, so to speak!
Can I bake the chicken katsu instead of frying it to make it healthier?
You certainly can bake chicken katsu! While it won't be quite as crispy as the fried version, it's a healthier alternative. Preheat your oven to 400°F (200°C), place the breaded chicken on a baking sheet lined with parchment paper, and spray generously with cooking oil.
Bake for about 20-25 minutes, flipping halfway through, until golden brown and cooked through. It’s a bit like a healthier version of fish and chips still satisfying, just without the deep fried guilt!
What's the best way to store leftover chicken katsu and how do I reheat it so it stays crispy?
Store leftover chicken katsu in an airtight container in the refrigerator for up to 2-3 days. Reheating can be tricky to maintain the crispiness. The best method is to reheat it in a preheated oven at 350°F (175°C) for about 10-15 minutes.
Alternatively, you can use an air fryer for even better results; just a few minutes will bring it back to its former glory. Avoid the microwave unless you're going for a soft, rather sad katsu experience!
What kind of panko breadcrumbs should I use for the best chicken katsu recipe?
For truly authentic and crispy chicken katsu, Japanese panko breadcrumbs are essential. They're much lighter and flakier than regular breadcrumbs, which results in a significantly crispier and less greasy crust. You can usually find them in the Asian aisle of most supermarkets, or definitely at Asian grocery stores.
It's the difference between a soggy Sunday roast and a proper crispy roast with all the trimmings!
Can I make chicken katsu ahead of time?
Yes, you can definitely prep some of the chicken katsu in advance. You can bread the chicken cutlets and keep them chilled in the refrigerator for up to 24 hours before frying. However, it's best to fry them right before serving for the crispiest results.
Think of it like a Sunday roast - you can chop the veggies the day before, but the roast itself is best served fresh from the oven!
Golden Crispy Chicken Katsu