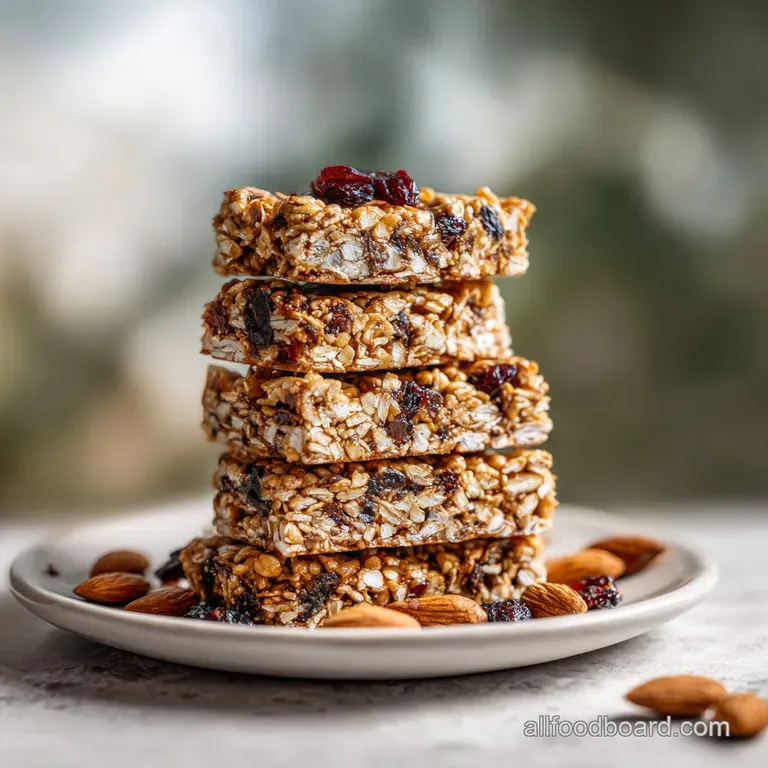
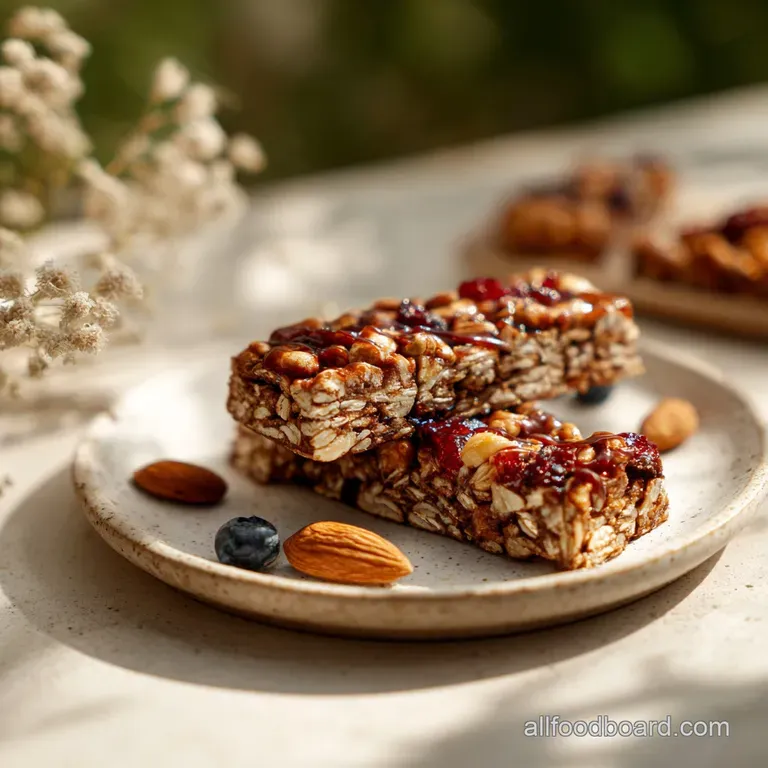
Chewy Nobake Granola Bars: Soft & Reliable
- Time: Active 10 minutes, Passive 2 hours, Total 2 hours 10 mins
- Flavor/Texture Hook: Nutty, honey sweetened base with a signature soft, chewy pull
- Perfect for: School lunchboxes, budget-friendly meal prep, or a quick pre workout bite
- Stop Buying Snacks: Better Chewy NoBake Granola Bars
- Why These Homemade Bars Beat Store-Bought Versions
- Essential Components for Structural Integrity
- Vital Statistics for the Perfect Batch
- The Essential Budget Ingredient List
- Tools for a Seamless Prep
- Mastering the No Bake Process
- Fixing Common Texture Issues
- Adjusting the Batch Size
- Debunking Common Snack Myths
- Storage and Sustainable Snacking
- Ways to Customize Your Bars
- Recipe FAQs
- 📝 Recipe Card
Stop Buying Snacks: Better Chewy NoBake Granola Bars
It’s 3:00 PM on a Tuesday, and if you’re like me, the "snack attack" is real. I used to reach for those blue boxes of store-bought bars, but they always left me disappointed. They were either rock hard enough to chip a tooth or so crumbly that half the bar ended up on my keyboard.
I knew there had to be a way to get that nostalgic, soft texture without the weird preservatives or the high price tag.
After a few "granola dust" disasters in my own kitchen, I figured out the secret isn't just in the ingredients, but in how you treat the syrup. We’re going for a specific velvety consistency that acts like edible glue.
This isn't just about mixing things in a bowl; it’s about creating a structural bond that survives the journey from the fridge to a backpack.
You’re going to love how these come together without even turning on the oven. It’s a simple, honest recipe that relies on pantry staples like honey and oats. We’ve swapped the expensive specialty health food store additives for smart, budget friendly alternatives that actually taste better.
Let's get into the kitchen and fix your snack game for good.
Why These Homemade Bars Beat store-bought Versions
To get that specific texture we crave, we have to look at how the ingredients interact under different temperatures. It isn't magic; it's just basic kitchen physics. By heating the honey and butter together, we create a temporary emulsion that coats the dry ingredients much more effectively than cold sweeteners ever could.
- The Syrup Bond: Heating honey and butter together creates a viscous liquid that seeps into the pores of the rolled oats, locking them together as it cools.
- Dual Grain Texture: Mixing dense rolled oats with airy puffed rice cereal creates structural "air pockets," preventing the bar from becoming a solid, heavy brick.
- Thermal Setting: The saturated fats in the peanut butter and butter solidify at fridge temperatures, providing the "snap" needed to hold the bar's shape.
- Moisture Retention: Using honey instead of granulated sugar keeps the bars soft because honey is hygroscopic, meaning it naturally attracts and holds onto moisture.
| Preparation Method | Time | Texture Outcome | Best For |
|---|---|---|---|
| Stovetop Melting | 5 mins | Silky, fully integrated syrup | Maximum structural integrity |
| Microwave Melting | 2 mins | Faster but can be patchy | Quick fixes when short on time |
| No Heat Mix | 0 mins | Grainy and very crumbly | Not recommended for this recipe |
When you melt the ingredients on the stove, you have much more control over the bubbles. For a deeper, more complex flavor, you can even let the butter brown slightly before adding the honey. If you've ever made a Classic No Bake recipe, you'll recognize the importance of that quick boil for getting the right set.
Essential Components for Structural Integrity
Every ingredient in this list serves a specific purpose for the final "chew" factor. We aren't just tossing things in for flavor; we're building a snack that needs to stand up to being handled.
Using old-fashioned oats is non negotiable here because they provide the necessary fiber and bulk that quick oats simply can't match.
| Component | Science Role | Pro Secret |
|---|---|---|
| Rolled Oats | Structural base | Toast them in a dry pan for 5 minutes to add a nutty aroma. |
| Honey | Primary binder | Use a dark, local honey for a more intense floral sweetness. |
| Peanut Butter | Emulsifier | Choose "creamy" over "crunchy" to ensure every oat is perfectly coated. |
| Puffed Rice | Texture lightener | Ensure it's fresh; stale cereal leads to a rubbery bar. |
Vital Statistics for the Perfect Batch
Before you start measuring, keep these three precision checkpoints in mind. First, the 2.5 cups of oats must be old-fashioned, not steel cut or instant. Second, the 2 hour chill time is a hard requirement; if you cut into them early, they will fall apart.
Finally, this recipe yields exactly 12 standard sized bars, making it easy to track your weekly snack budget.
For the Dry Base
The foundation of our bar relies on the contrast between the chewy oats and the crisp puffed rice. If you’ve enjoyed a Crispy Homemade Granola recipe before, you know that texture variety is what makes a snack interesting. We're using 225g of oats and 15g of puffed rice to get that balance just right.
For the Binding Syrup
The "glue" is a mixture of 170g honey, 120g peanut butter, and 55g unsalted butter. This trio creates a high fat, high sugar environment that stays pliable even when cold. It’s the secret to why these don't turn into rocks in the fridge.
The Essential Budget Ingredient List
I’m all about using what’s already in the cupboard. You don't need fancy agave or expensive nut butters to make this work. These everyday items combine into something that tastes far more expensive than it actually is.
- 2.5 cups (225g) old-fashioned rolled oats: Why this? Provides the chewy bulk and fiber needed for satiety.
- Substitute: Use certified gluten-free oats if you have a sensitivity.
- 0.5 cup (15g) puffed rice cereal: Why this? Adds lightness and prevents the bars from being too dense.
- Substitute: Crushed cornflakes or extra oats (though it will be denser).
- 0.5 cup (45g) unsweetened shredded coconut: Why this? Adds subtle natural fats and a tropical aroma.
- Substitute: Skip it and add 1/4 cup extra oats.
- 0.5 cup (120g) creamy peanut butter: Why this? The primary fat source that aids in emulsification.
- Substitute: Almond butter or sunflower seed butter for a nut free version.
- 0.5 cup (170g) honey: Why this? The liquid gold that binds everything together.
- Substitute: Brown rice syrup (Maple syrup is too thin on its own).
- 0.25 cup (55g) unsalted butter: Why this? Adds a rich, velvety mouthfeel and helps the set.
- Substitute: Coconut oil (solid state) for a dairy-free option.
- 0.5 cup (85g) mini chocolate chips: Why this? Small chips distribute better than large ones.
- 0.25 cup (30g) chopped toasted almonds: Why this? Adds a necessary crunch factor.
- 1 tsp (5ml) pure vanilla extract & 0.25 tsp sea salt: Why this? Salt balances the sweetness; vanilla rounds the flavor.
| Original Ingredient | Substitute | Why It Works |
|---|---|---|
| Honey (0.5 cup) | Brown Rice Syrup | Similar viscosity. Note: Less sweet than honey but binds just as well. |
| Unsalted Butter | Coconut Oil (Solid) | High saturated fat content. Note: Adds a slight coconut flavor to the bars. |
| Peanut Butter | Sunflower Butter | Great for school safe lunches. Note: Texture remains nearly identical. |
Tools for a Seamless Prep
You don't need a stand mixer or any high tech gadgets for this. A simple medium saucepan and an 8x8 inch (20x20 cm) square pan are your best friends here. I highly recommend using parchment paper to line the pan; it makes lifting the whole block out for slicing much easier than trying to dig bars out of a greased dish.
Chef Tip: Freeze your chocolate chips for 10 minutes before adding them to the mixture. This prevents them from melting completely when they hit the warm oats, giving you distinct chocolate pockets instead of a muddy brown bar.
Mastering the No Bake Process
Follow these steps closely, especially the part about pressing the mixture into the pan. This is where most people fail. You need to use some muscle to get these to stay together.
- Prep the pan. Line an 8x8 inch square pan with parchment paper, leaving an overhang on two sides for easy removal.
- Combine dry ingredients. In a large mixing bowl, stir together the 225g oats, 15g puffed rice, 45g coconut, 30g almonds, and 1.5g salt.
- Simmer the syrup. Combine the 120g peanut butter, 170g honey, and 55g butter in a small saucepan over medium heat.
- Whisk until velvety. Stir the syrup constantly until it starts to bubble and looks smooth. Remove from heat immediately.
- Add aromatics. Stir in the 5ml vanilla extract into the hot syrup. Note: Adding it at the end preserves the flavor.
- Merge the two. Pour the hot syrup over the dry oat mixture. Stir well until every oat is shiny and coated.
- Cool slightly. Let the mixture sit for 2-3 minutes before adding the 85g mini chocolate chips. Note: This prevents a total chocolate meltdown.
- Heavy compression. Transfer the mixture to your prepared pan. Use the back of a heavy metal measuring cup to press down firmly.
- The Cold Set. Cover the pan and refrigerate for at least 2 hours until firm to the touch.
- Slice and serve. Lift the parchment paper out and cut into 12 even bars using a sharp knife.
Fixing Common Texture Issues
If your bars aren't turning out exactly how you want, it's usually a minor tweak in the temperature or the pressure applied during the packing phase. Don't toss them out! Even "failed" bars make an excellent topping for yogurt or a bowl of milk.
If Your Bars Are Crumbly
This is usually caused by not pressing the mixture hard enough into the pan. You really have to compact them to force the syrup into all the nooks and crannies. Another culprit could be too many dry ingredients make sure your measurements for the honey and peanut butter are exact.
If Your Bars Are Too Sticky
Sticky bars happen when the syrup wasn't heated enough or if you used a thin sweetener like maple syrup without an extra binder. If they stay tacky after 2 hours in the fridge, try popping them in the freezer for 20 minutes before slicing.
| Problem | Root Cause | Solution |
|---|---|---|
| Bars fall apart | Lack of compression | Press down with a heavy flat object for 60 seconds. |
| Chocolate is smeared | Added chips too early | Wait until the oats are warm, not hot, to the touch. |
| Oats are tough | Didn't use rolled oats | Always use old-fashioned oats for the best chew. |
Common Mistakes Checklist: ✓ Never use instant oats; they turn into a soggy paste. ✓ Don't skip the salt; it's what makes the chocolate and honey flavors pop. ✓ Avoid natural peanut butter that is too oily, as it can prevent a firm set.
✓ Ensure the honey/butter mixture actually reaches a simmer before removing from heat. ✓ Use parchment paper, not foil, to prevent sticking.
Adjusting the Batch Size
Scaling these is very straightforward, but you have to be careful with the syrup volume. If you're looking for more protein heavy options, you might also be interested in Homemade Beef Jerky Recipes to round out your snack rotation.
- To Double (24 bars): Use a 9x13 inch pan. Double all ingredients exactly, but extend the syrup simmering time by 1-2 minutes to ensure the larger volume is fully emulsified.
- To Half (6 bars): Use a loaf pan. When halving the syrup, keep a close eye on it as it will come to a simmer much faster.
- Baking Option: While these are designed as no bake, you can bake them at 160°C for 15 minutes if you want a toasted, crunchier bar, but they will lose their "chewy" signature.
Debunking Common Snack Myths
There's a lot of misinformation out there about "healthy" granola bars. Let's clear up a few things so you can cook with confidence.
First, "no bake" does not mean "no heat." You must heat the honey and fats together to create the bond. Simply stirring cold honey into oats will result in a sticky mess that never holds its shape. The heat changes the viscosity of the honey, allowing it to coat the oats in a thin, even layer.
Second, skipping the butter won't necessarily make these healthier; it will just make them drier. The small amount of fat from the butter is what gives the bars that "professional" mouthfeel.
If you are worried about calories, it's better to reduce the portion size rather than remove the ingredients that provide the structural integrity.
Storage and Sustainable Snacking
Keeping your bars fresh is all about moisture control. Since these have a high honey content, they can attract humidity from the air, which makes them soft and sticky over time.
- Fridge: Store in an airtight container for up to 1 week. I like to place a small piece of parchment paper between layers to prevent sticking.
- Freezer: These freeze beautifully! Wrap individual bars in compostable wrap or beeswax wraps and freeze for up to 3 months. You can eat them straight from the freezer for a firmer chew.
- Zero Waste: If you find the ends of the batch getting too crumbly, don't throw them away. Pulse the crumbs in a blender to make a "granola dust" that is incredible over vanilla ice cream or mixed into pancake batter. You can also use the leftover toasted almond skins in your compost pile.
Ways to Customize Your Bars
While the base recipe is a classic for a reason, don't be afraid to experiment with what’s in your pantry. This is a budget smart recipe, so use what you have!
If you want a Dark Chocolate Sea Salt Twist, use dark chocolate chunks and a heavy pinch of flaky Maldon salt on top right after pressing the mixture into the pan.
For a Nut Free School Lunch, replace the peanut butter with sunflower seed butter and swap the almonds for pumpkin seeds (pepitas).
If you're aiming for a Balanced Power Breakfast, you can stir in 2 tablespoons of chia seeds or ground flaxseeds. These add a boost of Omega-3s without significantly changing the flavor profile.
Just remember that adding more dry ingredients might require an extra tablespoon of honey to keep everything stuck together. Whatever you choose, these bars will always be better than the processed alternatives. Happy snacking!

Recipe FAQs
Is heating the honey and butter necessary for binding?
Yes, absolutely. Heating the honey and butter creates a viscous syrup that effectively coats the dry oats, ensuring a stable bond that sets firmly when chilled.
How to prevent the bars from becoming rock hard in the refrigerator?
Use a honey-to-fat ratio slightly higher than standard. Honey is naturally hygroscopic, meaning it retains moisture, which keeps the bars pliable even when cold; this same technique is key for achieving tender results in our Moist Applesauce Bread recipe.
How to ensure the bars hold their shape after slicing?
Press the mixture into the pan with significant force. After mixing, use a flat, heavy object to compact the mixture tightly; this physical compression is crucial for structural integrity when the fats solidify.
Can I substitute the honey with maple syrup?
No, substituting honey directly with maple syrup is not recommended. Maple syrup is significantly thinner and will result in a much stickier, crumbly bar that struggles to set correctly.
How long must the bars chill before they are safe to cut?
Chill for a minimum of two hours. While they may seem set sooner, allowing the fats to fully solidify at that lower temperature ensures clean cuts without immediate crumbling.
Is it true that using quick oats yields the same chewy result?
False. Quick oats absorb the binder too rapidly and break down, resulting in a dense, almost paste like bar rather than the desired chewy texture.
How to store leftovers to maintain peak chewiness?
Store them in an airtight container in the refrigerator for up to one week. To prevent layers from sticking together, place a small square of parchment paper between each bar.
Chewy Nobake Bars

Ingredients:
Instructions:
Nutrition Facts:
| Calories | 286 kcal |
|---|---|
| Protein | 6.2 g |
| Fat | 15.8 g |
| Carbs | 33.2 g |
| Fiber | 3.0 g |
| Sugar | 18.4 g |
| Sodium | 75 mg |
