The Proper Peanut Butter Press My Goto Soft Chewy Cookies
- Unearthing the Secret to That Irresistible, Childhood Peanut Butter Cookies Texture
- Why This Specific Recipe Outshines Every Other Batch You've Baked
- The Essential Pantry Lineup for Perfect Peanut Butter Cookies
- Mastering Ingredient Quality: Secrets to Richer Flavor
- The Step-by-Step Alchemy of Dough Creation
- Baking Brilliance: Achieving the Ideal Golden Hue and Crisscross Mark
- Troubleshooting Common Cookie Calamities and Expert Fixes
- Elevating Your Batch: Creative Variations on the Classic Peanut Butter Cookie
- Recipe FAQs
- 📝 Recipe Card
Unearthing the Secret to That Irresistible, Childhood Peanut Butter Cookies Texture
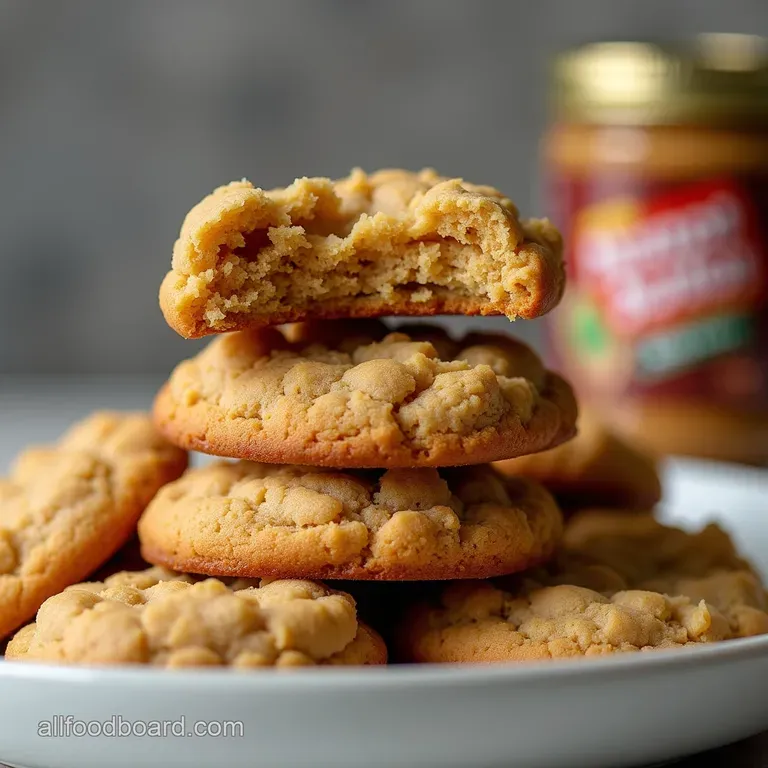
There is something deeply nostalgic about the perfectly formed peanut butter cookie that deeply nutty aroma mingling with warm sugar, and the signature crisscross pattern pressed into its surface. For many of us, these cookies represent comfort, simpler times, and baking at its most elemental.
However, achieving that mythical balance between a crisp edge and a centre that practically melts in your mouth can feel elusive. Many batches turn out too dry, too crumbly, or spread into sad, flat discs. We are setting out to banish those disappointments forever.
This guide is your blueprint for crafting the Best Peanut Butter Cookies , leveraging time tested techniques to guarantee a batch that is rich, dense, and wonderfully soft from the first bite to the last.
Why This Specific Recipe Outshines Every Other Batch You've Baked
Forget dry relics of the past; this recipe delivers cookies that are perfectly rich, beautifully dense, and wonderfully soft right out of the oven, setting up perfectly Chewy Peanut Butter Cookies as they cool.
We rely on a specific ratio of fats and a touch of brown sugar’s molasses content to achieve that signature texture. These are the quintessential American classic, best enjoyed with a strong cup of tea or a big glass of milk a real crowd pleaser, plain and simple.
The development process behind this Soft Peanut Butter Cookies Recipe focused entirely on maximizing moisture retention while ensuring a clean, defined shape.
Defining 'Soft and Chewy': Our Textural Promise
When we talk about "soft and chewy," we are specifically targeting a specific chemical interaction within the dough. The balance between the granulated sugar (which promotes spread and crispness) and the light brown sugar (which brings moisture due to its inherent molasses content) is paramount.
We are aiming for a final baked product where the protein structure from the flour is developed just enough to hold the shape, but not so much that it becomes tough. This is a far cry from shortbread; we want density without hardness.
The Baker's Goal: Achieving Nan's Kitchen Perfection
The ultimate goal here is to recreate that deeply satisfying feeling of biting into a cookie that tastes exactly like the one you remember from childhood. This process is about precision, not complexity. We want that classic, unmistakable flavour profile of roasted peanuts carried through by high-quality vanilla.
This particular Peanut Butter Cookie Dough Recipe is designed to be straightforward enough that your results consistently mimic the comforting perfection associated with home baking.
Setting Expectations: A No-Stress Guide for Novice Bakers
Despite the pursuit of perfection, the process is wonderfully accessible. This recipe is rated as Easy . It employs the standard "creaming method," which is familiar to most home bakers.
There’s no complicated chilling time required for the entire structure (though a short rest is highly recommended), no tempering, and no intricate shaping just reliable mixing and baking.
Anyone can achieve success with these steps, ensuring your first try at Homemade Peanut Butter Cookies is a resounding success.
The Essential Pantry Lineup for Perfect Peanut Butter Cookies
To embark on this delicious journey, you’ll need a few key players on your countertop. For prep time, budget about 15 minutes of active mixing, plus an optional 30 minutes for dough chilling.
We anticipate yielding approximately 18 to 20 large cookies from this batch. Ensure your butter and your single large egg are brought to room temperature beforehand; this is a small step with a huge impact on the final structure.
The dry components are simple: 1 ½ cups (180g) of all-purpose flour, paired with 1 teaspoon of baking soda (crucially, not baking powder) to promote lift, and ½ teaspoon of fine grain salt to balance the sweetness.
For the wet ingredients, you will need ½ cup (113g) of softened unsalted butter, ¾ cup (180g) of creamy peanut butter, ½ cup packed light brown sugar, ¼ cup granulated sugar, 1 large egg, and 1 teaspoon of good quality vanilla extract.
Mastering Ingredient Quality: Secrets to Richer Flavor
The magic of the Classic Peanut Butter Cookies lies not in exotic additions but in the integrity of the core components. Using the right ingredients ensures that the final product delivers maximum flavour payoff for minimal effort.
Precise Measurements: What You Absolutely Must Weigh
While estimation works for soup, baking demands accuracy. For the greatest textural success, weighing your flour (180g) is strongly recommended over scooping it loosely. If you must use volume measurements, spoon the flour lightly into the measuring cup and level it off.
Any slight deviation in the flour ratio can drastically affect how the dough handles moisture, leading to spreading or dryness.
Selecting the Right Peanut Butter (Crucial for Chewiness)
This is perhaps the most important flavour choice. To achieve that ideal, dense chew, avoid "natural" peanut butters where the oil separates easily. These often lack the stabilizers necessary to bind correctly during the creaming process, leading to a runnier dough that spreads too thin.
Opt instead for a standard, homogenized commercial creamy peanut butter (like Jif or Skippy). This choice provides the necessary fat and emulsification needed for structure.
Necessary Gadgets: Essential Tools Beyond the Mixing Bowl
You will need standard mixing bowls and a sturdy mixer, but a few specific tools elevate the experience. A good cookie scoop (around 1.5 tablespoons) ensures uniformity, meaning all your cookies bake at the same rate.
On top of that,, a sturdy, clean fork is essential for creating the signature crisscross markings, which also aids in slightly flattening the dough balls for more even baking.
Related Recipes Worth Trying
- Perfectly Chewy Peanut Butter Cookies Classic Fork Mark Recipe — Master the Best Peanut Butter Cookies This easy recipe yields perfectly chewy nostalgic treats ideal for any bake sale Get the foolproof technique now
- The Best Peanut Butter Cookies Chewy Foolproof — Learn how to make truly classic meltinyourmouth Peanut Butter Cookies with this foolproof recipe Get the perfect texture every time
- Elevated Sweet Potatoes With Marshmallows Recipe Brown Butter Glory — Ditch the bland casserole This Sweet Potatoes With Marshmallows recipe uses brown butter for depth The top is perfectly toastedpure comfort food
The step-by-step Alchemy of Dough Creation
The process begins with preparing your environment. Set your oven to 350° F ( 175° C) and line your baking sheets with parchment paper or silicone mats.
In one bowl, whisk together the sifted flour, baking soda, and salt this disperses the leavening agent thoroughly.
Next comes the foundational step: creaming the fats and sugars. In a larger bowl, beat the softened butter, peanut butter, brown sugar, and granulated sugar together until the mixture becomes noticeably lighter in colour and fluffy. This aeration step is key for achieving a softer final product.
After creaming, beat in the room temperature egg and the vanilla extract until just incorporated, scraping down the sides of the bowl with a rubber spatula to ensure everything is mixed evenly.
Gradually introduce the dry ingredients to this wet mixture, mixing only on low speed until the last streaks of flour disappear. Do not overmix at this stage; that develops gluten, which leads to tough cookies.
Baking Brilliance: Achieving the Ideal Golden Hue and Crisscross Mark
The transition from dough to cookie is where many bakers lose their way, often either under baking or over baking slightly. Follow these steps meticulously to nail the timing and shape.
Creaming the Fats and Sugars: The Foundation of Softness
As mentioned, beating the butter and sugars together until light and fluffy incorporates tiny air pockets. These pockets expand in the oven, giving your Peanut Butter Cookies lift and preventing them from becoming dense hockey pucks.
Do not rush this; aim for at least two to three minutes with the electric mixer.
The Folding Technique: Integrating Dry Ingredients Without Overworking
When adding the flour mixture, switch your mixer to the lowest setting or switch to hand mixing. As soon as you see no dry streaks remaining, stop. Overmixing at this point compresses the structure you just worked so hard to build during the creaming process, resulting in a tougher cookie texture.
The Mandatory Chill: Why Resting the Dough is Non-Negotiable
While these Easy Peanut Butter Cookies can technically be baked immediately, chilling the dough for 30 minutes is highly recommended if your kitchen is warm or the dough feels overly soft.
This rest solidifies the fats slightly, drastically reducing spread during baking and helping maintain a thicker, chewier centre.
Perfecting the Fork Press: How to Get Those Signature Lines
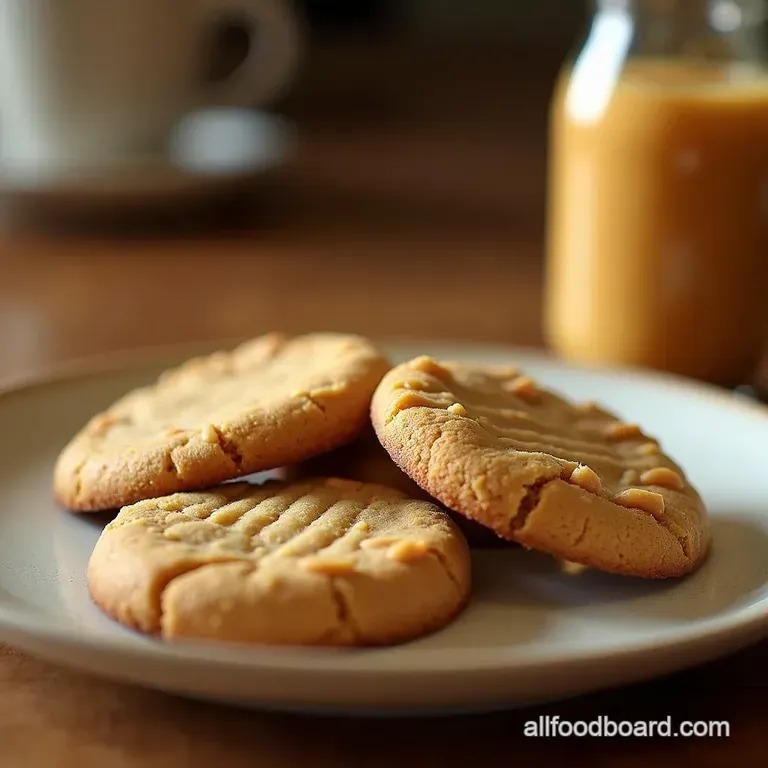
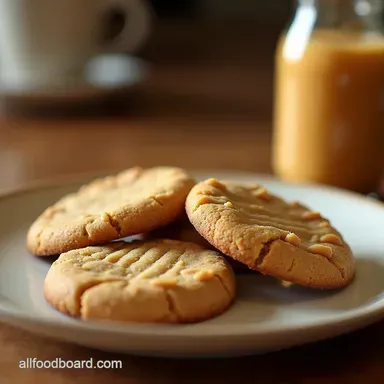
Scoop your dough into uniform balls (using that 1.5-tablespoon scoop works wonders) and place them two inches apart on the prepared sheets. The traditional crisscross pattern is achieved by pressing down first in one direction with the tines of a fork, then rotating the fork 90 degrees and pressing again.
A useful tip: lightly dust your fork with flour before pressing, otherwise the sticky dough will adhere stubbornly. This gentle flattening ensures the cookie bakes evenly from edge to centre. Bake for 10 to 12 minutes.
The key visual cue is watching the edges: they should look set and lightly golden, while the very centre may still appear slightly puffy and underdone.
Troubleshooting Common Cookie Calamities and Expert Fixes
If your cookies spread too thin, it usually means your butter was too warm, or you skipped the optional chill time. Next time, ensure your butter is soft but not greasy, and definitely rest the dough.
If your cookies are too crumbly, you likely added too much flour or you may have accidentally used baking powder instead of baking soda; verify those dry ingredients next time. Should the tops crack excessively (beyond the pleasant surface texture), try reducing the oven temperature by 15 degrees Fahrenheit and adding two extra minutes to the baking time.
Elevating Your Batch: Creative Variations on the Classic Peanut Butter Cookie
While the pure, unadulterated flavour of the Classic Peanut Butter Cookies is hard to beat, this base recipe invites creativity.
Storage Solutions: Keeping Your Cookies Fresh for Days
Once fully cooled on a wire rack, store your cookies in an airtight container at room temperature. To keep them exceptionally fresh for up to five days, place a slice of bread inside the container; the cookies will draw moisture from the bread, maintaining that soft texture wonderfully.
Freezing Dough vs. Baked Goods: The Ultimate make-ahead Strategy
For maximum convenience, freeze the dough balls! Place the rolled balls onto a baking sheet, flash freeze them until solid, and then transfer them to a freezer bag. When you crave fresh cookies, simply place the frozen dough balls directly onto a lined baking sheet and add 2– 3 minutes to the baking time.
Freezing baked cookies is also possible, but the texture is marginally better when freezing the raw dough.
Flavor Twists: Integrating Chocolate Chips or Spices
If you want to upgrade your batch to Peanut Butter Cookies with Chocolate Chips , gently fold in about ½ cup of high-quality milk or semi sweet chocolate chunks during the final stage of mixing, just after the flour is incorporated.
Alternatively, for a warmer profile, add ½ teaspoon of ground cinnamon and a pinch of nutmeg to the dry ingredients.
Understanding Oven Hotspots for Consistent Baking Results
Every oven behaves differently. If you notice one side of your baking sheet consistently browns faster than the other, use the mid-way rotation trick: after about 6 minutes of baking, rotate the sheet 180 degrees.
This simple adjustment compensates for uneven heating elements, ensuring all your cookies achieve that perfect golden hue simultaneously.

Recipe FAQs
Why are my Peanut Butter Cookies spreading out like a puddle in the oven?
This usually means the butter was too soft, or you skipped the crucial chilling step! For the best shape, ensure your butter is only slightly yielding, not greasy. If they still spread too much during baking, try chilling the dough balls in the fridge for an extra 15 minutes before putting the fork press on them.
Can I use natural, oily peanut butter instead of the standard creamy kind?
I’d strongly advise against it for this particular recipe, old bean. Natural peanut butter separates too easily, leading to a greasier, potentially crumbling cookie. Stick to the smooth, homogenized commercial brands; they bind far better and give you that iconic texture.
How should I store my homemade cookies to keep them soft and chewy?
Once they are completely cool, store your cookies in an airtight container at room temperature. To keep them super soft, you can actually place a small slice of bread in the container; the cookies will absorb moisture from the bread, keeping them delightfully chewy for days.
Why does the recipe call for baking soda and not baking powder?
This is a key chemical trick! Peanut butter is dense and slightly acidic, which reacts beautifully with the single teaspoon of baking soda, helping the cookie rise just enough while ensuring those lovely golden brown edges develop. Baking powder would likely cause too much lift and a cake like texture.
Can I make these Peanut Butter Cookies ahead of time or freeze the dough?
Absolutely, they freeze like a dream! Roll the dough into balls, place them on a lined tray, and freeze until solid. Transfer the frozen balls to a freezer bag; they’ll keep well for up to three months. You can bake them directly from frozen, just add an extra 2 3 minutes to the baking time.
What’s the secret to getting that perfect criss cross fork pattern without smashing the dough?
The trick is in the dusting! Lightly flour your fork tines before pressing down on the dough ball. Press once gently, then rotate the fork 90 degrees and press again to create the classic crosshatch pattern. This ensures the dough is flattened evenly without tearing or sticking.
Soft Peanut Butter Cookies
Instructions:
Nutrition Facts:
| Calories | 190 kcal |
|---|---|
| Fat | 10g |
| Fiber | 1g |
