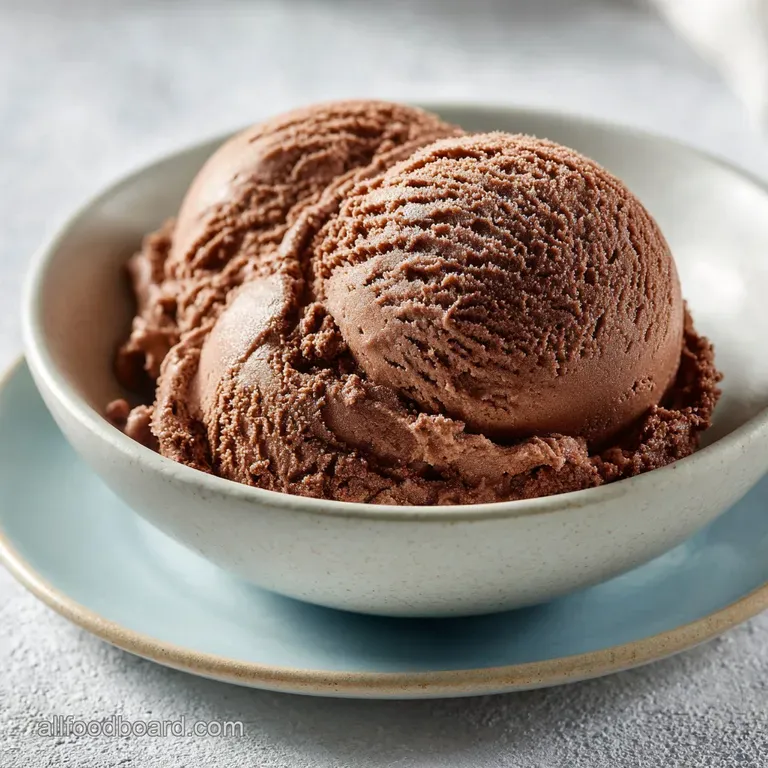
No Churn Chocolate Ice Cream: Velvety and Fudgy
- Time: Active 15 minutes, Passive 6 hours, Total 6 hours 15 mins
- Flavor/Texture Hook: Deeply fudgy, velvety, and dense
- Perfect for: Busy weeknights, kids' parties, or beginner cooks
- Why this Chocolate Ice Cream recipe is a winner
- Vital statistics for your dream ice cream
- Components for your chocolate dream ice cream
- Simple tools for a velvety result
- Mixing your no churn chocolate dream ice cream
- Fixing texture and flavor issues fast
- Smart swaps for unique dessert flavors
- Storing your chocolate treats for later
- Finishing touches for your frozen dessert
- Recipe FAQs
- 📝 Recipe Card
Why this Chocolate Ice Cream recipe is a winner
The smell of Dutch process cocoa hitting the air as you sift it is one of those small kitchen joys that never gets old. If you've ever tried to make traditional custard based desserts, you know the struggle of tempering eggs or waiting hours for a machine to churn.
Honestly, I used to think a machine was the only way to get that professional, silky mouthfeel. I was wrong. This version is a massive win because it cuts out the fuss but keeps all the richness.
We've all had those nights where the kids are asking for a treat, and you just don't have the energy for a multi hour project. This is the answer to that specific problem.
You'll notice the texture isn't just "cold"; it's dense and fudgy, almost like a frozen ganache but lighter. The first time I made this, I was skeptical about the lack of eggs, but the sweetened condensed milk does all the heavy lifting. It creates a base that doesn't turn into a block of ice.
Instead, you get a shatter proof, scoopable dream ice cream that feels like you spent all day on it. It’s perfect for our everyday life because it uses pantry staples we usually have on hand. No fancy equipment, no tempered eggs, just pure chocolate bliss.
Right then, let's talk about why this method actually works for a busy home cook. Most people think homemade means difficult. This recipe proves that smart ingredient choices can replace labor intensive techniques. We're talking about a 15 minute investment that pays off in a dessert that rivals any high end shop.
It’s the kind of recipe you’ll keep in your back pocket for every birthday or sudden craving. Trust me, once you see how easy the folding process is, you'll never go back to the store-bought stuff that's filled with stabilizers and air.
Vital statistics for your dream ice cream
When we talk about making a great dessert, the details matter. This isn't a "wing it" situation, even if it is easy. We are looking for a specific balance of fat and sugar to ensure the water in the cream doesn't turn into large, crunchy ice crystals. You want that smooth, velvety glide on the spoon.
Below is a quick comparison so you can see how this "fast" method stacks up against the old school way. It helps to see why we're choosing this path today.
| Method | Total Active Time | Texture Goal | Effort Level |
|---|---|---|---|
| Fast (No Churn) | 15 minutes | Fudgy and dense | Minimal - uses a mixer |
| Classic (Custard) | 1 hours 30 mins | Light and airy | High - requires tempering |
| Machine Churned | 45 minutes | Soft serve style | Medium - needs equipment |
Since we are focusing on a family friendly, budget smart approach, the fast method wins every single time. You aren't sacrificing quality; you're just using a different kind of chemistry to get there. It’s about being practical in the kitchen while still delivering those big, bold flavors.
Components for your chocolate dream ice cream
Selecting the right ingredients is the secret to getting that deep, dark color and the perfect scoop. I always tell my friends that the cocoa powder is the star here. Don't just grab whatever is on the shelf. The Dutch process cocoa is treated with an alkali, which makes it less acidic and much darker.
This is what gives the Chocolate Ice Cream that sophisticated, non bitter finish that kids and adults both love.
- 14 oz sweetened condensed milk
- This acts as the sweetener and the stabilizer. Why this? High sugar/low water prevents ice crystals from forming.
- 0.5 cup Dutch process cocoa powder
- Sift this to avoid tiny clumps of bitter powder. Why this? Provides a dark, smooth color and mellow chocolate flavor.
- 1 tbsp pure vanilla extract
- Always use the real stuff if you can. Why this? Enhances the chocolate and lowers the freezing point slightly.
- 0.5 tsp fine sea salt
- Just a pinch to wake everything up. Why this? Balances the intense sweetness of the condensed milk.
- 2 cups heavy whipping cream
- Make sure this is cold, straight from the fridge. Why this? The fat provides the structure and creaminess.
| Ingredient | Science Role | Pro Secret |
|---|---|---|
| Heavy Cream | Structure | Chill your bowl and beaters for 10 mins to get more volume. |
| Cocoa Powder | Flavor/Texture | Sift it twice to ensure it dissolves instantly into the milk. |
| Condensed Milk | Freezing Control | Use room temp milk so it whisks easily with the cocoa. |
If you're interested in how different fats behave in desserts, you might find my Easy no bake chocolate cream pie really interesting. It uses similar principles of aeration to stay firm yet light.
Simple tools for a velvety result
You don't need a professional kitchen for this. In our house, we use a simple hand mixer for most things, and it works perfectly here. The goal is to incorporate air without over working the cream. If you have a stand mixer, that's great too, but it's certainly not a requirement.
- Large Mixing Bowls
- You'll need two. One for the chocolate base and one for whipping the cream. I prefer glass or metal because they stay cold better.
- Hand Mixer or Stand Mixer
- This is the only way to get those stiff peaks in the cream without your arm falling off.
- Silicone Spatula
- Essential for the "folding" step. You want something flexible that can scrape the bottom of the bowl.
- 9x5 inch Metal Loaf Pan
- Metal conducts cold faster than glass or ceramic, which helps the ice cream set quicker and more evenly.
- Sifter or Fine Mesh Strainer
- Please don't skip this. Cocoa powder is notorious for having little hard lumps that won't whisk out.
Chef Tip: Put your metal loaf pan in the freezer about 20 minutes before you start. Pouring the mixture into a pre chilled pan helps the edges set immediately, preventing a "soupy" bottom.
Mixing your no churn chocolate dream ice cream
Now for the fun part. This process is all about maintaining the air you've whipped into the cream. If you're too aggressive, you'll end up with a flat, hard block. If you're too gentle, you'll have white streaks of cream. We're looking for that perfect, uniform chocolate clouds look.
- Prep the chocolate base. In a medium mixing bowl, whisk together the 14 oz sweetened condensed milk, sifted 0.5 cup Dutch process cocoa powder, 1 tbsp vanilla, and 0.5 tsp sea salt. Note: Whisk until the mixture is smooth, glossy, and free of dry streaks. It will be quite thick.
- Whip the cream. In a separate chilled large mixing bowl, pour in your 2 cups of cold heavy whipping cream. Using your mixer, whip the cream until stiff peaks form. Note: "Stiff peaks" means the cream stands straight up when you lift the beaters.
- Combine the mixtures. Gently fold the chocolate base into the whipped cream using your silicone spatula. Use a slow, circular folding motion to incorporate the mixtures until no white streaks remain. Note: Don't stir! You want to keep those tiny air bubbles intact.
- Transfer to the pan. Pour the aerated mixture into your 9x5 inch metal loaf pan and smooth the top with your spatula. The surface should look velvety and even.
- Freeze and set. Cover the pan tightly with plastic wrap or a lid. Freeze for at least 6 hours until the ice cream is firm and scoopable.
Fixing texture and flavor issues fast
Even the simplest recipes can have a hiccup. The most common mistake I see is "over whipping" the cream. If you go too far, the cream starts to turn into butter and feels greasy on the tongue. If you see it starting to look grainy, stop immediately!
Why your Ice Cream feels icy
If your treat has crunchy ice crystals, it usually means some water got into the mix or it wasn't covered properly in the freezer. Air is the enemy of a smooth texture once it's in the pan.
| Problem | Root Cause | Solution |
|---|---|---|
| Icy Texture | Water contamination or slow freezing | Ensure all bowls are dry; use a metal pan for faster freezing. |
| Flat/Hard Scoop | Deflated air during folding | Fold more gently; stop as soon as the color is uniform. |
| Bitter Aftertaste | Lumpy cocoa powder | Always sift the cocoa through a fine mesh strainer. |
If you're worried about getting the texture right, the chemistry is actually pretty forgiving. For more tips on getting that perfect chocolate balance, you should check out my Dreamy white chocolate chunk cookies for a different perspective on fat to sugar ratios.
Common Mistakes Checklist:
- ✓ Using "Natural" cocoa instead of Dutch process (results in a lighter, more acidic flavor).
- ✓ Whipping the cream while it's at room temperature (it won't hold air properly).
- ✓ Skipping the salt (it’s vital for cutting through the richness of the condensed milk).
- ✓ Opening the freezer too often (causes temperature fluctuations and "ice burn").
Smart swaps for unique dessert flavors
One of the things I love about being a home cook is the ability to adapt. We don't always have a perfectly stocked pantry, and sometimes we just want to shake things up. This no churn chocolate dream ice cream is a fantastic blank canvas for your own ideas.
Substitution Table:
| Original Ingredient | Substitute | Why It Works |
|---|---|---|
| Dutch Process Cocoa | Natural Cocoa Powder | More acidic but works. Note: Flavor will be lighter and "sharper". |
| Heavy Whipping Cream | Coconut Cream (Full Fat) | Non dairy option. Note: Adds a distinct tropical flavor. |
| Sea Salt | Himalayan Pink Salt | Same mineral boost. Note: Adds a slightly different earthy note. |
If you want to try a "Mexican Hot Chocolate" version, just add a teaspoon of cinnamon and a tiny pinch of cayenne pepper to the chocolate base. It’s a game changer for adults who want a bit of heat.
For a dairy-free version, you can find condensed coconut milk in many stores now, and it works surprisingly well with whipped coconut cream, though the texture is slightly softer.
Storing your chocolate treats for later
Storage is where most people lose the quality of their homemade Ice Cream. Because we don't use commercial stabilizers, it's more sensitive to the air. You want to keep it in the coldest part of your freezer, usually the back, not the door.
- Fridge
- Don't. It'll be a chocolate soup in 20 minutes.
- Freezer
- Up to 2 weeks. After that, it starts to lose its creamy texture and can pick up "freezer smells."
- Zero Waste Tip
- If you have a little bit left that's getting too hard, don't toss it. Let it melt slightly and use it as a decadent "creamer" for your morning coffee or blend it into a milkshake.
Always press a piece of parchment paper or plastic wrap directly onto the surface of the ice cream before putting the lid on the pan. This creates a physical barrier that prevents ice crystals from forming on top. It keeps that first scoop as velvety as the day you made it.
Finishing touches for your frozen dessert
When it's time to serve, don't just dig in straight from the freezer. Because this recipe is quite dense (thanks to the condensed milk), it benefits from sitting on the counter for about 5 minutes. This lets the edges soften just enough to get those perfect, round scoops.
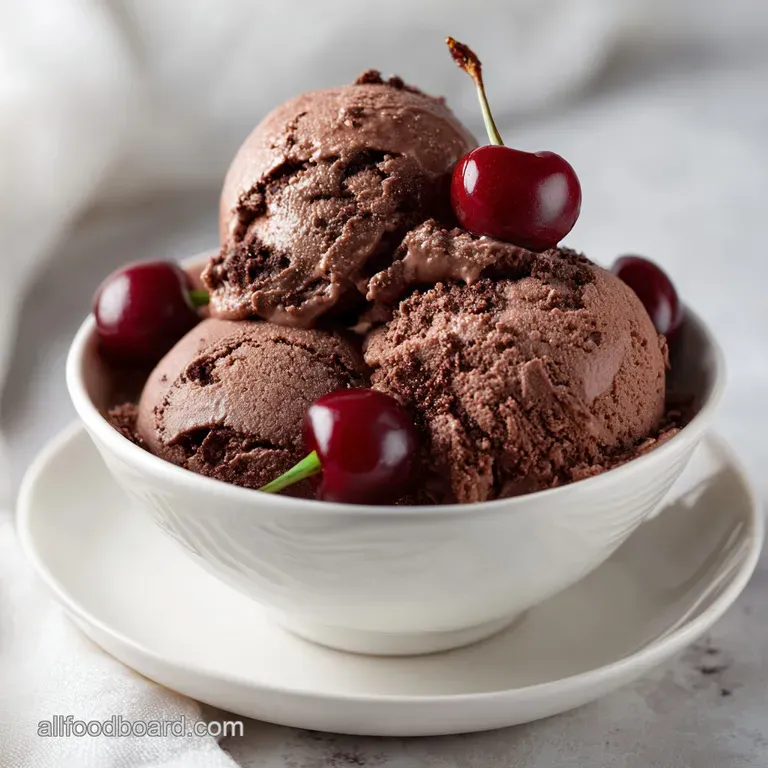
- The Classic
- A simple scoop in a chilled bowl with a few shavings of dark chocolate on top.
- The Sundae
- Warm up some peanut butter and drizzle it over the top. The saltiness of the peanut butter against the fudgy chocolate is incredible.
- The Sandwich
- Take two of your favorite cookies and smash a small scoop in the middle. Since this ice cream doesn't melt instantly, it’s perfect for sandwiches.
I usually serve this at family gatherings with a big bowl of fresh raspberries. The tartness of the fruit cuts right through the richness of the cocoa. It’s an easy way to make a simple homemade treat feel like a special occasion without any extra stress. Right then, I think you're ready to get sifting.
Your family is going to absolutely love this one!

Recipe FAQs
Does no churn ice cream actually work?
Yes, it produces a rich and creamy texture without an ice cream maker. By whipping heavy cream to stiff peaks, you incorporate the air bubbles necessary to prevent a dense, icy block, resulting in a scoopable final product.
Why is ice cream stored in the door bad?
The freezer door experiences frequent temperature fluctuations that degrade texture. Keep your ice cream in the back of the freezer to maintain a consistent temperature, which prevents the melting and refreezing that causes unwanted ice crystals.
How to ensure a smooth, clump free chocolate base?
Sift the cocoa powder into the sweetened condensed milk before whisking. Sifting removes hardened cocoa lumps, ensuring the base becomes smooth and glossy without needing to overwork the mixture.
How to fold the mixture without losing volume?
Use a slow, sweeping motion with a silicone spatula to incorporate the chocolate base into the whipped cream. This technique protects the air bubbles you worked hard to create, much like the gentle mixing technique used for light, airy cakes.
Is it true I can store this ice cream for months in the freezer?
No, this is a common misconception. Because this recipe lacks commercial stabilizers, it is best consumed within two weeks; after that point, it begins to lose its creamy texture and absorbs flavors from the freezer.
Why does my ice cream turn into soup in the fridge?
The fridge is significantly warmer than the freezer, causing the fats in the heavy cream to liquefy. This dessert is designed to be stored at sub-zero temperatures, and it will lose its firm structure in as little as 20 minutes if moved to a standard refrigerator.
How to rescue leftover ice cream that has become too hard?
Allow the container to sit on the counter for a few minutes until it reaches a scoopable consistency. Do not attempt to microwave or heat it, as this will destroy the emulsion and leave you with melted chocolate liquid rather than a creamy dessert.
No Churn Chocolate Ice Cream

Ingredients:
Instructions:
Nutrition Facts:
| Calories | 381 kcal |
|---|---|
| Protein | 6.3 g |
| Fat | 26.5 g |
| Carbs | 31.9 g |
| Fiber | 1.9 g |
| Sugar | 26.9 g |
| Sodium | 218 mg |
