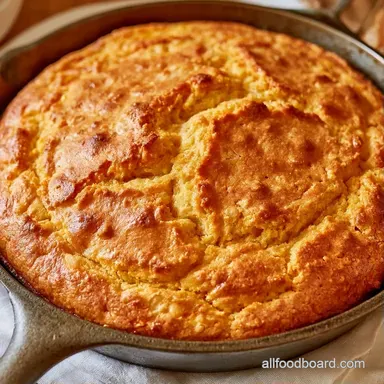
Old Fashioned Cast Iron Skillet Cornbread
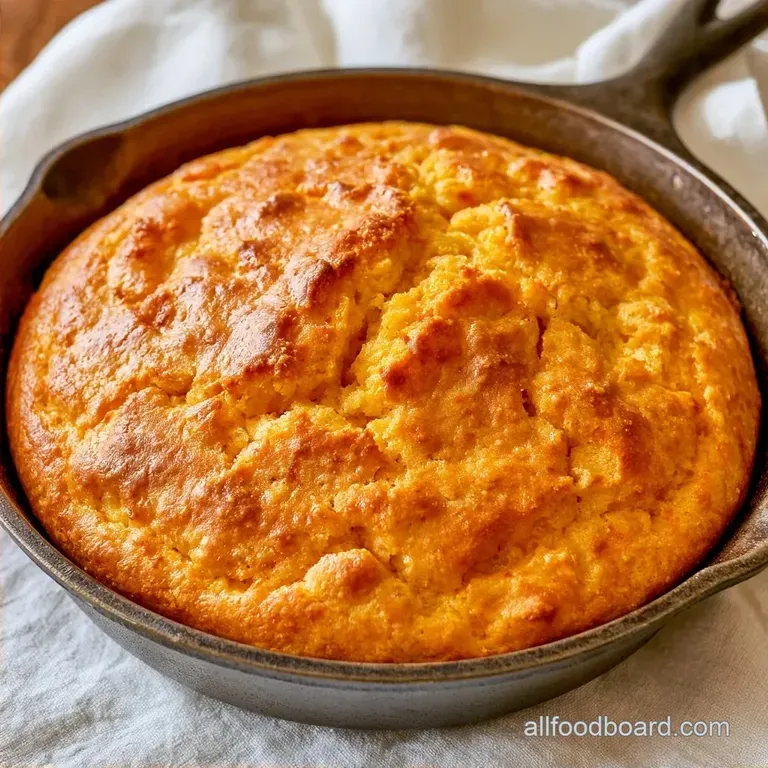
- Time: 10 min active + 25 min bake
- Flavor/Texture Hook: Mahogany brown crispy edges with a soft crumb
- Perfect for: Cozy Sunday dinners or a quick side for chili
The aroma of melted butter and toasted corn immediately reminds me of my grandmother’s kitchen. I can still recall the heavy thud of her 9 inch skillet sliding onto the oven rack and the way she’d hum while dusting flour across the counters.
That rustic, flour covered atmosphere always made the house feel like a sanctuary.
This is a sturdy, honest bread rather than a fancy cake. For years, I experimented with aluminum sheets or glass pans, but they never produced that signature shattering crust. You need aggressive heat to get those edges exactly right.
The result is a savory, golden loaf that avoids any dessert like sweetness. This CastIron Skillet Cornbread emphasizes the contrast between the buttermilk's softness and the iron's crunch. Let's dive right in.
CastIron Skillet Cornbread with Crispy Edges
DIVTABLE_0
Preparation is speedy once the oven is up to heat. No fancy gadgets are required; a basic bowl and some elbow grease for whisking will do the trick. Trust me, using a preheated pan is essential.
What Makes This Work
The Hot Iron: Heating the pan first triggers a quick sear on the batter. This creates a deep brown crust that tastes almost fried.
Buttermilk Tang: The acid in the buttermilk reacts with the baking powder. This creates air bubbles that keep the bread from becoming a dense brick.
Butter Sizzle: Adding butter to the hot pan right before the batter hits ensures the edges don't stick. It also adds a rich, nutty flavor to the bottom layer.
The result is a velvety interior that contrasts with the rough, crispy exterior. It's a simple balance of heat and acidity.
Rustic Ingredients and Swaps
| Ingredient | Function | Alternative |
|---|---|---|
| Cornmeal | Provides the signature texture and body | Polenta (for a coarser feel) |
| Buttermilk | Adds a zesty note and helps the lift | Milk combined with 1 tbsp lemon juice |
| Baking Powder | Ensures the bread expands | Baking soda plus an acidic ingredient |
| Butter | Produces a rich, golden exterior | Ghee or coconut oil |
For the best results, stick with full fat buttermilk. While the lemon juice substitute works in a pinch, you'll lose some of that authentic complexity. Additionally, avoid low-fat butter here, as it won't brown as effectively.
The Dry Base
- 1 cup (120g) yellow cornmeal The role: Adds that classic golden hue and gritty texture
- 1 cup (125g) all purpose flour The role: Softens the crumb so the bread isn't overly fragile
- 1 tbsp (12g) baking powder
- 1/2 tsp (3g) salt
- 2 tbsp (25g) cane sugar The role: Helps achieve a better brown color
The Wet Binding
- 1 cup (240ml) full fat buttermilk
- 1 large (50g) egg
- 4 tbsp (56g) unsalted butter, melted (divided into two 2 tbsp portions)
Basic Baking Gear
You don't need much, but the pan is the star here. A 9 inch cast iron skillet is the standard. If you use a 12 inch cast iron skillet cornbread pan, your bread will be thinner and cook faster, so keep a close eye on it.
A large mixing bowl and a whisk are all you need for the batter. I prefer a silicone spatula for folding because it helps me stop the moment the flour disappears. If you're measuring flour by volume, remember that everyone scoops differently. King Arthur has a page that provides ingredient weight charts to help you get the weight spot on.
From Prep to Plate
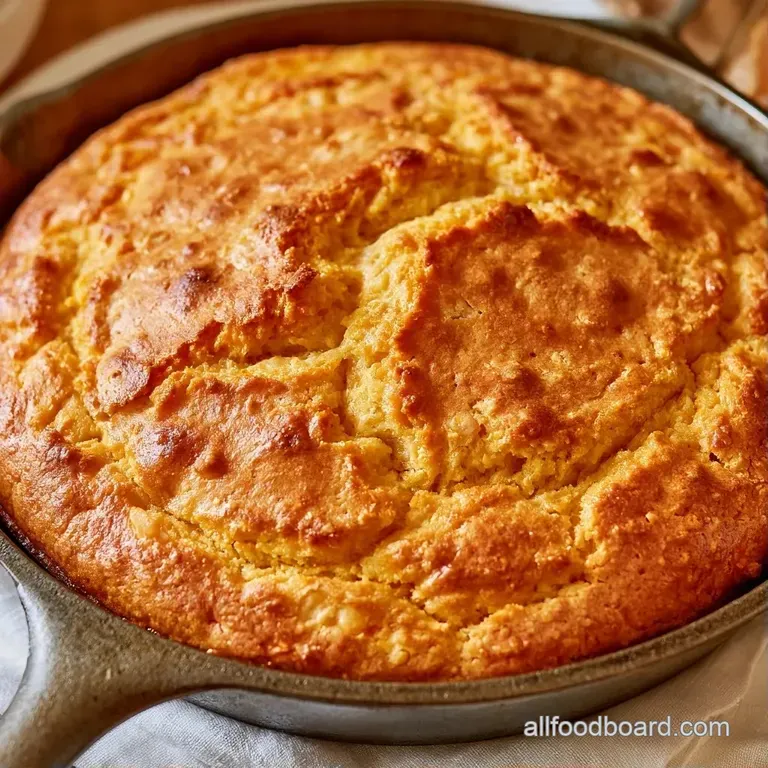
Temperature control is the secret to perfect CastIron Skillet Cornbread.
- Preheat your oven to 425°F (220°C). Put your 9 inch cast iron skillet in the oven during the preheating process. Note: The pan needs to be extremely hot.
- Whisk the cornmeal, flour, baking powder, salt, and sugar together in a large mixing bowl.
- In another bowl, beat the egg into the buttermilk, then stir in 2 tablespoons of melted butter.
- Add the wet mixture to the dry ingredients.
- Using a spatula, fold gently until just combined. Stop as soon as the flour streaks vanish to prevent the cornbread from becoming rubbery.
- Carefully take the hot skillet out of the oven.
- Add the final 2 tablespoons of butter to the pan, swirling it around until it bubbles and covers the bottom and sides.
- Pour the batter into the skillet and level the top.
- Bake for 20–25 minutes until the edges are dark brown and a toothpick inserted in the center comes out clean.
Allow it to rest in the pan for 5 minutes before cutting. This allows the steam to settle, ensuring the slices hold their shape.
Avoiding Kitchen Disasters
Common mistakes usually involve temperature or overmixing. Stirring the batter for too long develops the gluten in the flour, transforming your rustic bread into something that feels like a rubbery sponge.
Addressing Dry Crumbs
If the bread seems sandy or dry, it was likely overbaked. Just two additional minutes at 425°F can parch the center. In the future, remove the loaf as soon as a toothpick comes out clean.
Why It Sinks
A collapse in the center is often caused by expired baking powder or opening the oven door too frequently. To preserve the heat, leave the door closed until the 20 minute mark.
Avoiding Burnt Bottoms
If you have a blackened bottom but a pale top, the pan may have been too hot or the sugar levels were too high. Use a standard 9 inch pan to ensure the heat is distributed evenly.
| Problem | Root Cause | Solution |
|---|---|---|
| Rubbery texture | Overmixing the batter | Fold until just combined |
| Pale crust | Pan wasn't preheated | Heat pan in oven for 10 mins |
| Crumbly slices | Too much cornmeal | Stick to 1:1 flour to cornmeal ratio |
Mix ins and Changes
This CastIron Skillet Cornbread is a great base for other flavors. I like to keep the main batch savory, but you can easily tweak it.
For a spicy kick: Fold in 2 tablespoons of chopped pickled jalapeños and 4 ounces of sharp cheddar.
For more moisture: Add 1/2 cup of creamed corn to the wet ingredients. This makes the crumb denser and richer.
For a sweeter version: Increase the cane sugar to 4 tablespoons.
If you're serving this as a side, it goes great with a savory beef skillet for a full meal.
| Original Ingredient | Substitute | Why It Works |
|---|---|---|
| Cane Sugar (2 tbsp) | Honey (1.5 tbsp) | Similar sweetness. Note: Makes the crust brown faster |
| Buttermilk (1 cup) | Greek Yogurt (1/2 cup + 1/2 cup water) | Similar acidity and thickness |
| AP Flour (1 cup) | Almond Flour (1 cup) | gluten-free. Note: Denser crumb, less rise |
Freezer and Fridge Guide
This bread is best fresh, but it keeps well if you do it right. Store leftovers in a container with a paper towel at the bottom to soak up extra moisture.
Fridge: Keeps for 3-4 days. Freezer: Wrap individual slices in parchment and foil. They last up to 3 months.
To reheat, don't use the microwave, as it makes the bread chewy. Instead, put a slice back in a hot skillet for 2 minutes per side. This brings back that crispy edge.
For zero waste, take any stale scraps and crumble them into a pan with melted butter and onions. It makes a great topping for roasted vegetables or a base for a corn pudding.
Best Side Dish Pairings
The warmth and saltiness of this bread make it the ideal partner for heavy, savory dishes. I always serve it with a big dollop of salted butter or a drizzle of hot honey.
It pairs beautifully with skillet pork chops because the bread soaks up the brown butter sauce. If you're doing a pot of chili or collard greens, the sweetness of the corn cuts through the heat and acidity of the greens.
Color Accents
- - Fresh Parsley
- Sprinkle on top immediately after baking for a pop of green.
- - Smoked Paprika
- Dust the top of the batter for a deeper orange hue.
- - Honey Glaze
- Drizzle just before serving for a glossy, golden finish.
What Makes This So Good
I've seen a lot of people claim that you need tons of sugar to make cornbread taste "right." That's a myth. The flavor should come from the corn and the butter, not a sugar bowl.
Another common misconception is that a cold pan is easier to handle. While it's safer, you lose the one thing that makes this recipe special: the sizzle. Without that initial heat, you just have corn cake.
The balance of 1 cup flour to 1 cup cornmeal is the sweet spot. Too much cornmeal makes it fall apart in your hands, and too much flour makes it taste like a biscuit. When you hit that 1:1 ratio, you get a bread that holds its shape but still feels rustic.
This CastIron Skillet Cornbread is all about that nostalgic, home cooked feeling. It's a simple, honest dish that brings a bit of warmth to the table every time.
Recipe FAQs
Is cornbread better in a cast iron skillet?
Yes, it produces a superior crust. The heavy iron holds heat more effectively than glass or aluminum, resulting in those signature mahogany, fried edges.
Why does the cornbread stick to the pan?
You likely skipped preheating the skillet or used too little fat. Ensuring the pan is scorching hot and fully coated in melted butter creates a necessary non-stick barrier.
Should you use oil or butter?
Butter is the best choice. It provides a richer flavor and browns more deeply than oil, enhancing the savory profile of the crust.
What is the secret to the perfect crust?
Preheating the skillet at 425°F. This triggers an immediate sear on the batter for a shattering exterior. If you enjoyed mastering this high heat technique here, see how the same principle works in our crispy breakfast potatoes.
Could over mixing the batter improve the texture?
Actually, no. Stirring too much develops gluten in the flour, which turns the cornbread tough rather than tender.
How to achieve a cake like center?
Fold the wet and dry ingredients gently with a spatula. Stop mixing immediately once the flour streaks disappear to keep the crumb soft and light.
Cast Iron Skillet Cornbread