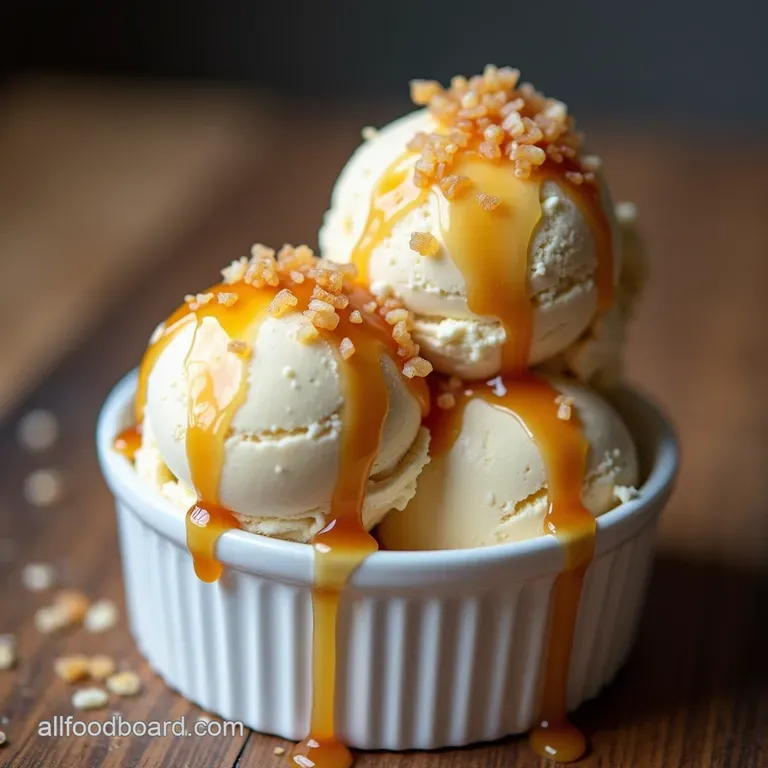
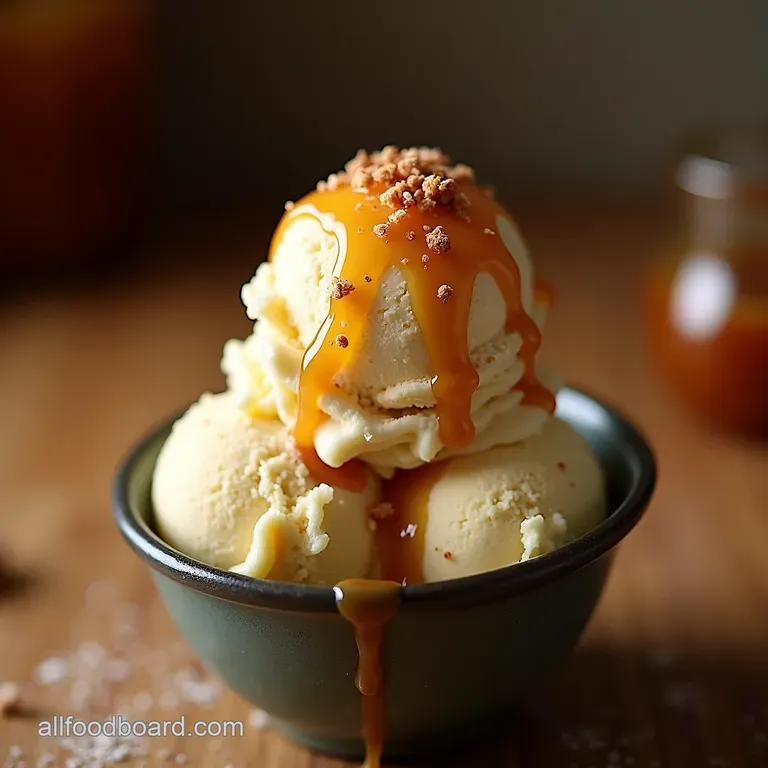
The Proper Pint of Posh Rich Salty Caramel Ice Cream Nochurn Option Included

- Why This Homemade Salted Caramel Ice Cream is Superior
- Essential Components for Phenomenal Salted Caramel Ice Cream
- Mastering the Caramel: Step-by-Step Sauce Creation
- Building the Perfect Ice Cream Base (The Custard Method)
- The Grand Finale: Churning and Setting Your Frozen Masterpiece
- Troubleshooting and Variations for Your Frozen Treat
- Recipe FAQs
- 📝 Recipe Card
Why This Homemade Salted Caramel Ice Cream is Superior
There’s a distinct, almost magical moment when a scoop of truly exceptional Salted Caramel Ice Cream hits the palate. It’s not just the cold, nor is it simply sweetness. It’s the sophisticated dance between deep, browned sugar notes and a sharp, crystalline burst of sea salt.
This Homemade Salted Caramel Ice Cream Recipe aims for perfection, moving beyond store-bought mediocrity to deliver an experience that sings with complex flavour. We are not just mixing ingredients; we are achieving a flavour equilibrium that makes every spoonful satisfyingly indulgent.
Setting the Stage: The Perfect Frozen Delight
Creating this masterpiece involves a bit of focused culinary attention, resulting in a richness that justifies the Medium difficulty rating. The estimated time investment is minimal in active preparation (about 30 minutes for the caramel and base), but the mandatory chilling phase is crucial for success.
Our goal is to yield approximately one quart, enough to serve 6 to 8 deserving dessert enthusiasts. This isn't a quick weeknight fix, but rather a focused afternoon project that pays dividends in frozen glory.
Beyond Basic: Unpacking the Deep Flavor Profile
What sets this Sea Salt Caramel Desserts variation apart is the dedication to developing a deeply caramelized sugar before introducing dairy. We’re aiming for a mahogany hue in our caramel sauce, which translates to smoky, almost toffee like undertones that contrast beautifully with the sweet custard.
This depth prevents the final product from tasting merely sugary. When combined with the creamy foundation made with a rich base of whole milk and heavy cream the result is an ice cream that feels utterly luxurious and balanced.
A Quick Note on Achieving Creamy Consistency
The secret to preventing that icy, disappointing texture often found in homemade frozen treats lies squarely in the custard base. By incorporating five rich egg yolks, we create a crème anglaise that locks in moisture and fat, ensuring a velvety mouthfeel.
Proper tempering and careful cooking of this base, along with ensuring the entire mixture is thoroughly chilled before churning, are the foundational steps we will meticulously cover.
Essential Components for Phenomenal Salted Caramel Ice Cream
To achieve the pinnacle of Salted Caramel Ice Cream , we must respect the role of each ingredient. This recipe requires precision, particularly in the caramel stage, but the rewards a complex, deeply satisfying Sea Salt Ice Cream —are worth the focus.
We will be working with two main components: the rich custard base and the star attraction, the salty sweet caramel swirl.
Sourcing Your Star Ingredients: Quality Matters
While we use simple components like sugar and cream, their quality directly impacts the final result. Using full fat dairy is non-negotiable for richness, and the vanilla extract should be of good quality, as its subtle aromatic lift is necessary to round out the heavy flavours.
The Custard Foundation: Dairy and Egg Essentials
For the base, you will require 1 cup of whole milk and 2 cups of heavy cream (at least 35% fat). We balance this richness with 1/2 cup of granulated sugar and 5 large egg yolks. These yolks are the structural magic, providing the necessary emulsification for a smooth texture that resists ice crystal formation.
A critical addition here is 1/2 teaspoon of flaky sea salt mixed directly into the base to season the background notes before the caramel swirl even arrives.
Crafting the Golden Swirl: Caramelizing Sugar and Butter
The homemade caramel swirl is where the magic happens. This requires 1 cup of granulated sugar, carefully dissolved with 1/4 cup of water. Once the sugar reaches that perfect deep amber colour (around 350° F or 177° C), we introduce 1/2 cup of warm heavy cream a crucial detail to prevent shocking and hardening the sugar followed by 4 tablespoons of room temperature, cubed unsalted butter for silkiness, and finally, 1 teaspoon of flaky sea salt for that signature bite.
The Crucial Pinch: Selecting the Right Sea Salt Flakes
When it comes to the salt component, do not substitute fine table salt for the finishing touch. The texture and flavour profile of Salted Caramel Ice Cream depend on coarse, flaky sea salt, such as Maldon.
The flakes don't fully dissolve during the freezing process, providing those delightful little pops of sharp salinity that cut through the sweetness.
Tools of the Trade: What You Absolutely Need
A sturdy, heavy bottomed saucepan is essential for the caramel to ensure even heating and prevent scorching. On top of that,, a rubber spatula is your best friend when cooking the custard base, ensuring you scrape the bottom constantly.
While an ice cream maker is standard for the best texture, a candy thermometer is highly recommended for mastering the caramel stage accurately.
Mastering the Caramel: step-by-step Sauce Creation

Creating the caramel swirl is the most time sensitive part of this process. We combine 1 cup of granulated sugar with 1/4 cup of water in that heavy bottomed saucepan over medium heat. The key here is patience: let the sugar dissolve completely, then stop stirring.
You may gently swirl the pan if necessary, but avoid introducing a whisk or spoon until the colour is achieved. We are waiting for a rich, deep amber the colour of antique wood or dark honey. This depth is non-negotiable for an adult flavour profile.
Once you reach that perfect hue, immediately remove the pan from the heat. Carefully and I mean very carefully —whisk in the 1/2 cup of pre-warmed heavy cream. The mixture will bubble up violently; this is normal, but requires steady hands.
Once the bubbling subsides slightly, whisk in the cubed butter until emulsified. Finally, stir in the 1 teaspoon of flaky sea salt. Set this sauce aside to cool completely while you prepare the custard; warm caramel will melt your base when added later.
Related Recipes Worth Trying
- The Ultimate Keto Zucchini Gratin Creamy Cheesy Side — This Keto Zucchini Gratin is rich satisfying and the perfect low carb side dish for your holiday table or weeknight dinner Get the foolproof recipe
- Creamy Cilantro Jalapeno Hummus Recipe Homemade Flavor — Forget bland storebought dips This homemade Cilantro Jalapeno Hummus recipe delivers vibrant smoky heat and incredible smoothness Perfect for your next platter
- Foolproof Creamy Mushroom Risotto Recipe Restaurant Quality — Master the perfect Creamy Mushroom Risotto with this detailed guide Achieve that signature al dente texture without the fuss Your easy homemade risotto...
Building the Perfect Ice Cream Base (The Custard Method)
This custard preparation provides the superior texture needed for Homemade Salted Caramel Ice Cream . Begin by gently heating the 1 cup of whole milk, 2 cups of heavy cream, and 1/2 cup of base sugar in a clean saucepan until it is steaming hot just shy of boiling.
Tempering the Eggs: Avoiding Scrambled Custard Nightmares
In a separate bowl, whisk your 5 egg yolks vigorously with the remaining 1/2 cup of base sugar until the mixture is pale yellow and ribbons softly when lifted. This process is called 'ribboning'. Now comes the crucial step: tempering.
While continuously whisking the egg yolks, slowly drizzle in about 1 cup of the hot milk mixture. This gradual introduction raises the temperature of the yolks slowly, preventing them from curdling into scrambled eggs.
Cooking the Crème Anglaise
Pour this tempered yolk mixture back into the saucepan containing the remaining milk and cream. Return the pan to low heat. Using your rubber spatula, stir constantly, ensuring you scrape the bottom and sides, until the mixture thickens enough to coat the back of the spatula (it should register 170° F or 77° C on a thermometer).
Do not allow it to boil, or the custard will split.
The Overnight Cure: Freezing Time for Optimal Texture
Immediately strain the finished custard base through a fine mesh sieve into a clean bowl set over a larger bowl filled with ice water (an ice bath). Stir until the custard is cool enough to handle, then cover the bowl and transfer it to the refrigerator.
This chilling phase is paramount; the base must be thoroughly cold ideally for a minimum of 4 hours, but overnight is truly best to ensure the fat molecules are properly set before churning.
The Grand Finale: Churning and Setting Your Frozen Masterpiece
With your deeply chilled custard base ready and your caramel sauce cooled to room temperature, you are ready for the final transformation.
Technique Spotlight: Developing Deep Amber Caramel Color
(Note: This step references the caramel creation detailed previously, reinforcing its importance to the overall flavour profile before moving to churning.) Remember, the success of the salt in your Sea Salt Caramel Ice Cream relies on the depth of the caramel colour achieved earlier.
A light amber will result in a sweet, one-note flavour, whereas the darker, mahogany colour ensures that characteristic smoky depth.
Incorporating the Caramel: Creating Gorgeous Ribbons
Pour the chilled custard base into your ice cream maker bowl. Churn according to the machine's specifications, typically 25 to 35 minutes, until the mixture reaches a soft serve consistency. In the final two minutes of churning, slowly drizzle in about half of your cooled caramel sauce.
Allow the machine to gently fold it in, creating beautiful ribbons without fully incorporating it.
The Overnight Cure: Freezing Time for Optimal Texture
Transfer the soft ice cream into a loaf pan or freezer safe container. Dollop the remaining caramel sauce on top and use a knife to gently swirl it through the top layer only. Cover tightly plastic wrap pressed directly onto the surface prevents ice crystals and freeze for at least 2 hours to allow it to firm up to a scoopable state.
Troubleshooting and Variations for Your Frozen Treat
Even the best recipes sometimes encounter hiccups, but this Simple Salted Caramel Ice Cream base is forgiving if you know the common pitfalls.
No Machine? How to Execute a Successful No-Churn Method
If you find yourself without an ice cream maker, there is a straightforward adaptation. Omit the egg yolks and instead whip 2 cups of heavy cream until stiff peaks form. Fold this whipped cream gently into the chilled milk mixture (without cooking it).
Then, stir in 1 cup of sweetened condensed milk before adding the caramel swirls. Freeze, stirring every 30 minutes for the first 3 hours to break up ice crystals.
This results in a lighter, but still delicious, version perfect for those exploring Salted Caramel Ice Cream Ninja Creami adaptations, although traditional churning yields superior structure.
Elevating Your Salted Caramel Experience (Optional Mix-ins)
To turn this into a spectacular Salted Caramel Ice Cream Cake foundation or just a flavour bomb, consider adding mix-ins during the last minute of churning. Toasted pecans or walnuts offer a fantastic crunch against the smooth base.
For an extra dimension, a teaspoon of high-quality bourbon stirred in with the caramel swirl adds warmth reminiscent of classic southern desserts.
From Freezer to Bowl: Serving Suggestions and Pairings (Avoiding Icy Texture)
Before scooping, always let your fully frozen ice cream sit on the counter for 5 to 10 minutes. This brief "temper" allows the dairy fats to soften slightly, ensuring you enjoy the true velvety texture the custard method was designed to deliver.
This flavour profile pairs exquisitely with warm apple pie or a dark, fudgy brownie.
Shelf Life: Keeping Your Homemade Ice Cream Fresh
When stored properly tightly sealed with plastic wrap pressed against the surface and covered with a lid this Homemade Salted Caramel Ice Cream will maintain its peak quality for up to two weeks.
Beyond that, while still safe to eat, the texture may begin to deteriorate slightly due to sublimation (ice crystals forming over time). Should you want a beautiful Salted Caramel Ice Cream Topping for serving, simply warm a small amount of leftover caramel sauce gently before drizzling.

Recipe FAQs
I’m nervous about making the caramel; what’s the secret to getting that deep flavour without burning my Salted Caramel Ice Cream sauce?
It’s a classic kitchen fright, isn't it? The trick is patience and keeping an eye on the colour aim for a deep, rich amber, like an old leather armchair. If you see any dark specks or smoke, you've gone too far, so pull it off the heat immediately.
Always warm your cream before pouring it in, as cold cream shocks the sugar and can cause it to seize up, though stirring briskly usually sorts that out!
My ice cream base is churning, but it tastes a bit bland. Can I fix the flavour now, or should I just start over?
Don’t despair; you haven't ruined it yet! If you’ve already finished churning, you can try stirring in a tiny bit more vanilla extract or a pinch more salt right before the final freeze salt is brilliant at amplifying sweetness.
For next time, make sure you’ve used good quality vanilla and that you’ve allowed the base to chill thoroughly overnight; that resting time really lets the flavours meld together.
Do I absolutely need an ice cream maker for this recipe, or can I use the no-churn method?
While the machine gives you that superior, velvety texture that's the bee's knees, you certainly can go no-churn! The easiest way is to skip the custard base entirely and whip 2 cups of heavy cream until stiff peaks form, then gently fold in the cold salted caramel swirl and 1 can of chilled, sweetened condensed milk.
It won't be quite as custardy, but it’s quick and still jolly good!
How long will this homemade Salted Caramel Ice Cream last in the freezer, and what’s the best way to store it?
For the best flavour and texture, aim to eat it within two weeks homemade ice creams lack the stabilisers that keep shop bought tubs rock hard forever. The key is to store it in a shallow, airtight container and press a layer of plastic wrap directly onto the surface of the ice cream before sealing the lid.
This stops freezer burn, which is dreadfully disappointing!
My caramel mixture seized up and turned into a hard block when I added the cream. What did I do wrong?
Ah, the dreaded sugar seize! This happens when the hot sugar hits the cold dairy too fast. To try and save it, put the saucepan back on very low heat and gently stir; often, the sugar crystals will slowly dissolve back into the cream.
Next time, make absolutely certain your heavy cream is warmed up even just a quick blast in the microwave before you introduce it to that caramel lava.
Can I make this ice cream lighter, perhaps using less fat or sugar?
You can certainly tweak it, but be warned that fat and sugar are what keep ice cream creamy and soft! If you reduce the fat too much, it will freeze rock solid, like an iceberg. Try substituting half the heavy cream with a good quality half and-half, and for the sugar, reduce the amount in the custard base by about 10% while keeping the sugar in the caramel the same for that necessary complexity.
Rich Salted Caramel Ice Cream

Ingredients:
Instructions:
Nutrition Facts:
| Calories | 5120 kcal |
|---|---|
| Protein | 30.4 g |
| Fat | 145.5 g |
| Carbs | 285.8 g |
| Fiber | 3.6 g |
| Sodium | 65062 mg |