Valentine Cookies: Perfect Cut-Outs with Royal Icing for Gifting
- Setting the Scene for the Perfect Valentine's Day Treat
- The Science of Flawless Cut and Out Valentine Cookies
- Essential Components for Your Valentine Cookies Masterpiece
- Baking Your Way to Romance: A Detailed Step and by-Step Guide
- Mastering Valentine Cookie Decoration and Troubleshooting
- How to Keep Your Valentine Cookies Fresh and Flawless
- Elegant Pairings to Elevate Your Valentine Cookie Gift
- Recipe FAQs
- 📝 Recipe Card
Setting the Scene for the Perfect Valentine's Day Treat
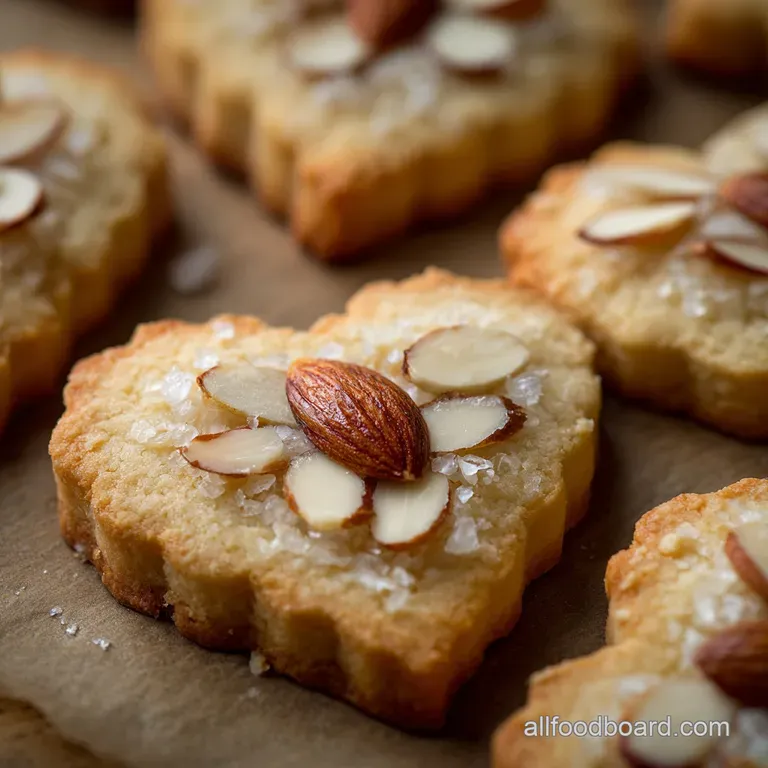
When that specific scent hits that warm, cloud and like mix of vanilla and toasted sugar you know exactly what’s baking. It’s the aroma of pure love, bottled and baked into the most beautiful heart and shaped canvas you can imagine.
Forget those generic, store and bought shortbreads that crumble the moment you look at them; these [Valentine Cookies] are crisp on the edges and beautifully tender inside.
Valentine’s Day deserves more than an overpriced box of chocolates, right? This recipe is my absolute lifesaver because the dough is super fast to whip up, holds its shape like a dream, and can be made weeks ahead of time.
Trust me, I’ve had many kitchen disasters, but this easy, no and spread dough guarantees perfect, uniform hearts every single time.
So, ditch the stress and let's crack on. We’re not just making cookies; we’re creating edible, personalized love notes that taste exactly like a hug. Here are all the hard and won secrets I’ve collected over the years to guarantee your Valentine's cookie experience is flawless.
The Science of Flawless Cut and Out Valentine Cookies
Moving Beyond Store and Bought Chocolates: Why Homemade Matters
Look, mass and produced treats are fine, but they lack that unmistakable homemade flavour depth. These aren't just sugary biscuits; they’re rich, buttery, and carry that subtle, sophisticated note of almond extract that screams "special occasion." If you need a faster option for gifting or a school function, maybe try my [No Bake Cookies The Foolproof 5Minute Chocolate Peanut Butter Recipe], but for true sentimentality, these cut and outs win every time.
What Makes These Cut and Outs Superior (The No and Spread Guarantee)
The secret weapon here is the precise flour and to-fat ratio and the creaming method combined with mandatory chilling. We are using a little bit of baking powder to give them lift, but we control the spread by ensuring the butter is softened, not melted.
Softened butter whips better and integrates into the flour more evenly. This structure is what prevents your gorgeous heart shapes from collapsing into amorphous blobs.
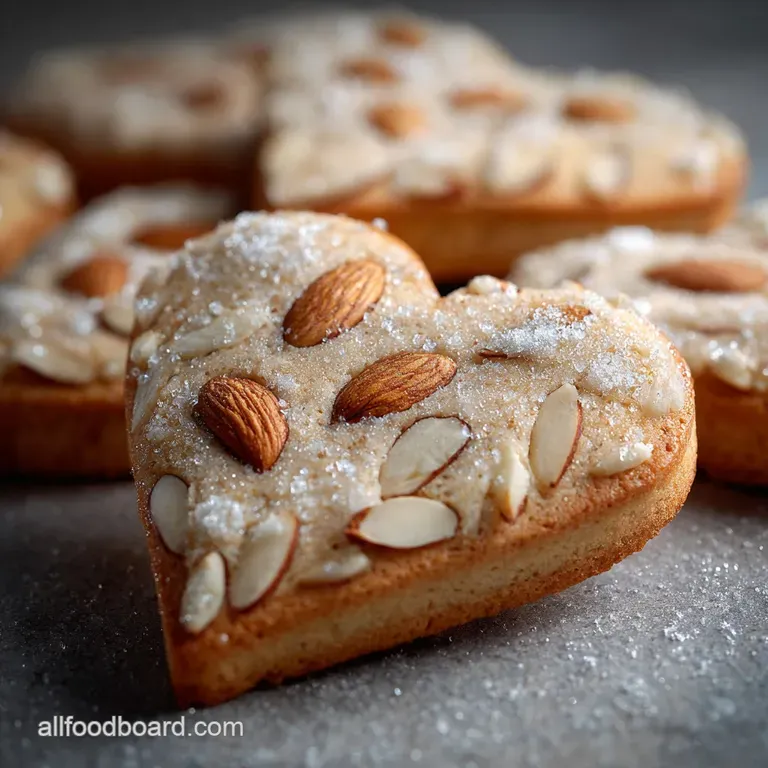
The Classic Vanilla and Almond Flavor Profile
Many people just use vanilla, but incorporating almond extract takes this cookie from "good" to "gourmet." It brightens the sweetness and gives the cookie that signature bakery flavour. It’s a subtle difference, but it’s a non and negotiable step for truly memorable [Valentine Cookies decorated].
Creaming Method Secrets for Tender Interiors
When creaming the softened butter and sugar, you are incorporating tiny pockets of air. This aeration is what gives the finished cookie its tender texture. You must cream for the full 3 to 4 minutes until the mixture looks pale yellow and fluffy.
If you rush this step, your cookies will be dense.
Why Cold Butter and Chill Time Are Non and Negotiable
This is the biggest mistake I made when I first started baking. I used to skip the chilling step thinking it wouldn't matter. It matters. Chilling solidifies the butter, locking the shape in place.
When the cold dough hits the hot oven, the exterior sets before the fat has a chance to fully melt and spread, guaranteeing perfect edges, just like my trusted recipe for [Christmas Cookies Perfect Buttery Vanilla CutOut Recipe].
Achieving Crisp Edges and Chewy Centers
The thickness of your roll is key here; aim for a solid ¼ inch. Also, baking until the edges just turn a pale gold ensures a crisp border while leaving the center slightly softer. Don’t wait until the entire cookie looks brown.
Pull them out and let them cool on the sheet for five minutes; they'll finish setting up beautifully.
Essential Components for Your Valentine Cookies Masterpiece
Chef's Note: Measuring flour correctly is the foundation of baking! Always spoon your flour into the measuring cup and level it off. Scooping directly compresses the flour, adding too much and resulting in dry, crumbly dough.
Flour Power: Choosing the Right Protein Level for Shape Retention
We rely on standard All and Purpose flour here because its moderate protein content gives us the perfect balance of tender structure. You want enough gluten formation to hold the cookie’s shape during baking, but not so much that the cookie becomes tough.
Best Practices for Butter Temperature (Unsalted vs. Salted)
I always, always use unsalted butter. Why? Because it gives you total control over the sodium content. If you only have salted butter, you need to reduce the added fine sea salt in the recipe by half a teaspoon.
Make sure it's truly softened if you press your finger into it, it should leave an indentation without melting into a greasy mess.
Extract Swaps: When to Use Pure vs. Imitation Vanilla
Use the best quality pure vanilla extract you can afford; the flavour difference is huge, especially since vanilla is so prominent in these cookies. For the almond extract, pure works best as well. If you have an almond allergy in the house, simply boost the vanilla to 1 ½ teaspoons.
Adjusting for Dietary Needs (Gluten and Free Flour Notes)
If you need a gluten and free option, a high and quality 1:1 gluten and free baking blend that includes xanthan gum usually works perfectly in this recipe. I’ve found that Bob’s Red Mill or King Arthur blends are reliable.
The texture might be slightly less crisp, but the shape retention is generally excellent.
| Ingredient | Substitution Tip |
|---|---|
| All and Purpose Flour | 1:1 GF Baking Blend (containing Xanthan Gum) |
| Granulated Sugar | Caster Sugar (finer grain, dissolves faster) |
| Unsalted Butter | Quality plant and based solid shortening or vegan butter stick |
| Almond Extract | Replace with an equal amount of Lemon or Orange Extract |
| Meringue Powder | 3 large pasteurized egg whites, beaten until stiff |
Baking Your Way to Romance: A Detailed Step and by-Step Guide
Stage 1: Mixing and Forming the Dough Disc
Start slow when adding the flour to the wet ingredients. As soon as the last streaks of flour disappear, stop mixing immediately. Overmixing develops gluten and makes your gorgeous cookies tough and chewy in a bad way.
Gather the dough and divide it into two flat discs flattening them now saves you rolling time later.
Stage 2: Rolling Thickness and Strategic Dough Chill Time
Chilling the dough flat is more efficient than chilling a big ball. I love rolling my dough between two sheets of parchment paper; this completely eliminates the need for extra flour, keeping your cookies tender. Roll them evenly to that crucial ¼-inch thickness.
If you don't have a rolling pin with thickness rings, now is the time to invest!
Stage 3: Cutting Shapes and Minimizing Scrap Dough Waste
Cut your shapes as close together as possible to minimize scrap. When removing the cut and outs, use a thin metal spatula to lift them carefully so you don't warp their perfect heart shapes.
If you are baking a big batch, perhaps for a bake sale, try my ultimate recipe for [The Ultimate Chewy MM Cookies Recipe Bake Sale Approved] next time.
Stage 4: Achieving the Perfect Golden Bake
Make sure your oven temperature is accurate use an oven thermometer if you aren't sure. Bake time is short, usually 10- 12 minutes. When you peek into the oven, you are looking for that subtle shift: the cookie center should look dry, and the edges should turn from stark white to a warm, pale yellow.
Mastering Valentine Cookie Decoration and Troubleshooting
The Spreading Cookie Disaster: Diagnosis and Prevention
If your cookies spread into thin blobs, it’s almost always one of two culprits: warm dough or too much fat/not enough flour . Make absolutely sure your dough is chilled before cutting and that your cut and outs are slightly chilled again right before baking.
Sometimes, if the kitchen is very hot, I pop the baking sheets of shaped cookies into the freezer for five minutes before they go into the oven.
Tips for Achieving Ultra and Smooth Royal Icing Consistency
Royal icing is finicky, but rewarding. The trick is understanding the "flow time." For outlining, you want a thick icing that holds a definite peak. For flooding (filling the shape), you want the "10 second consistency." This means when you drag a knife through the icing in the bowl, the line disappears in exactly ten seconds.
Too fast? Add more sugar. Too slow? Add tiny drops of water.
The Secret to Re and Rolling Scrap Dough Without Making It Tough
Scrap dough gets tough because you've handled it too much, activating the gluten. When you collect the scraps, knead them together only just enough to form a ball, then immediately flatten it into a disc and wrap it.
You must chill scrap dough for at least 30 minutes before rerolling. This allows the gluten to relax again, resulting in tender cookies, not hockey pucks.
Preventing Edges from Burning Before the Center is Cooked
If your edges are browning too fast, your baking sheets might be too thin, or your oven is running hot. Try using lighter and coloured, heavier and gauge baking sheets. If the problem persists, rotate the pan halfway through baking, and if desperate, place a small piece of aluminum foil over the very edges of the tray for the last couple of minutes.
How to Keep Your Valentine Cookies Fresh and Flawless
Short and Term Storage: Keeping Decorated Cookies Crisp
Once the royal icing is completely dry (which takes hours, maybe even overnight), store the decorated [Valentine Cookies] in an airtight container at room temperature. Layer them carefully with wax paper or parchment paper. They will stay perfectly fresh for up to one week.
Do not store decorated cookies in the fridge; condensation can ruin the icing finish.
Freezing Unbaked Dough vs. Baked Cookies
Unbaked Dough: This is my preferred method! Wrap the dough disc tightly in plastic wrap, then place it in a freezer bag. Freeze for up to 3 months. Thaw in the fridge overnight before rolling and cutting.
Baked Cookies: You can freeze the fully baked cookies before decorating. Cool them completely, then stack them in an airtight container layered with parchment paper. They freeze well for about 6 weeks.
Thaw them completely at room temperature before you start the royal icing process.
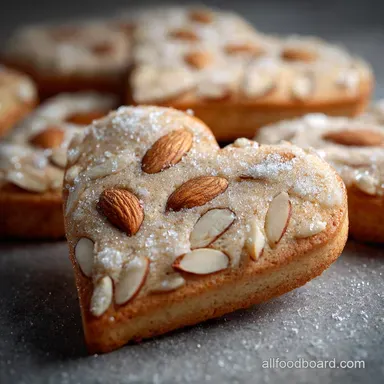
Elegant Pairings to Elevate Your Valentine Cookie Gift
These delicate vanilla and almond beauties deserve a thoughtful presentation. They make the perfect base for any [Holiday Cookie Recipes] gift box!
If you're serving these alongside a bigger meal, consider a sophisticated companion. A lovely rich coffee, or a delicate glass of sparkling cider or prosecco works beautifully. The light bubbles cut through the sweetness of the royal icing.
For a decadent dessert platter, these pair wonderfully with something contrasting, perhaps a few pieces of dark chocolate or some fresh, bright berries. They are also heavenly dipped in a warm mug of my homemade spiced hot cocoa talk about romance!

Recipe FAQs
Why are my Valentine cookies spreading too much, ruining the cut-out shapes?
Spreading is usually caused by warm dough or excess leavening. Ensure your butter and eggs are cool (not warm room temperature) before mixing, and always chill the rolled out, cut-out shapes for 10 to 15 minutes on the baking sheet before placing them immediately into the hot oven.
Also, avoid adding extra flour when rolling, which can accidentally activate gluten and cause spread.
Can I substitute or omit the almond extract if I have allergies or prefer pure vanilla flavor?
Absolutely, the almond extract adds depth but is fully optional. If omitting, simply increase the pure vanilla extract by about 1/4 teaspoon to ensure the cookies still have a rich, complex flavor. Alternatively, replace the almond flavoring with a teaspoon of lemon or orange zest for a bright, contrasting note.
How far in advance can I prepare the cookie dough for baking later?
The dough benefits greatly from resting, and you can prepare it up to 3 days in advance. Wrap the dough tightly in plastic wrap (pressing it into a flat disk helps) and store it in the refrigerator.
When you are ready to roll, let the dough sit at room temperature for about 15 minutes to soften slightly before working with it.
My baked cookies turned out tough or dry instead of soft and chewy. What went wrong?
Tough cookies are typically the result of overmixing the flour once it is added, which overdevelops the gluten structure. Only mix until the flour streaks disappear, and avoid working the dough too vigorously when rolling.
Dryness is often caused by overbaking; pull the cookies out as soon as the edges turn a very light gold, even if the centers look slightly pale.
What is the best way to store the un-iced and iced Valentine Cookies?
Store un-iced cookies in an airtight container at room temperature for up to one week. If they are decorated with royal icing, ensure the icing is completely hard and set (usually 8 to 12 hours) before stacking them with parchment paper in between layers to prevent smudging.
Can I freeze these cut-out cookies, either baked or unbaked?
Yes, both methods are excellent for long term storage. For unbaked cookies, freeze the cut-out shapes flat on a tray, then transfer them to a freezer bag for up to 3 months; bake them directly from frozen, adding 2-3 minutes to the total time.
Baked cookies should be completely cooled and can be frozen for up to 4 weeks in an airtight container.
I live in a very warm climate. How can I manage the dough temperature while rolling?
Work with small portions of dough at a time, keeping the remaining portion tightly wrapped and chilled in the refrigerator. If the dough starts sticking or becomes difficult to handle, gather it, wrap it, and return it to the fridge for a quick 10-minute chill session to firm up the butter before continuing.
Perfect Valentine Cookies With Royal Icing
Ingredients:
Instructions:
Nutrition Facts:
| Calories | 180 kcal |
|---|---|
| Fat | 8 g |
| Fiber | 0.5 g |
