Better Than Storebought Seriously Addictive Crispy Ranch Oyster Crackers
- Why These Ranch Oyster Crackers Steal the Snack Show
- The Secret to Snack Nirvana: Flavor Without Fuss
- The Essential Arsenal: What You Need for Ultimate Crunch
- Mastering the Seasoning Blend for Authentic Ranch Oyster Crackers
- Step-by-Step Guide: Achieving Peak Crispiness
- The Crucial Baking and Cooling Sequence
- Troubleshooting and Perfecting Your Batch
- Beyond the Basics: Creative Twists on Classic Ranch Oyster Crackers
- Recipe FAQs
- 📝 Recipe Card
Why These Ranch Oyster Crackers Steal the Snack Show
Forget those dusty, bland crackers you find lurking in the bottom of soup cans. The humble oyster cracker, often relegated to a garnish, is about to undergo a dramatic, flavour packed transformation.
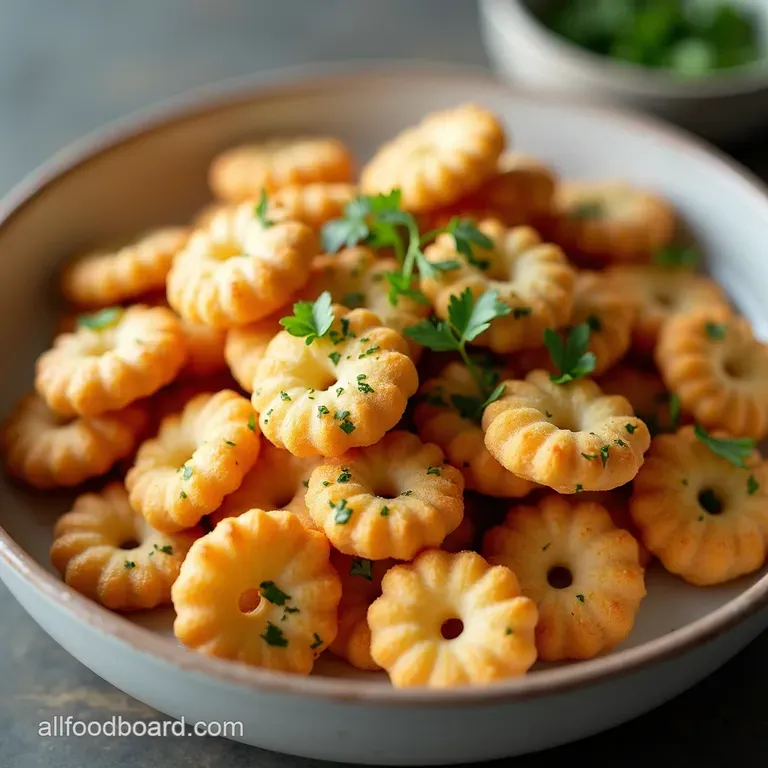
We’re diving deep into the art of creating truly addictive Ranch Oyster Crackers , morsels so deeply savoury and perfectly crisp that they tend to vanish moments after hitting the serving bowl.
This isn't just a recipe; it’s the secret weapon for movie nights, game days, and any occasion demanding a top-tier salty snack. They offer a superior crunch and a bold herbaceous flavour that store-bought versions simply cannot match, making this simple baking project a staple you’ll return to again and again.
The Secret to Snack Nirvana: Flavor Without Fuss
What makes this particular preparation so irresistible? It boils down to transforming simple ingredients into something extraordinary with minimal effort. This Ranch Oyster Crackers Recipe is inherently simple, requiring just 10 minutes of active preparation time, yet the payoff in flavour is immense.
This ease makes them accessible to everyone, whether you’re an experienced home chef or someone looking for their first successful Salty Snack Recipes triumph.
Elevating the Humble Cracker Experience
The foundation of this snack’s success lies in the buttery, seasoned coating. By gently tossing the small, square crackers in melted butter before introducing the dry seasonings, we ensure that every single surface adheres to the flavour profile.
This technique differentiates a good batch from a truly great one, ensuring a profound, all-encompassing ranch experience rather than just a powdery dusting. We are essentially creating Easy Ranch Crackers that possess an almost magnetic pull.
Perfect Pairings for Your New Obsession
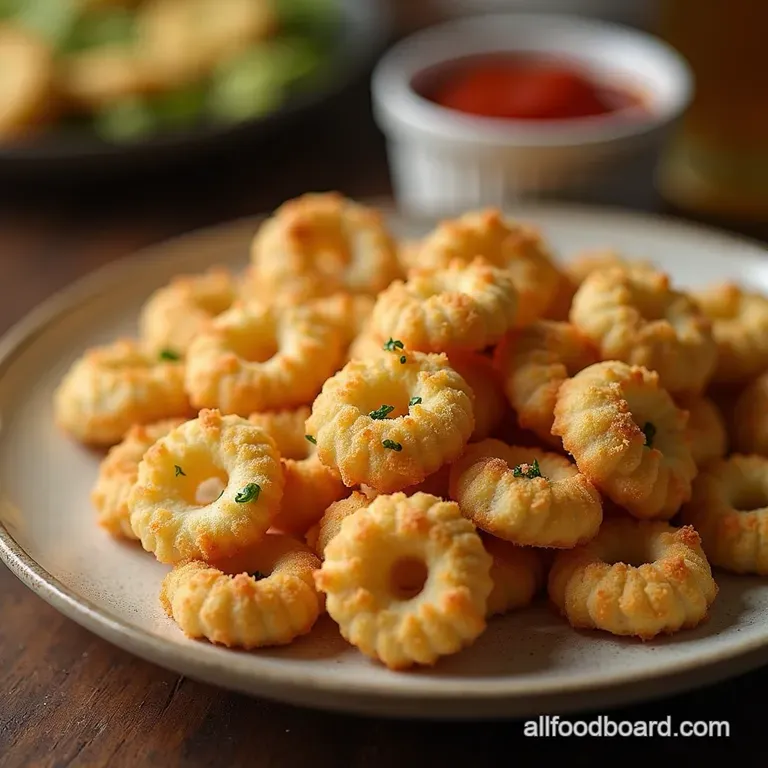
While these crackers stand magnificently on their own, they also shine as accompaniment to other comforting dishes. Imagine scooping up the last remnants of a hearty beef chili or pairing them alongside a creamy tomato soup; they provide the necessary textural contrast.
They are also perfectly suited for building out a substantial charcuterie board, offering a robust, savoury counterpoint to cheeses and cured meats.
A Quick Dive into the Ranch Magic
The heart of this recipe is, naturally, the ranch flavour. We rely on high-quality ranch seasoning mix, bolstered by aromatic additions like dill weed and garlic powder, to build a complex profile.
This flavour combination transforms the basic cracker into something reminiscent of the classic Hidden Valley Ranch Oyster Crackers you might crave, but with added depth from freshly incorporated spices.
The Essential Arsenal: What You Need for Ultimate Crunch
Before we begin the mixing, gathering your supplies ensures a smooth process. For this batch, which yields about 6 7 cups, you’ll need 8 cups of the small, square oyster crackers. For the binding agent, half a cup of unsalted butter, melted, is essential for richness and coating capability.
Mastering the Seasoning Blend for Authentic Ranch Oyster Crackers
The key to achieving that sought after, deeply embedded flavour is in how we balance the dry ingredients. For the coating, you require three tablespoons of buttermilk ranch seasoning mix. To amplify that classic profile, we integrate one teaspoon of dried dill weed and one teaspoon of garlic powder.
For aromatic balance, half a teaspoon of onion powder is necessary, finished with just a touch of freshly ground black pepper for a tiny backend kick.
Sourcing the Cracker Wisely
When selecting your base, the standard small, square oyster crackers work best. While you can use very lightly salted varieties, the salinity of the final product will largely be dictated by the salt content already present in your chosen ranch seasoning mix.
Ensure you have a full 8 cups to ensure the butter and seasoning can coat them adequately without clumping.
The Flavor Powerhouse: Buttermilk Powder and Spice Ratios
The quality of the ranch mix dictates the overall success of these Baked Ranch Oyster Crackers . Using a premium mix ensures you get that distinct tang from the buttermilk component.
Resist the urge to overdo the dill; one teaspoon provides the herbaceous note without overpowering the core ranch taste. Proper measurement here is crucial for maintaining the integrity of this flavour powerhouse.
Non-Negotiable Kitchen Tools for Success
You must have a mixing bowl large enough to allow for vigorous tossing without spilling half the contents onto your counter. On top of that,, baking sheets lined with parchment paper are highly recommended.
This prevents the melted butter and seasoning from sticking aggressively to the metal, which streamlines cleanup considerably and helps achieve even crispness.
Related Recipes Worth Trying
- Crunchy Baked Zucchini Ranch Parmesan Chips Easy Recipe — Love crispy snacks These Baked Zucchini Ranch Parmesan Chips are your new best friend An easy healthy cheesy alternative to crisps Ready in 35 mins Get the...
- Super Easy Spicy Crackers Firecracker Crackers Recipe — Spice up snack time with these Super Easy Spicy Crackers This Firecracker Crackers recipe is a buttery spicy garlicky delight the perfect easy appetizer Get...
- Cheesy Ranch Potatoes Smoked Sausage Easy Comfort Food — Craving a quick and easy casserole My Cheesy Ranch Potatoes and Smoked Sausage bake is total comfort food Ready in an hour its a weeknight winner Get the recipe
step-by-step Guide: Achieving Peak Crispiness
The process is straightforward, built around careful layering of flavour before the heat is applied. First, preheat your oven precisely to 300° F ( 150° C). Line your baking sheet or sheets, if necessary with parchment.
In a separate, small bowl, gently melt your half cup of butter until completely liquid, then allow it to cool for about five minutes; we want it warm, not scorching hot. While the butter cools slightly, combine all your dry ranch seasonings in a small dish and whisk them together thoroughly.
Next, introduce the 8 cups of oyster crackers into your large mixing bowl. Pour the slightly cooled melted butter over the crackers and toss gently with your hands or a large spatula until every cracker has a light, even sheen. This initial coating is vital for adhesion.
Now, sprinkle your pre-mixed dry seasonings evenly over the buttered crackers. Toss continuously and gently for a full two to three minutes; this prolonged mixing ensures the seasoning adheres uniformly to every surface before they hit the heat.
The Crucial Baking and Cooling Sequence
Baking low and slow is the secret to transforming these into perfect Air Fryer Oyster Crackers alternatives (though we are using the oven here) that are deeply crunchy rather than just warmed through.
The low temperature prevents the delicate herbs from burning while allowing the moisture to bake out of the cracker completely.
Prepping the Oil and Seasoning Infusion
Once tossed, immediately spread the seasoned crackers onto your prepared baking sheets. The most important rule here is do not overcrowd the pan . If crackers are piled on top of each other, the bottoms will steam and remain soft.
Use a second sheet if necessary to ensure they are in a single, loose layer.
Tossing Technique: Ensuring Every Cracker is Coated
The initial toss coats them, but a mid-bake stir reactivates the residual moisture and evens out the drying process. After the first ten minutes in the oven, remove the sheet and use a spatula to stir and flip the crackers.
This ensures that the crackers that were touching the pan receive direct heat exposure for the remainder of the bake time.
Low-and-Slow Baking vs. Quick Roasting Times
We bake initially for 10 minutes, stir, and then return them to the oven for an additional 10 to 15 minutes. The total cooking time hovers around 20 to 25 minutes. You are looking for a dry, fragrant appearance.
If you notice any darkening or smell burning herbs, pull them immediately. They should sound hollow when tapped against the tray.
The Essential Rest Period: Maximizing Texture Transformation
This final step is often overlooked, but it is critical for achieving maximum crunch. Immediately upon removing the Ranch Oyster Crackers from the oven, leave them spread out on the baking sheet. Do not transfer them to a container yet.
They continue to crisp up significantly as they cool down to room temperature. If you seal them while they are even slightly warm, condensation will form, leading to a soggy texture. Patience here yields perfection.
Troubleshooting and Perfecting Your Batch
If your crackers emerge soft after cooling, it simply means they needed more time in the oven. Return them to the 300° F oven, spread them out again, and bake for another 5 to 7 minutes, checking constantly.
If the seasoning seems to have clumped in spots, you may have used butter that was too hot, causing the seasoning to form a paste rather than a fine coating. Next time, ensure the butter has cooled for a few minutes post melting.
Beyond the Basics: Creative Twists on Classic Ranch Oyster Crackers
While the classic recipe for Ranch Oyster Crackers Recipe is superb, customization allows you to tailor these addictive snacks to any taste preference.
Storage Secrets to Keep Them Fresh and Crunchy
To maintain that delightful, satisfying snap, store the completely cooled crackers in an airtight container at room temperature. Avoid placing them near heat sources or in humid areas. Stored properly, they should retain their peak crispness for at least a week, though they rarely last that long in an active household!
Customizing the Heat: Spice Level Adjustments
For those who enjoy a fiery counterpoint to the creamy ranch profile, integrate heat during the seasoning blend stage. Adding half a teaspoon of cayenne pepper or a dash of your favourite hot sauce (mixed into the melted butter) introduces a pleasant warmth that cuts beautifully through the richness.
Nutritional Snapshot and Serving Suggestions
While these are a delightful treat, mindful snacking is always key. They make an excellent, high satisfaction snack alternative to chips. Consider serving them alongside a platter of crisp raw vegetables the cool vegetables balance the intensity of the seasoned crunch perfectly.
Incorporating Herbs for Gourmet Variation
To elevate these beyond standard fare, consider adding a small amount of finely chopped fresh herbs once they are out of the oven (mixed with the reserved seasoning from Tip #3 in the instructions outline).
Fresh chives or a little sprig of fresh parsley sprinkled over the warm crackers just before cooling adds a vibrant, green freshness, giving your Easy Ranch Crackers a gourmet finish.

Recipe FAQs
Why are my Ranch Oyster Crackers turning out soggy instead of crispy?
This usually happens for two main reasons: either you didn't bake them long enough, or you stored them too soon! Ensure they are fully cooled on the baking sheet until they feel completely hard they firm up as they lose residual heat.
If they still seem soft after cooling, pop them back in the 300°F oven for another 5 8 minutes.
How long will these homemade Ranch Oyster Crackers keep, and what's the best way to store them?
For the best texture, these are best enjoyed within 3 to 5 days. You must store them in a truly airtight container think Tupperware or a sealed Ziploc bag once they have cooled down completely.
If they absorb any moisture from the air, they'll lose that lovely crunch, so keep them away from humid spots, like next to the kettle!
Can I make these Ranch Oyster Crackers without using actual butter? I fancy a lighter snack.
Absolutely! If you want to reduce the richness, you can swap the melted butter for the same amount of a neutral oil like canola or grapeseed oil. While butter adds a lovely depth of flavour, oil will still coat the crackers effectively and keep them crispy.
Just ensure you still toss them really well so every cracker gets coated.
I’m making a huge batch for a party; can I double the recipe for these addictive Ranch Oyster Crackers?
Yes, you can double the ingredients, but don't try to bake it all on one tray! Overcrowding the baking sheet traps steam, which prevents crisping. Use two large, rimmed baking sheets spaced apart in the oven, or bake in batches. You might need to adjust the baking time slightly, so keep an eye on them.
My oven runs hot; what temperature should I use if I’m worried about burning the seasonings?
If you are worried about the delicate herbs burning, keeping the temperature low and slow is the key, which is why 300°F (150°C) is recommended. If your oven is notoriously fierce, try dropping it down to 275°F (135°C) and increase the total baking time by about 5 to 10 minutes.
The goal is to dry them out, not roast them aggressively.
