Chocolate Lasagna
- Time: Active 20 minutes, Passive 4 hours, Total 4 hours 20 mins
- Flavor/Texture Hook: Shatter crisp Oreo base meets silky chocolate clouds
- Perfect for: Family potlucks, summer BBQs, or beginner friendly entertaining
- Create the Best No Bake Chocolate Lasagna
- Science of Chilled Layered Success
- Selecting Quality Dessert Elements
- Essential Tools for Assembly Success
- Step-By-Step Layering Execution
- Solving Common Structural Failures
- Flavor and Texture Variation Ideas
- Storing and Freezing Guidelines
- Serving and Plating Recommendations
- Chocolate Lasagna FAQs
- 📝 Recipe Card
Create the Best No Bake Chocolate Lasagna
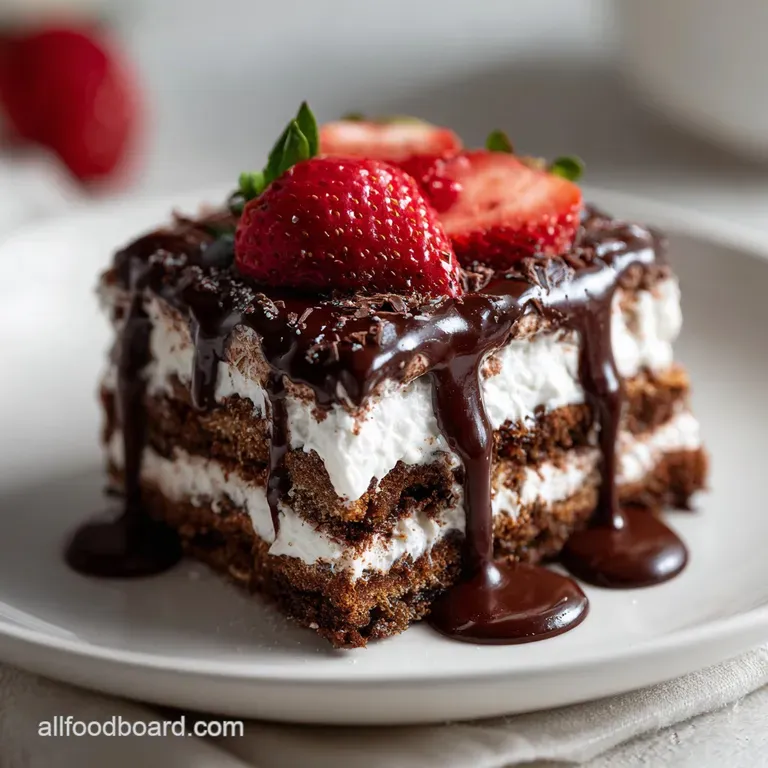
Imagine pulling a chilled dish from the fridge and slicing into four distinct, beautiful layers of cocoa goodness. You hear the faint snap of a buttery cookie crust followed by the silent glide of your knife through clouds of sweetened cream cheese and dark chocolate pudding.
It's the kind of dessert that makes everyone at the family table go quiet for a second before they start asking for the recipe. I first made this for a chaotic neighbor's cookout, and even with the heat, it held its own, disappearing faster than the actual burgers.
Building a proper chocolate lasagna isn't just about throwing ingredients together; it is about managing temperatures and textures. We've all been there where the layers turn into a muddy soup because we were too impatient. I've learned the hard way that a warm kitchen is the enemy of a clean slice.
But don't worry, I’ve figured out the shortcuts that actually work and the moments where you absolutely cannot rush. We are going for that satisfying contrast between the heavy crunch of the base and the airy lightness of the topping.
This recipe is a staple in my house because it uses simple pantry items but results in something that looks like you spent all afternoon in a professional kitchen. It is incredibly forgiving if you follow a few basic rules about chilling.
Whether you are a seasoned baker or someone who avoids the oven at all costs, this no bake approach is going to become your new secret weapon for birthdays and holidays alike.
Science of Chilled Layered Success
Saturated Fat Solidification: The melted butter in the crust and the fat in the cream cheese act as "glue" when chilled, creating a rigid structure that supports the heavier pudding layers above.
Starch Retrogradation: Instant pudding relies on modified cornstarch that thickens almost instantly when hydrated with cold milk, providing a stable, gel like middle that won't leak into the other tiers.
Emulsion Stability: Folding whipped topping into the cream cheese introduces air bubbles trapped in a fat matrix, resulting in a mousse like texture that remains firm even at room temperature.
| Component Choice | Texture Outcome | Prep Effort | Best For |
|---|---|---|---|
| Homemade Whipped Cream | Rich, airy, less stable | High (requires whipping) | Immediate serving |
| store-bought Topping | Very stable, sweet | Low (thaw and use) | Potlucks and parties |
| Fresh Brownie Base | Dense, chewy, heavy | Medium (requires baking) | Decadent sit down meals |
Choosing between fresh and shortcut ingredients often comes down to how long the dish needs to sit out. If you're heading to a park for a picnic, the store-bought whipped topping is a lifesaver because it holds its shape much longer than fresh cream. However, if you have some leftover chocolate from another project, like making a Chocolate Milkshake recipe, you can always drizzle that on top for an extra touch of "homemade" feel.
Selecting Quality Dessert Elements
| Ingredient | Science Role | Pro Secret |
|---|---|---|
| Oreo Cookies | Structural base | Pulse into fine crumbs to prevent the crust from crumbling when sliced. |
| Cream Cheese | Stabilizing agent | Ensure it is fully room temperature to avoid tiny white lumps in your filling. |
| Instant Pudding | Thickening center | Use cold whole milk to trigger the fastest and firmest starch set. |
Using the right components makes the difference between a dessert that collapses and one that stands tall. For the cookies, 36 Oreos (the standard stuffed variety) provide the perfect volume for a 9x13 inch pan. You will need 6 tbsp of unsalted butter, melted and slightly cooled, to bind those crumbs.
For the "cheesecake" layer, grab 8 oz of softened cream cheese, 1/4 cup of granulated sugar, and 2 tbsp of cold whole milk to loosen the mix. You'll fold in 8 oz of thawed whipped topping here.
The chocolate punch comes from 7.8 oz of instant chocolate pudding mix (that's two 3.9 oz boxes) whisked with 3 1/4 cups of cold whole milk. Finally, 1/2 cup of mini semi sweet chocolate chips adds that essential final crunch.
- Oreo Cookies (36 count): Substitute with chocolate graham crackers for a lighter, less sweet base. Why this? The cocoa wafers provide a dark, bittersweet contrast to the creamy fillings.
- Unsalted Butter (6 tbsp): Use salted butter if you want a "salted chocolate" vibe. Why this? Fat coats the cookie crumbs, hardening in the fridge to create a solid floor.
- Cream Cheese (8 oz): Mascarpone works for a silkier, more Italian style flavor. Why this? It provides the structural tang that cuts through the sugar.
- Instant Chocolate Pudding (7.8 oz): Cook and-serve pudding (must be cooled completely) for a deeper flavor. Why this? Instant starch sets without heat, keeping the recipe truly no bake.
- Whole Milk (3 1/4 cups + 2 tbsp): 2% milk is fine, but the fat in whole milk creates a richer mouthfeel. Why this? Proper hydration of the pudding mix ensures it doesn't stay grainy.
Essential Tools for Assembly Success
You don't need a pantry full of gadgets, but a few basics will make your life much easier. A standard 9x13 inch glass or ceramic baking dish is the classic choice here. I prefer glass because you can see those gorgeous layers from the side, which is half the fun of a chocolate lasagna.
A food processor is the quickest way to turn those 36 cookies into fine dust. If you don't have one, a large freezer bag and a rolling pin work just as well for some stress relief crumb crushing. You’ll also want two medium mixing bowls and a sturdy whisk.
An offset spatula is my "pro" tip for this recipe; it allows you to spread the cream cheese and pudding into the corners without pulling up the layer underneath.
step-by-step Layering Execution
Oreo Crust Structural Integrity
Start by crushing 36 Oreo cookies into fine crumbs. Mix them with 6 tbsp of melted butter until the mixture looks like wet sand. Press this firmly into the bottom of your 9x13 dish. Note: Use the bottom of a flat measuring cup to pack it down hard so it doesn't fall apart later.
Pop this in the freezer for 10 minutes to set while you work on the next part.
Cream Cheese Emulsification Stability
In a medium bowl, beat 8 oz of softened cream cheese with 1/4 cup sugar and 2 tbsp milk until silky. Fold in about half of your 8 oz whipped topping container (4 oz). Spread this over the chilled crust.
Note: Be gentle here; "plopping" spoonfuls around the dish before spreading prevents the crust from lifting.
Instant Pudding Gelation Process
Whisk together two 3.9 oz boxes of instant chocolate pudding with 3 1/4 cups of cold whole milk. Continue whisking for about 2 minutes until the mixture starts to thicken and hold its shape. This reminds me of the thick consistency in a Classic Mississippi Mud recipe. Spread this chocolate layer over the cream cheese tier and let it sit for 5 minutes to firm up.
Final Topping Finishing
Spread the remaining whipped topping over the pudding layer. Sprinkle 1/2 cup of mini chocolate chips across the top. Note: Cover the dish with foil or plastic wrap, but make sure it doesn't touch the top of the cream, or use toothpicks to prop it up.
Chill in the fridge for at least 4 hours before slicing.
Chef's Tip: Freeze your butter for 10 minutes before melting it if it's very soft; this helps it emulsify better with the cookie crumbs for a sturdier base.
Solving Common Structural Failures
Crumbling Cookie Crust
If your base falls apart the second you lift a slice, the crumbs were likely too coarse or the butter wasn't distributed evenly. Large chunks of cookie don't bind well. Ensure you process the Oreos until they are a fine meal.
If it still happens, add an extra tablespoon of melted butter next time to increase the "glue" factor.
Bleeding Dessert Layers
When the white and brown layers start to swirl together, it's usually because the pudding hadn't set enough or the cream cheese was too liquid. Always ensure your pudding has reached a "soft set" stage before spreading. Also, if you're using homemade whipped cream, it might be over whipped or weeping.
Runny Pudding Center
This usually happens if the milk wasn't cold enough or you used a "Cook and Serve" pudding mix by mistake. Instant pudding needs the shock of cold liquid to set properly. If you find yourself with a runny mess, pop the whole dish into the freezer for 45 minutes; it won't be perfect, but it will save the dessert for serving.
| Problem | Root Cause | Solution |
|---|---|---|
| Lumpy White Layer | Cold cream cheese | Use a microwave for 10 seconds to soften before mixing. |
| Soggy Base | Not chilled enough | Ensure the crust spends at least 10 minutes in the freezer. |
| Messy Slices | Warm temperature | Dip your knife in hot water and wipe dry between every single cut. |
Common Mistakes Checklist - ✓ Always use "Instant" pudding, never "Cook and Serve" for this specific method. - ✓ Soften cream cheese completely to avoid a grainy texture in the white layer. - ✓ Use a flat bottomed tool to compress the crust; finger pressure is usually too uneven.
- ✓ Allow the full 4 hours of chill time; cutting early results in a "slumped" dessert. - ✓ Thaw your whipped topping in the fridge, never the microwave, to maintain air.
Flavor and Texture Variation Ideas
If you want to change the profile, the "If you want X, do Y" rule is your best friend. - If you want a Minty Twist, use Mint Oreos and add a drop of peppermint extract to the cream cheese. - If you want a Peanut Butter Version, swap the 2 tbsp of milk in the cream cheese layer for 1/3 cup of creamy peanut butter.
- If you want a "Chocolate Brownie Lasagna," replace the Oreo crust with a thin layer of baked, cooled brownies.
When scaling this recipe down for a smaller household, you can easily halve everything and use an 8x8 inch square pan. If you're going small, reduce the chill time to 2 hours since the thermal mass is lower.
For a massive party, you can double the recipe, but work in batches for the pudding to ensure you can whisk it thoroughly before it sets. When doubling, keep the chocolate chips at about 1.5x rather than a full 2x to keep the sweetness from becoming overwhelming.
Storing and Freezing Guidelines
This Chocolate Lasagna is actually better on day two because the moisture from the pudding softens the crust just enough to make it melt in-your mouth, while the flavors meld. Keep it covered in the fridge for up to 5 days. For long term storage, you can freeze the entire dish.
Wrap it tightly in a double layer of plastic wrap and then foil; it will stay fresh for up to 2 months. To serve from frozen, let it thaw in the fridge for 4 hours.
Don't throw away the Oreo "dust" at the bottom of the bag! Use those extra crumbs to top a bowl of yogurt or mix them into a Dreamy German Chocolate Frosting recipe for a bit of unexpected crunch. If you have leftover pudding, it makes for a great quick snack for kids or can be frozen in popsicle molds for a chilly treat.
Serving and Plating Recommendations
For the cleanest presentation, the temperature of your knife is everything. I keep a tall glass of hot water nearby. Dip the knife, wipe it clean with a towel, and make one long, decisive cut. Repeat the cleaning process for every single side of every square.
This prevents the dark pudding from smearing over the bright white cream cheese layer.
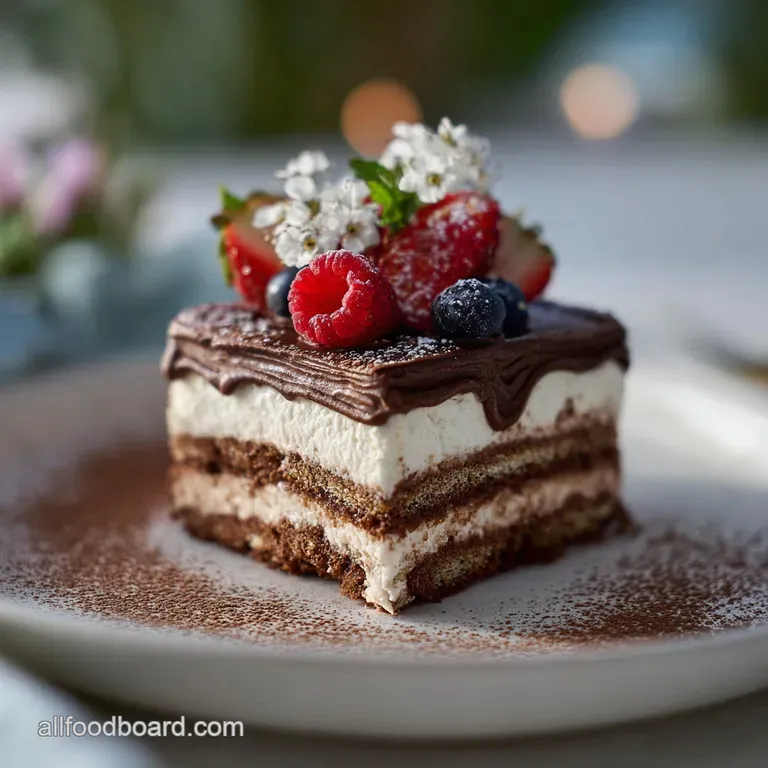
Serve this on chilled plates if you are eating outdoors to buy yourself a few extra minutes before the layers soften. I love pairing a slice with a few fresh raspberries or strawberries; the acidity of the fruit cuts right through the heavy chocolate and cream.
If you really want to go over the top, a light dusting of cocoa powder through a fine mesh sieve right before serving gives it a sophisticated, matte finish that hides any imperfections in the whipped topping.
Precision Checkpoints
- Crust Weight: The crushed Oreos and butter should weigh approximately 550g before being pressed into the pan.
- Pudding Temp: Ensure your milk is below 4°C (straight from the fridge) to guarantee a 2 minute set time.
- Slice Size: Aim for 12 equal rectangles (approximately 8cm x 10cm) for the best structural stability on the plate.
Fresh vs. Shortcut Comparison
| Feature | Fresh Whipped Cream | Whipped Topping (Tub) |
|---|---|---|
| Stability | Lasts 1-2 hours | Lasts 24-48 hours |
| Flavor | Pure dairy, less sweet | Sweet, vanilla forward |
| Texture | Dissolves quickly | Holds "peaks" firmly |
Quick Fix Table
| Problem | Cause | Fix |
|---|---|---|
| Thin Pudding | Too much milk | Whisk in 1 tbsp of cocoa powder to thicken. |
| Hard Crust | Butter too cold | Let the dish sit at room temp for 5 mins before slicing. |
| Soft Topping | Over mixing | Chill in the freezer for 20 mins to firm up the fats. |
Myths About No Bake Desserts
One common myth is that you can't use "low-fat" ingredients in layered desserts. While you can, the texture suffers significantly. Fat is what provides the structure in the fridge. Using fat free cream cheese or skim milk often results in a watery mess that won't slice cleanly.
Another misconception is that the crust will get soggy immediately. In reality, the fat in the butter creates a moisture barrier that keeps the Oreo crumbs crisp for at least 48 hours.
Finally,, many people think you must use a springform pan for "fancy" layers. A simple 9x13 dish is actually better for this recipe because it supports the soft sides of the pudding. It is meant to be a rustic, family style "lasagna," not a structural engineering feat.
Stick to the basics, trust the chill time, and you'll have a dessert that looks as good as it tastes.

Chocolate Lasagna FAQs
What is chocolate lasagna?
It's a no-bake layered dessert made with a cookie crust, creamy filling, and pudding or mousse layers, resembling the layers of traditional lasagna. The "lasagna" refers to its stacked construction rather than containing pasta.
What's in the chocolate lasagna at Olive Garden?
Olive Garden's Chocolate Lasagna typically features a chocolate cookie crust, a creamy, sweet cheese layer, and rich chocolate pudding, often topped with whipped cream and chocolate shavings. It's designed for decadence and is a popular dessert choice.
What is the difference between chocolate lasagna and black tie mousse cake?
Chocolate lasagna is layered with distinct textures like cookie crust, cream cheese, and pudding, offering a firmer structure. Black Tie Mousse Cake is typically a more uniform, mousse based dessert, often with a cake layer or brownie base, focusing on a lighter, airier texture throughout.
How do you make "Death by Chocolate" dessert?
Start with a rich chocolate base, often a brownie or cookie crust, then layer with decadent chocolate mousse or pudding, and finish with whipped cream and chocolate shavings or ganache. If you enjoyed the dense layering here, you might appreciate the techniques in our Chocolate Chip Cookie Dough Cupcakes My GoTo Recipe.
Can I substitute the Oreos in a chocolate lasagna?
Yes, you can substitute the Oreos. Chocolate graham crackers or even a homemade chocolate cookie crust can be used, providing a similar crumbly texture. If you enjoyed mastering the crumb base technique here, see how we adapt it for Golden Lace Florentine Cookies.
Why does my chocolate lasagna layers mix together?
This usually happens if the pudding hasn't set fully before the next layer is added, or if the cream cheese mixture was too warm. Ensuring each layer is sufficiently chilled and firm before adding the next is crucial for clean separation.
Can chocolate lasagna be made ahead of time?
Yes, it's best made ahead. Chilling for at least 4 hours, or even overnight, allows the layers to set properly, which makes slicing much cleaner and melds the flavors beautifully.
Chocolate Lasagna
Ingredients:
Instructions:
Nutrition Facts:
| Calories | 482 kcal |
|---|---|
| Protein | 5 g |
| Fat | 28 g |
| Carbs | 56 g |
| Fiber | 2 g |
| Sugar | 37 g |
| Sodium | 365 mg |
