Homemade Pizza Dough That Works Every Time with Olive Oil
- Time: Active 30 minutes, Passive 1 hours 30 mins, Total 2 hours
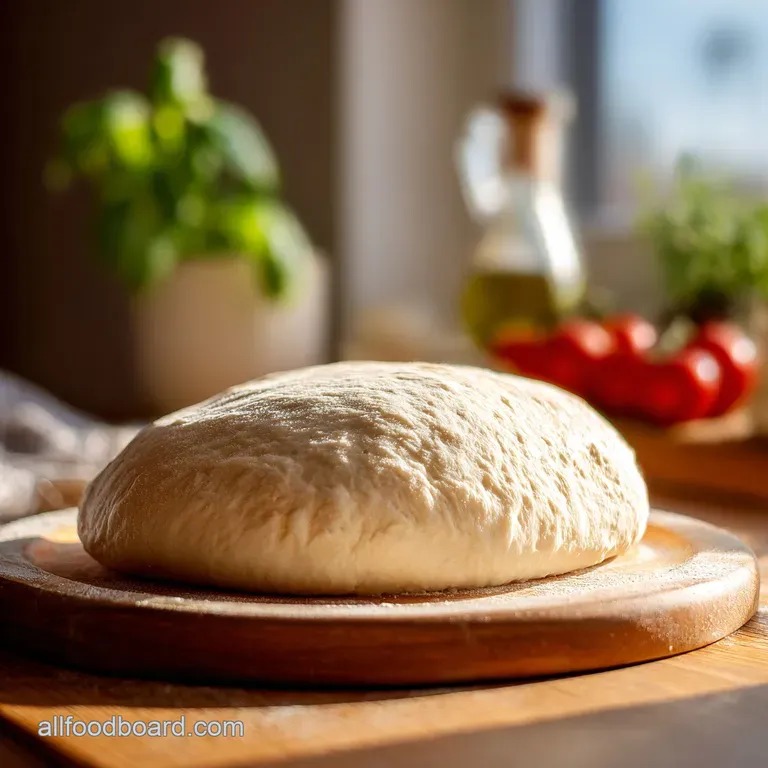
- Flavor/Texture Hook: Silky, extensible dough that bakes into a crisp, golden, and airy crust
- Perfect for: Weekend family dinners or beginner bakers wanting a guaranteed success
- Homemade Pizza Dough That Works Every Time with Olive Oil
- Essential Numbers and Timing for the Ultimate Crust Success
- Components for a Supple Easy to Stretch Texture
- Tools to Achieve a Professional Bake in Your Kitchen
- Transform Simple Ingredients into a Silky Resilient Dough
- Correcting Common Texture Issues for a Consistent Result
- Adapting Flavors and Flour Types for a Custom Pie
- Keeping Your Dough Fresh and Minimizing Kitchen Waste
- Creative Ways to Enjoy Your Freshly Baked Pizza Base
- Recipe FAQs
- 📝 Recipe Card
Homemade Pizza Dough That Works Every Time with Olive Oil
I still remember the first time I tried to make pizza from scratch. I was determined to avoid the cardboard like frozen stuff, but I ended up with a dough so tough I practically needed a hacksaw to get through it. It was a disaster, and my kitchen looked like a flour bomb had gone off.
That night, we ate the toppings off the top and threw the "crust" in the bin, but I was hooked on the challenge.
After years of trial and error, I realized that the secret isn't just in the flour, it is in how the fat interacts with the moisture. This article shares a foolproof recipe for Homemade Pizza Dough That Works Every Time with Olive Oil.
Once you feel that velvety, supple dough under your palms, you will never go back to the store-bought balls again. We are going for that perfect middle ground, a crust that is sturdy enough to hold plenty of cheese but soft enough to melt in your mouth.
Trust me, there is something incredibly therapeutic about watching the yeast bloom and turn into a bubbly, fragrant foam. It is the smell of a cozy Friday night starting. This recipe is designed to be approachable even if you have never touched a rolling pin in your life.
We are going to walk through every step, from the first sizzle of the yeast to the final golden bubble on the crust.
The Physics of the Olive Oil Shield
Lubricated Gluten: Olive oil coats the gluten strands, preventing them from becoming too rigid or "snappy" during the stretching process. This specific interaction ensures the dough remains extensible and soft rather than tough and rubbery.
| Cooking Method | Time | Texture Result | Best For |
|---|---|---|---|
| Standard Oven (450°F / 230°C) | 12-15 minutes | Evenly browned, chewy | Most home kitchens |
| Cast Iron Skillet | 10-12 minutes | Fried bread bottom, very crispy | Deep dish lovers |
| Outdoor Pizza Oven | 2-3 minutes | Charred "leopard" spots, airy | Authentic Neapolitan style |
Regardless of the method you choose, the key is high heat to shock the dough into rising quickly. If you have ever wondered why your bread lacks those beautiful air pockets, it is often because the oven wasn't hot enough to turn the moisture into steam before the crust set.
Essential Numbers and Timing for the Ultimate Crust Success
To get this right, we have to respect the clock. Making a great dough is about managing the life cycle of the yeast. We start with a 10 minute bloom to make sure our "engine" is actually running, followed by a solid 1 hours 30 mins of rest.
This isn't just downtime, it is when the enzymes are busy breaking down starches into sugars, which gives the crust that beautiful tan color when it hits the heat.
I always tell my friends that the dough is a living thing. If your kitchen is cold, it might need an extra 20 minutes to double in size. If it is a humid summer day, you might find it rises in under an hour.
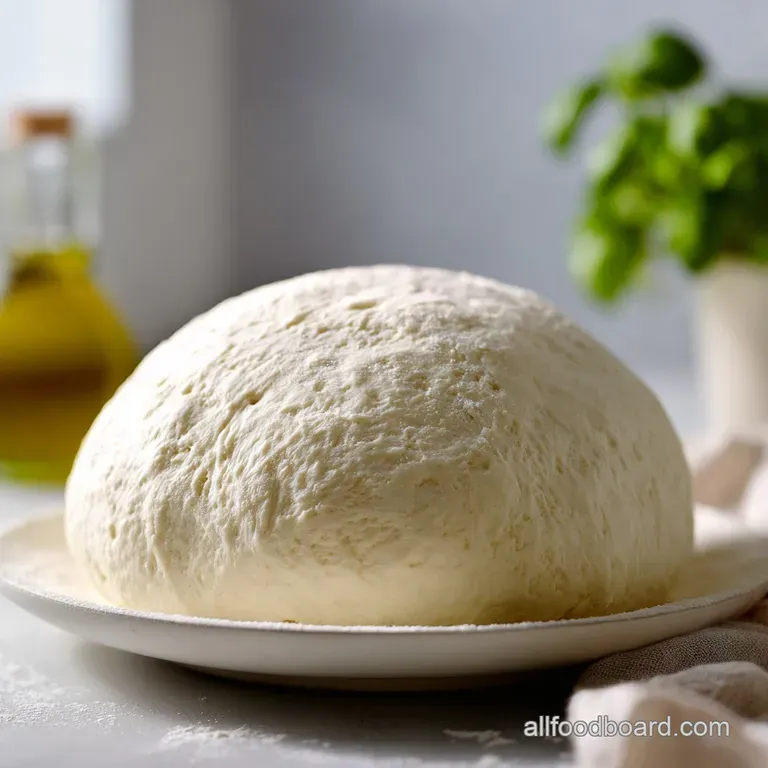
You have to look for the visual cue, the dough should look puffy and slightly translucent on the surface, like a soft pillow.
| Component | Science Role | Pro Secret |
|---|---|---|
| Bread Flour (475g) | Protein for structure | Use a scale for 100% accuracy every time |
| Warm Water (1.5 cups) | Hydration and yeast fuel | Keep it between 105°F and 110°F to avoid killing yeast |
| Olive Oil (2 tbsp) | Tenderness and flavor | Use high-quality extra virgin for a peppery finish |
Using a scale is the biggest "aha!" moment for most home cooks. Volumetric measurements like cups can vary by as much as 20% depending on how tightly you pack the flour. If your dough feels like a brick, you likely used too much flour. If you want to learn more about handling different dough types, you might find my Homemade French Bread recipe helpful for understanding crumb structure.
Components for a Supple Easy to Stretch Texture
The ingredient list is short, but every item has a job to do. We are using bread flour here because it has a higher protein content than all purpose flour. This extra protein translates to more gluten, which gives us that classic chewy pizza texture.
If you use all purpose, the pizza will still be good, but it will be closer to a biscuit or a soft flatbread than a traditional pizzeria crust.
- 1.5 cups warm water (105°F - 110°F): Why this? Activates yeast quickly without killing the delicate cultures.
- Sub: Room temp water (takes 30 mins longer to rise).
- 1 tsp sugar or honey:Why this? Provides immediate food for the yeast to create carbon dioxide.
- Sub: Maple syrup (adds a slight earthy sweetness).
- 2.25 tsp instant yeast:Why this? Allows for a faster, more reliable rise than active dry.
- Sub: Active dry yeast (must bloom for 15 minutes first).
- 2 tbsp extra virgin olive oil:Why this? Creates a tender crumb and prevents the dough from drying out.
- Sub: Avocado oil (more neutral flavor, same fat content).
- 475g bread flour (~3.75 cups):Why this? High protein ensures the crust doesn't fall apart under heavy toppings.
- Sub: All purpose flour (softer, less chewy results).
- 1.5 tsp fine sea salt:Why this? Controls yeast fermentation and enhances the natural grain flavor.
- Sub: Kosher salt (use 2 tsp for same salinity).
If you are out of yeast entirely, don't panic. There are ways to make a Homemade pizza dough without yeast using baking powder, though the texture will be much denser. For this specific olive oil version, though, the yeast is what gives us that incredible airy lift.
Tools to Achieve a Professional Bake in Your Kitchen
You don't need a fancy wood fired oven to make great pizza. I spent years using a simple baking sheet, and the results were still miles better than delivery. However, there are a few things that make the process much smoother.
A large glass bowl is my favorite for rising because you can see the air bubbles forming along the sides, which is a great indicator of fermentation progress.
If you have a stand mixer, use the dough hook attachment. It saves your wrists and ensures the olive oil is perfectly emulsified into the flour. But honestly, I often prefer mixing by hand. There is a specific moment when the shaggy mess turns into a smooth, silky ball that feels like an earlobe.
You can't experience that through a machine. A digital thermometer is also a lifesaver for checking your water temperature, as too hot will kill your yeast instantly.
Chef Tip: If you are using a standard baking sheet, preheat it in the oven for 10 minutes before sliding the pizza on. This "thermal mass" helps crisp the bottom immediately, preventing the dreaded soggy middle.
Transform Simple Ingredients into a Silky Resilient Dough
- Bloom the yeast. Combine the 1.5 cups warm water, 1 tsp sugar, and 2.25 tsp instant yeast in your mixing bowl. Note: Wait 5-10 minutes until a thick, creamy foam forms on the surface.
- Add the fats. Pour in the 2 tbsp of extra virgin olive oil and give it a quick whisk. Note: This ensures the oil is distributed before the flour hits the water.
- Incorporate the flour. Gradually add the 475g of bread flour and 1.5 tsp of sea salt. Note: Start with a wooden spoon until the dough becomes too heavy to stir.
- Knead the mass. Turn the dough onto a lightly floured surface and knead for 8-10 minutes until it is smooth and bounces back when poked.
- Oil the bowl. Place the dough in a bowl greased with 1 tsp of olive oil and cover with a damp cloth.
- The first rise. Let the dough sit in a warm, draft free spot for about 1 hours 30 mins until it has doubled in size.
- Punch and divide. Gently press your fist into the center to release air, then divide into two equal balls.
- Preheat the oven. Set your oven to 450°F (230°C) and let it get roaring hot for at least 30 minutes.
- Shape the crust. Stretch the dough by hand or use a rolling pin until it is thin and translucent in the center.
- Bake to perfection. Add your toppings and bake for 12-15 minutes until the edges are dark golden and the cheese is blistered.
Once the pizza comes out, the aroma of toasted grain and warm oil will fill your whole house. If you are looking for a fun project for the kids with this dough, try making a Homemade Pizza Rolls recipe by rolling smaller portions and stuffing them with mozzarella. It's a total crowd pleaser for parties.
Correcting Common Texture Issues for a Consistent Result
The biggest mistake I see beginners make is being afraid of a little stickiness. If you keep adding flour until the dough doesn't stick to your hands at all, you will end up with a dry, tough crust. The dough should feel tacky, like a Post it note, but not leave a messy residue on your skin.
If it is too wet, add flour one tablespoon at a time.
For When the Dough Won't Stretch
If you try to pull your pizza and it just snaps back like a rubber band, the gluten is too tight. This usually happens if the dough is too cold or if you haven't let it rest after shaping. Cover it with a towel and walk away for 10 minutes.
This allows the protein bonds to relax, making the dough much more cooperative.
For a Sticky Unmanageable Mess
If the dough is clinging to everything, your flour might have lower protein than expected, or the humidity is very high. Instead of dumping in more flour, try "slap and fold" kneading. This builds strength without drying out the dough.
| Problem | Root Cause | Solution |
|---|---|---|
| Crust is hard/dry | Too much flour or over baked | Use a scale; check doneness at 10 minutes |
| Dough won't rise | Water was too hot or yeast is old | Check temp (110°F max); test yeast in sugar water first |
| Soggy bottom | Too many wet toppings | Pre cook veggies; use a preheated baking stone |
Common Mistakes Checklist:
- ✓ Always check the expiration date on your yeast (old yeast won't rise).
- ✓ Never skip the sugar; the yeast needs that quick energy to start.
- ✓ Ensure your oven is fully preheated; a lukewarm oven leads to a gummy crust.
- ✓ Don't use a rolling pin if you want big air bubbles (it pops them).
- ✓ Let the dough come to room temperature if it was stored in the fridge.
Adapting Flavors and Flour Types for a Custom Pie
One of the best things about this recipe is how much you can play with it. If you want a more rustic feel, replace 100g of the bread flour with whole wheat flour. It adds a nutty depth that pairs perfectly with roasted vegetables or honey drizzled toppings.
You might need an extra tablespoon of water, as whole wheat is thirstier than white flour.
For an Herb Infused Crust
I love adding 1 tsp of dried oregano and 0.5 tsp of garlic powder directly into the flour. As the pizza bakes, the oils in the herbs bloom, making the crust taste like something from a high end Italian bistro.
You can also brush the edges with extra olive oil and a sprinkle of sea salt right before it goes into the oven for a "shatter" effect.
The Whole Wheat Upgrade
If you go the whole wheat route, the dough will be denser. To keep it light, let it rise for an extra 30 minutes. The bran in whole wheat can act like little knives, cutting the gluten strands, so a longer rest helps the structure stay intact. This dough also works wonderfully for a Bake Sweet Sauce recipe if you want that nostalgic, slightly sugary pizzeria flavor.
Keeping Your Dough Fresh and Minimizing Kitchen Waste
You don't have to bake both pizzas at once. In fact, pizza dough actually tastes better after a slow sleep in the fridge. The cold temperature slows down the yeast, allowing complex, tangy flavors to develop that you just can't get in a 2 hour rise.
This is the "secret" many high end pizzerias use to get that artisan taste.
- Fridge: Store in an airtight container for up to 3 days. The dough will continue to rise slowly, so make sure the container is large enough.
- Freezer: Wrap individual dough balls tightly in plastic wrap, then place in a freezer bag. They stay good for 3 months. To use, thaw in the fridge overnight.
- Zero Waste: If you have scraps left over from trimming your crust, don't toss them! Roll them into thin sticks, brush with olive oil and cinnamon sugar, and bake for 5 minutes. They make incredible "cheat" churros for dessert.
Creative Ways to Enjoy Your Freshly Baked Pizza Base
While we usually think of pepperoni and cheese, this dough is a blank canvas. I often use it to make garlic knots or even a savory focaccia. If you have extra dough, stretch it out, dimple the surface with your fingers, and drench it in more olive oil and rosemary. It makes a fantastic side dish for pasta nights.
For the ultimate experience, try a "white" pizza. Skip the tomato sauce and use a base of ricotta and mozzarella, topped with fresh arugula and a squeeze of lemon after it comes out of the oven. The richness of the olive oil in the dough stands up beautifully to the creamy cheese.
Whether you are making a classic Margherita or something wild with leftovers, the foundation is what matters. This dough gives you the confidence to experiment because you know the base will always be delicious.
If you ever feel intimidated, just remember that even the pros have "bad" dough days. The beauty of pizza is that even a slightly misshapen or over baked pie is still bread and cheese, and that is a win in my book. Keep practicing, keep your oven hot, and always trust the olive oil. Happy baking!

Recipe FAQs
Why does my dough become tough and snap back when I try to stretch it?
The gluten is too tight. This happens if the dough is too cold or you rushed the final proofing stage. Cover the dough and let it rest for 10 minutes; this allows the protein bonds to relax, making it much easier to handle.
Can I substitute the olive oil with another fat like butter or vegetable oil?
No, stick with olive oil for this specific recipe. Olive oil not only tenderizes the gluten strands but also contributes a distinct flavor that complements the savory crust profile. Using butter will change the hydration balance significantly.
What is the minimum temperature required for my oven to achieve a crisp crust?
Preheat your oven to a minimum of 450°F (230°C). High heat is crucial because it rapidly converts internal moisture into steam, creating those desirable air pockets. If you want to practice high heat technique for other breads, see the principles in our Homemade Breakfast Biscuits recipe.
How long can I cold ferment this pizza dough, and what flavor does it develop?
You can safely cold ferment the dough for up to 3 days. This extended rest develops deeper, more complex, and slightly tangy flavors because the yeast works slower, breaking down starches into sweeter compounds.
Is using instant yeast instead of active dry yeast a critical difference for this recipe?
Yes, instant yeast is recommended for speed and reliability. Instant yeast can be mixed directly with the flour and salt without blooming first. If you use active dry yeast, you must bloom it in warm water for 15 minutes first to ensure it is active.
How do I handle the dough if my kitchen is very humid and the dough is too sticky?
Avoid adding excessive flour, which dries out the crust. Instead, switch to a gentle "slap and fold" kneading technique until the dough gains strength. If you are looking for another recipe that requires expert emulsification under different conditions, check out the Cajun Alfredo Sauce recipe.
What is the absolute first step if I want to use this dough immediately without any resting time?
Bloom the yeast in warm water with sugar for 5-10 minutes until a thick foam forms. This step confirms your yeast is alive and active before you commit the flour and olive oil to the mixture.
Olive Oil Pizza Dough Recipe

Ingredients:
Instructions:
Nutrition Facts:
| Calories | 256 kcal |
|---|---|
| Protein | 7.9 g |
| Fat | 4.8 g |
| Carbs | 44.4 g |
| Fiber | 1.6 g |
| Sugar | 0.5 g |
| Sodium | 438 mg |
