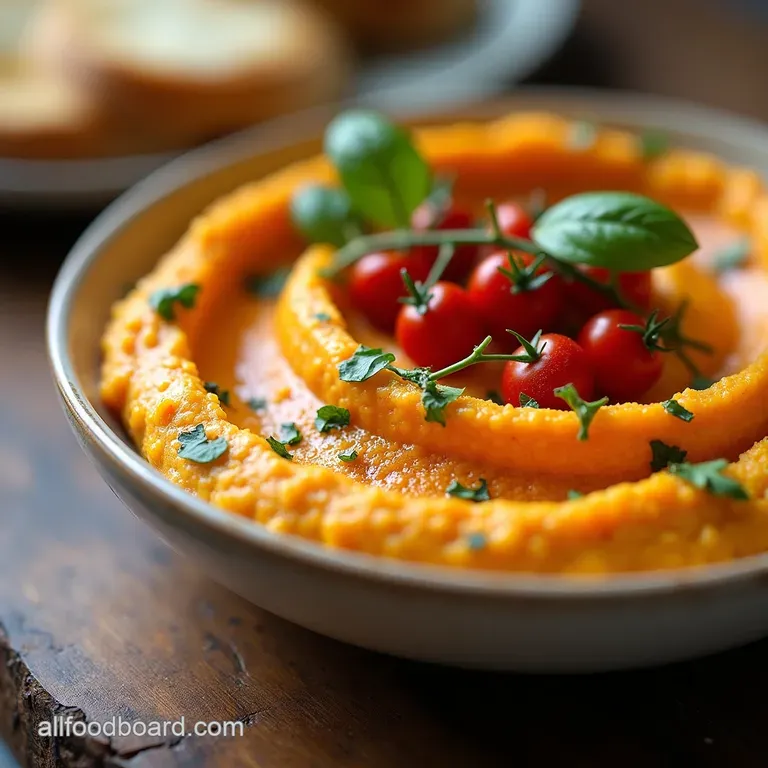
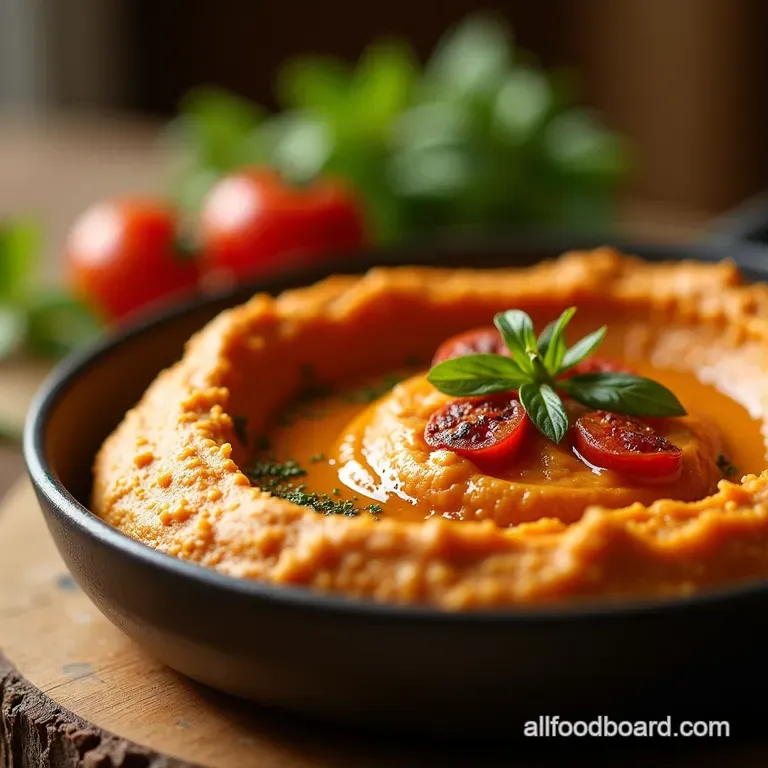
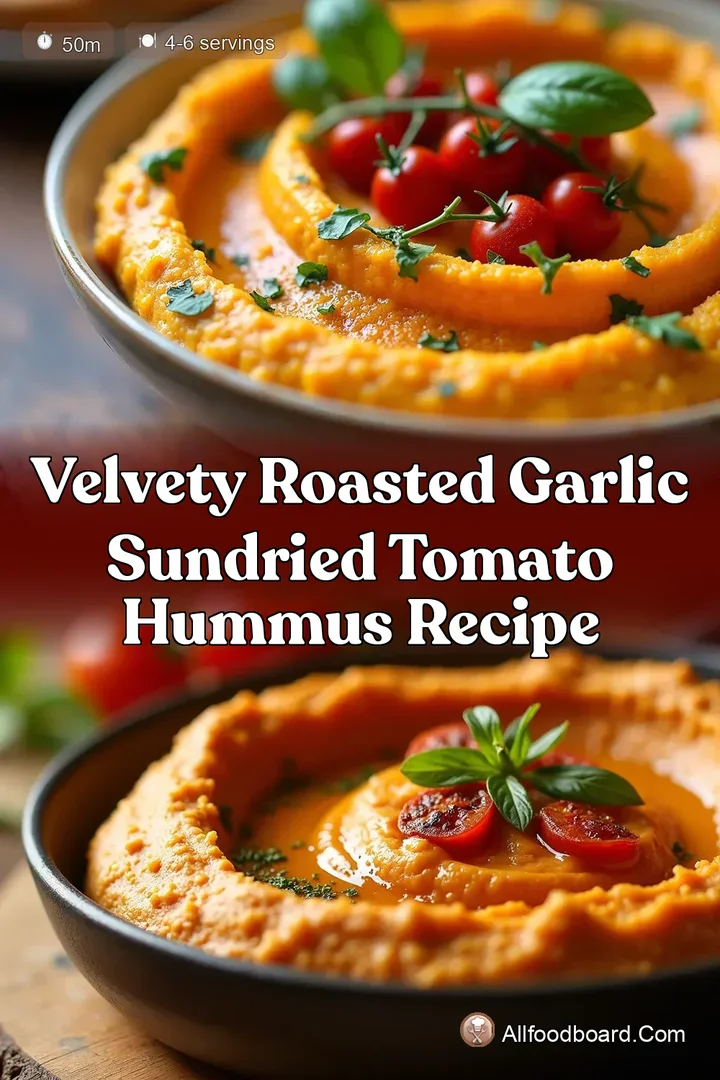
Roasted Garlic Sundried Tomato Powerhouse Hummus

- Elevating the Classic Dip: Why This SunDried Tomato Hummus Reigns Supreme
- Unlocking Deep Mediterranean Flavour Profiles
- Essential Components for Maximum Flavour Impact
- Sourcing & Prep: Getting Your Ingredients Ready for Blending
- The Step-by-Step Blueprint for Perfect Blended Hummus
- Building the Final Flavour Layers
- Serving Suggestions That Steal the Show
- Storage Wisdom and Flavor Enhancements
- Recipe FAQs
- 📝 Recipe Card
Elevating the Classic Dip: Why This SunDried Tomato Hummus Reigns Supreme
There are dips, and then there is hummus . The classic chickpea spread is a staple of Middle Eastern cuisine, dependable and satisfying. But what happens when we introduce the concentrated, sun-drenched tang of tomatoes? We unlock a vibrant new dimension of flavour.
This SunDried Tomato Hummus transforms the familiar into something truly extraordinary. It’s intensely savoury, slightly sweet, and boasts a rich, ruby hue that immediately signals depth.
If you’ve been looking to upgrade your appetizer game or simply seeking out stellar Sun Dried Tomato Recipes Healthy options that don’t taste mass produced, you’ve landed in the right place.
This recipe walks you through creating a spread so silky and flavourful, it will redefine what you expect from home-made Hummus .
Unlocking Deep Mediterranean Flavour Profiles
The key to this elevated Tomato Hummus isn't just tossing in some dried fruit; it’s about careful component selection and preparation that coaxes out the maximum umami.
We are aiming for a balance between the earthiness of chickpeas, the creaminess of tahini, and the powerful punch of preserved tomatoes. The optional step of roasting garlic, for instance, transforms a sharp allium into a mellow, sweet backbone that underpins the entire profile.
Mastering this sundried tomato hummus recipe means understanding how each ingredient contributes to the final, harmonious taste.
Beyond Beige: The Magic of Roasted Garlic Integration
Most basic hummus recipes stop at raw garlic or simply skip it, but we are taking a critical detour. Roasting garlic cloves, wrapped tightly in foil until they are soft and caramelized a process taking about 35 to 40 minutes at 400° F ( 200° C) sweetens their flavour dramatically.
These soft, nutty cloves blend seamlessly into the base, providing a subtle, pervasive warmth rather than an aggressive bite. This technique ensures the Hummus With Sundried Tomatoes remains approachable while maintaining complexity.
For those needing a quicker fix, using jarred roasted garlic is a worthy shortcut, though the freshness achieved from roasting from scratch is peerless.
The Texture Secret: Achieving Silky Smooth Consistency
A great dip must have an impeccable mouthfeel. Bland or grainy hummus is instantly disappointing. Our method for creating this velvety texture involves two crucial elements: quality tahini and ice water. Tahini, the sesame paste foundation, must be thoroughly stirred before measuring, as the oil often separates.
When we introduce ice-cold water, or even better, the reserved chickpea liquid (aquafaba), during the high speed blending, we create a powerful emulsification. This technique lightens the mixture significantly, resulting in a fluffier final product that rivals any professionally prepared version.
Why Our Sun-Dried Tomato Hummus Beats store-bought Every Time
You might find variations on sun dried tomato hummus recipe uk or elsewhere, but commercial versions often rely on artificial flavourings or skip the crucial roasting step. On top of that,, many home cooks are wary of making this at home, perhaps believing they need to skip tahini entirely.
While you can make a sun dried tomato hummus without tahini using yogurt or extra oil, the depth provided by high-quality sesame paste is irreplaceable. Our careful approach ensures superior flavour concentration and a far better texture than anything pre-packaged.
Essential Components for Maximum Flavour Impact
To achieve the depth necessary for this flavour profile, attention must be paid to the core ingredients. You will need one 15-ounce can of cooked chickpeas, drained well (but keep that liquid handy!).
We require about 1/2 cup of excellent quality, well stirred tahini and a generous 1/4 cup of freshly squeezed lemon juice bottled juice just won't deliver that necessary bright acidity.
Complementing these are our aromatics: three large cloves of roasted garlic and a mere 1/2 teaspoon of ground cumin for earthy balance, alongside salt to taste.
Sourcing & Prep: Getting Your Ingredients Ready for Blending

Before the food processor roars to life, preparation is key. We are aiming for rich colour and intense flavour, so sourcing the right tomatoes and having the right tools makes all the difference.
The Core Quartet: Chickpeas, Tahini, Lemon, and Ice Water
The chickpeas should be rinsed and drained thoroughly this ensures we control the liquid content precisely. The lemon juice must be vibrant; always juice your lemons just before use. The tahini, as mentioned, needs vigorous stirring to reincorporate its oil.
Finally, the ice water is our textural secret weapon, ensuring the mixture whips up light, not heavy.
The Star Ingredient Spotlight: Oil-Packed Sun-Dried Tomato Selection
For this Sun Dried Tomato Hummus , oil-packed tomatoes are superior to the dried, hard variety because they are already hydrated and saturated with flavourful oil.
We will use about 1/2 cup of these rich tomatoes, drained, but importantly, we reserve about one tablespoon of that tomato infused oil specifically for garnishing later. This concentrated oil drizzle provides a final, beautiful sheen and intense tomato essence right before serving.
Essential Kitchen Tools for Effortless Emulsification
While you can technically mash this with a sturdy fork, the real magic happens in a high powered food processor. This tool is necessary for achieving the ultra smooth, professional finish we are targeting.
Ensure you have your machine ready, along with a sturdy rubber spatula for those essential scrapes down the sides during processing.
Related Recipes Worth Trying
- SunKissed Swirl The Ultimate Creamy Coconut Hummus Recipe — Upgrade your snack game with this incredibly creamy Coconut Hummus Its a sweet and savoury homemade hummus recipe perfect for dipping
- Easy 10Minute Buffalo Chickpea Hummus Recipe — Ditch the boring dip This creamy Buffalo Chickpea Hummus recipe packs the addictive heat of wing sauce into a healthy hummus base Perfect for game day
- UltraCreamy High Protein Hummus Cottage Cheese Dip — The best High Protein Hummus Cottage Cheese Dip recipe This easy blend is lusciously smooth packed with protein and perfect for your weekly grazing platter
The step-by-step Blueprint for Perfect Blended Hummus
Creating this vibrant spread is fundamentally straightforward, but the sequence matters immensely for texture. This entire process takes about 15 minutes of active work, assuming your garlic is pre-roasted.
Phase One: Softening the Chickpeas for Superior Creaminess
If you are aiming for truly phenomenal results, take the extra time to peel the thin skins from about half of your chickpeas. While optional, this step drastically enhances the final smoothness. Once prepped, they are ready to be introduced to the machine later in the sequence.
Achieving the Dreamy Tahini Whip Before Adding Tomatoes
This is arguably the most crucial blending step. Start by placing the tahini, fresh lemon juice, and salt into the food processor bowl. Run the motor for a full minute. You will notice the mixture thicken dramatically and lighten in colour this process starts the emulsification, ensuring the final product isn't oily or grainy.
The Blending Sequence: Incorporating Tomatoes for Rich Colour
Next, add your roasted garlic cloves, ground cumin, and the drained, oil-packed sun-dried tomatoes. Pulse these ingredients a few times until they are finely chopped but not yet paste like. Then, add the prepped chickpeas and process continuously for one minute.
The Essential Chill: Allowing Flavours in Your SunDried Tomato Hummus to Marry
Once the mixture is largely combined, it's time to introduce the cold water or aquafaba, a tablespoon at a time, with the motor running. Continue blending for another two to three minutes, scraping down the sides as needed. The motor should run until the mixture is luxuriously smooth.
Taste test here; add more salt or lemon if the tomato tang needs further balancing.
Building the Final Flavour Layers
Just before finishing, we incorporate our fresh element. Add two tablespoons of roughly chopped fresh parsley. Pulse the machine only three or four times. We want visible, bright green flecks distributed throughout the deep red hummus, not a uniform green hue.
This contrast in colour and texture adds visual appeal to your final presentation.
Serving Suggestions That Steal the Show
This sun dried tomato hummus sandwich maker knows that this spread isn't just for dipping! Its robust flavour profile makes it an excellent base for sandwiches or wraps, offering a rich, vegetarian alternative to mayonnaise or mustard.
For dips, serve it warm or at room temperature alongside pita bread that has been lightly charred on a grill pan. It also pairs beautifully with crisp, cool vegetables like endive spears, radishes, and cucumber sticks.
Storage Wisdom and Flavor Enhancements
Any leftover Roasted Tomato Hummus stores wonderfully, though its flavour actually improves slightly after sitting overnight. When storing, press a layer of plastic wrap directly onto the surface of the hummus before sealing the container. This prevents a dry "skin" from forming on the surface.
Dukkah Dusting and Pistachio Crunch: Next Level Toppings
To elevate the presentation further, use that reserved, flavourful sun-dried tomato oil to create a well in the centre of the hummus before drizzling. Garnish with a sprinkle of flaky sea salt, a dusting of smoked paprika, or for textural intrigue, some chopped pistachios or perhaps even a homemade dukkah mix.
Spiced Variations: Introducing a Hint of Warmth (Spiced Hummus Angle)
For those who enjoy a little heat, this recipe adapts beautifully to include warm spices. Try stirring in 1/4 teaspoon of smoked paprika along with the cumin for a smoky depth, or add a tiny pinch of cayenne pepper if you prefer a subtle, lingering warmth in your Spiced Hummus .
Maximizing Shelf Life: Proper Refrigeration Techniques
When properly stored in an airtight container, this homemade hummus will remain fresh and delicious in the refrigerator for up to five days. Always let it sit out for 15 minutes before serving to allow the full spectrum of flavours to emerge from their chilled state.
Troubleshooting: Fixing Hummus That's Too Thick or Too Thin
If, after the final blend, your hummus seems too thick perhaps you added too little water simply add another tablespoon of ice water or aquafaba and process again until it loosens.
If, conversely, it appears too thin or runny, add a tablespoon of additional tahini or a few soaked (and drained) chickpeas and process until it thickens back up to that desired, luxurious consistency.

Recipe FAQs
My SunDried Tomato Hummus came out a bit gritty; what’s the secret to getting it restaurant smooth?
Ah, that's a classic rookie error, but easily fixed next time! The key is processing time and temperature. Ensure you are using the ice-cold water trick drizzling in icy liquid while the processor runs helps emulsify the tahini beautifully, lightening the texture.
Also, give it a good 2-3 minutes of continuous blending!
Can I use dry-packed sun-dried tomatoes instead of the oil-packed ones for this hummus?
You absolutely can, but you’ll need to rehydrate them first, dearie. Soak the dry ones in very hot water or, even better, chicken/vegetable broth for about 20 minutes until plump. Make sure to drain them thoroughly before adding them to the machine, or your hummus will be far too runny.
How long will this Roasted Garlic & Sun-Dried Tomato Powerhouse Hummus last in the fridge?
It keeps rather well, much better than anything you’d buy down at the supermarket, typically for about 4 to 5 days if stored correctly in an airtight container. For the best flavour, try to serve it within the first three days; remember to let it sit out on the counter for about 15 minutes before serving so the flavours can really wake up.
I don't have a food processor; can I make this SunDried Tomato Hummus in a regular blender?
It's a bit trickier, but possible if you don't have a big food processor knocking about. You will need a powerful, high speed blender, and you must add the liquid (water/aquafaba) much more slowly, perhaps even spooning in the solids in batches.
Be prepared to stop and scrape down the sides constantly; it’s a bit more elbow grease!
Can I make this recipe vegan, or does the roasting process involve animal products?
Good news this recipe is naturally vegan, provided you use water instead of reserved chickpea liquid if you're worried about non-vegan processing! The only thing to watch is if you’re roasting the garlic; ensure you use olive oil rather than butter on the foil packet.
It’s a doddle for plant based diets.
Sundried Tomato Hummus

Ingredients:
Instructions:
Nutrition Facts:
| Calories | 302 kcal |
|---|---|
| Protein | 8.1 g |
| Fat | 6.7 g |
| Carbs | 44.8 g |
| Fiber | 12.8 g |
| Sodium | 337 mg |