The Proper Job Homemade Butter Toffee Crisp Buttery and Absolutely Addictive
- Unlocking the Secret to Truly Exceptional Homemade Toffee
- Why This Classic Recipe Trumps Store-Bought Candy
- Gathering the Essential Building Blocks for Perfect Toffee
- The Step-by-Step Alchemy of Cooking Your Homemade Toffee
- Troubleshooting and Pro-Tips for Guaranteed Success
- Elevating Your Candy: Variation Ideas Beyond the Basic Batch
- Recipe FAQs
- 📝 Recipe Card
Unlocking the Secret to Truly Exceptional Homemade Toffee
There’s a specific magic that happens when humble butter and sugar are coaxed to their limit. It results in a confectionery that is pure nostalgia, deeply satisfying, and shatteringly crisp.
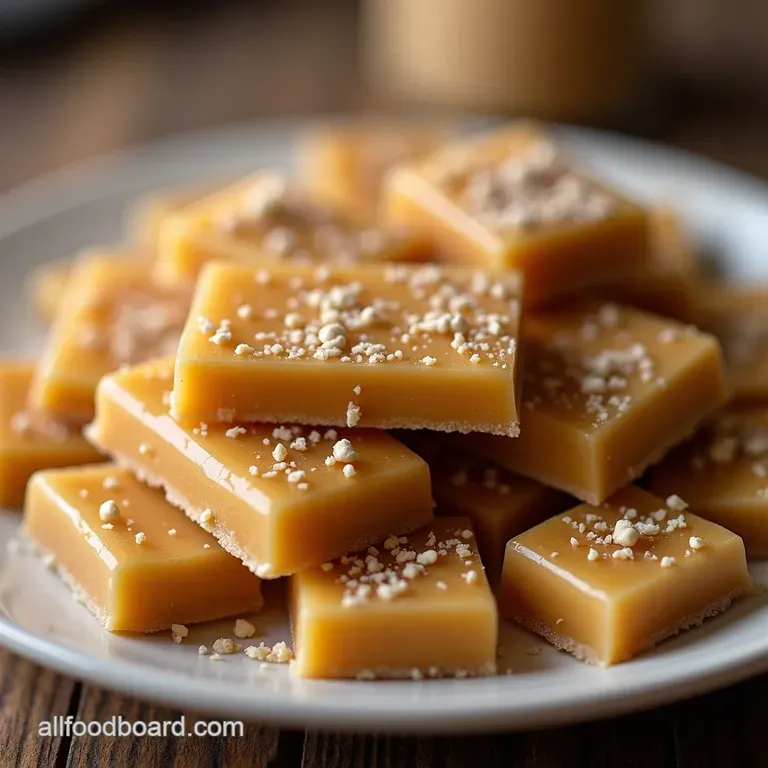
We are not talking about soft, chewy caramel; we are pursuing true, hard, Homemade Toffee Candy —the kind that cracks under the slightest pressure, releasing an intoxicating aroma of browned butter and deep caramelization.
Crafting this confection might seem intimidating, but with precise technique and quality ingredients, you can master this classic treat right in your kitchen. This Homemade Toffee Recipe is designed to strip away the fuss and deliver a deep, addictive flavour profile every single time.
Why This Classic Recipe Trumps store-bought Candy
The gap between a mass produced sweet and something made with care is vast, especially when it comes to hard candy. store-bought options often rely on artificial flavourings or stabilizers to maintain texture, resulting in a flatter taste.
By making English Toffee from scratch, you control every nuance.
The Allure of Old-School, Shatteringly Crisp Confectionery
The goal here is achieving the "hard crack" stage in candy making, which is what guarantees that desirable, clean snap. This texture is the hallmark of authentic toffee. When you make this Easy Homemade Toffee yourself, you ensure the ratio of fat to sugar creates maximum richness without sacrificing that crucial brittle structure.
It’s perfect for gifting during the holidays truly one of the best Holiday Candy Recipes out there.
Setting Expectations: What Makes This Toffee 'Proper'?
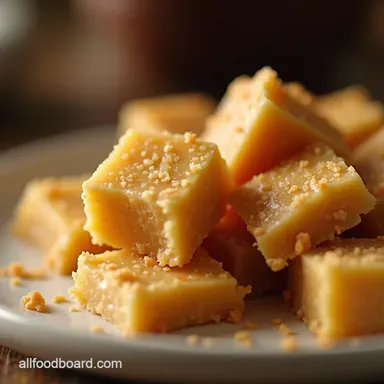
A proper batch yields approximately one pound of deeply coloured, intensely buttery squares. We are aiming for a finish that isn't sticky or chewy; it should break cleanly. This recipe balances the ingredients to ensure you don't end up with something closer to a soft Caramel Candy Recipe .
It demands attention, but the resulting flavour is unparalleled.
A Quick Dive: The Magic Behind Deep Caramelization
The flavour of exceptional toffee doesn't come from added extracts; it comes from the heating process itself. As the sugar heats, it undergoes caramelization, transforming from simple sucrose into hundreds of complex aromatic compounds.
Cooking the mixture to precisely 300° F ( 149° C) ensures the sugars develop deep, nutty, almost molasses like notes before the process is halted by cooling.
Gathering the Essential Building Blocks for Perfect Toffee

Success in candy making relies heavily on preparation, known in the culinary world as mise en place . Since the cooking phase moves quickly once the mixture reaches a boil, having everything measured and ready is crucial for making this Homemade Toffee Bits usable in other applications later.
Quality Butter and Granulated Sugar: The Non-Negotiables
For this foundational recipe, you will need one full cup (two sticks) of unsalted butter and two cups of standard granulated white sugar. Because butter is such a dominant flavour carrier, using high-quality, high fat butter elevates the entire product.
The butter not only provides richness but also helps interfere with the sugar crystals, ensuring a smoother set.
The Role of Corn Syrup (or Golden Syrup) in Texture Control
To prevent the sugar from crystallizing prematurely the nemesis of smooth toffee we introduce a small amount of syrup. Half a cup of light corn syrup is essential here.
It acts as an invert sugar, disrupting the neat structure of the granulated sugar crystals, resulting in that beautifully glossy, smooth surface we crave in our Homemade Toffee Candy .
Essential Equipment: Pans, Thermometers, and Prep Surfaces
You cannot achieve consistent results in candy making without accuracy. Therefore, a heavy bottomed 3-quart saucepan is non-negotiable; thin pans cause scorching. Most importantly, you must have a reliable candy thermometer clipped to the side.
Plus,, prepare an 8x8 inch baking pan lined completely with parchment paper, ensuring there is an overhang to easily lift the finished product out later.
Related Recipes Worth Trying
- The Proper Crunch Foolproof Homemade English Butter Toffee — Stop buying disappointing candy This brilliant Homemade Toffee Recipe guarantees a shatteringly crisp deeply butterscotch snap every single time Get the...
- Best Homemade Flaky Biscuits Recipe DinerStyle Lift — Stop making flat biscuits Learn the lamination technique for truly tall tender flaky biscuits from scratch Perfect for gravy or jam Recipe inside
- Foolproof Juicy Flavorful Homemade Chicken Patties Recipe — Ditch the dry freezer finds Learn how to make truly satisfying homemade chicken patties from scratch that stay moist Perfect for an easy weeknight dinner
The step-by-step Alchemy of Cooking Your Homemade Toffee
This is where attention turns into deliciousness. We merge the base ingredients slowly, then bring them up to a rapid boil under strict temperature surveillance.
We begin by combining the butter, sugar, half a cup of water, and the corn syrup in your heavy bottomed saucepan. Gently melt the butter over medium heat, stirring until the sugar is completely dissolved. Once you see the first bubble starting, stop stirring immediately and affix your candy thermometer.
Watching the Color Change: From Pale Gold to Deep Amber
Once boiling commences, the mixture must be left entirely undisturbed. If you notice any stray sugar crystals clinging to the sides of the pan above the liquid line, use a pastry brush dipped in clean water to gently wash them down. This step prevents premature crystallization throughout the batch.
The mixture will progress from a pale, foamy yellow to a rich, deep amber colour the very definition of deep flavour development.
The Critical Pour: Transferring the Molten Sugar Safely
When that thermometer clicks precisely onto 300° F ( 149° C) , immediately remove the pan from the heat source. This is the hard crack stage, and hesitation means burning.
Quickly, but carefully, stir in one teaspoon of pure vanilla extract and half a teaspoon of fine sea salt it will bubble up aggressively! Immediately pour the entire molten mixture into your prepared, parchment lined pan.
Do not scrape the bottom of the saucepan, as the final bits left behind are often slightly scorched.
The Final Chill: Preparing Your Toffee for the Snap
If you are adding toppings like toasted nuts, sprinkle them evenly over the hot surface now. Allow the Homemade Toffee to cool completely, undisturbed, on the counter for at least one hour.
Resist the temptation to place it in the refrigerator; rapid cooling can sometimes cause the texture to become cloudy or uneven.
Troubleshooting and Pro-Tips for Guaranteed Success
Even experienced cooks can face challenges with candy making. Understanding the science behind texture failure is key to perfecting your Homemade Toffee .
Avoiding Granulation: The Key to Smooth, Never Grainy Toffee
As mentioned, the primary failure point is crystallization. Once boiling, never stir. If crystals form, they act as seeds, encouraging the entire batch to seize up and become grainy instead of smooth. Always clean the sides of the pan with a wet brush if needed.
Storage Strategies to Keep Your Toffee Fresh and Crisp
Humidity is the enemy of crisp toffee. Once fully set and broken into pieces, store your candy in an airtight container at cool room temperature. If you live in a very humid climate, consider adding a small food safe silica packet to the container to absorb ambient moisture.
This ensures your Homemade Toffee Bars remain brittle for weeks.
Ideas for Dipping and Decorating Your Finished Toffee Squares
While excellent plain, this toffee is a perfect canvas. After it has cooled completely, you can dip the bottoms of the pieces into tempered dark or milk chocolate, or simply drizzle melted chocolate decoratively over the top.
These chocolate dipped squares make excellent Toffee for Cookies inclusions or fantastic edible gifts.
Understanding Humidity's Impact on Your Homemade Toffee Set
If your kitchen is muggy, your toffee might set slightly softer than intended, even if it hits the correct temperature. Sugar attracts water, and high ambient humidity means the sugar absorbs moisture while cooling, leading to a chewier texture.
If you know it’s a rainy day, cook the sugar 2 to 3 degrees higher than usual to compensate.
Elevating Your Candy: Variation Ideas Beyond the Basic Batch
Once you master the foundational Homemade Toffee Recipe , you can start experimenting. The base is so robust that it adapts beautifully to other flavour profiles.
For a richer, deeper experience perfect for winter baking, try substituting a quarter cup of the white sugar with dark brown sugar. This infusion deepens the molasses notes inherent in the caramelization, creating an almost smoky complexity.
Alternatively, for a sophisticated finish, skip the salt in the pot and sprinkle flaky Maldon sea salt across the surface immediately after pouring. This contrast between sweet, rich butter, and sharp salinity is utterly addictive.
Whether you serve these Homemade Toffee Bars alongside coffee or simply enjoy them as a direct treat, you’ll find this recipe becomes a treasured staple.

Recipe FAQs
Why is my Homemade Toffee grainy instead of smooth and snappy?
Ah, that's usually down to stirring the mixture once it has started boiling it encourages the formation of sugar crystals, which ruins the texture. Also, make absolutely sure you’ve washed down any stray crystals clinging to the sides of your pan with a wet pastry brush before it hits the hard crack stage.
What is the magic temperature I need to hit for perfect toffee?
For that classic, hard, brittle snap that shatters beautifully, you must reach the hard crack stage, which is precisely 300°F (149°C). Invest in a decent candy thermometer; guessing here is a recipe for chewy fudge or burnt disappointment!
Can I make this Homemade Toffee recipe if the weather is a bit damp or humid?
It’s best avoided if it’s chucking it down outside, to be honest. High humidity introduces too much moisture into the sugar structure, often leading to sticky, soft toffee that won’t set properly. Wait for a dry, cool day for the best results.
How should I store the finished toffee to keep it fresh and crisp?
Once fully cooled and set, wrap the toffee tightly in airtight containers, separating layers with wax or parchment paper like wrapping up a precious jewel! Keep it in a cool, dry cupboard, away from any heat source; avoid the fridge unless your kitchen is tropical, as condensation can make it weep.
I’ve burnt the bottom slightly; can I still use the Homemade Toffee mixture?
If it's just a slight scorch, try to pour the mixture gently, leaving the dark bits behind in the bottom of the pan; you might salvage most of it. If the whole batch tastes bitter or smells acrid, sadly, it's gone past the point of no return it’s best to chuck it and start again, as that burnt flavour permeates everything.
Proper Homemade Butter Toffee
Ingredients:
Instructions:
Nutrition Facts:
| Calories | 30 kcal |
|---|---|
| Protein | 0.1 g |
| Fat | 1.8 g |
| Carbs | 4.6 g |
| Fiber | 0.0 g |
| Sodium | 892 mg |
