Four Layer Delight: a Heavenly Decadence
- Look into Into Decadence with Four Layer Delight
- What’s So Special About It?
- Why You’ll Love Making This
- Essential Ingredients Guide: Your Go-To for Layered Goodness!
- Mastering the Art of Professional Cooking: Unlock Your Inner Chef
- Pro Tips & Secrets for Your Four Layer Delight
- Perfect Presentation: Plating Your Dessert
- Storage & Make-Ahead Tips
- Creative Variations for Your Dessert
- Complete Nutrition Guide
- Wrapping It Up!
- Frequently Asked Questions
- 📝 Recipe Card
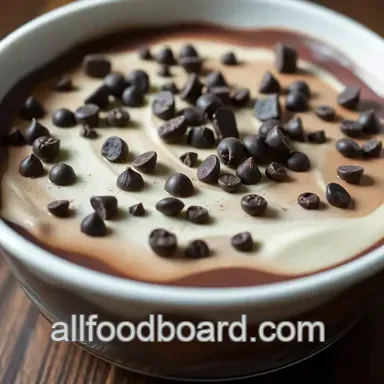
Look into Into Decadence with Four Layer Delight
Have you ever had one of those desserts that feels like a hug from your grandma? you know, the kind that makes everything better? well, let me tell ya, my four layer delight is that dessert.
The first time i made it, i was trying to impress my friends at a potluck, and boy, did it deliver! it’s like a party in your mouth with rich chocolate, creamy vanilla, zesty citrus, and a crunchy nut topping.
Each bite is a seriously yummy experience, and i promise you, this layered dessert is gonna blow your mind. seriously, can i get an “oh my gosh”?
What’s So Special About It?
Okay, let’s chat history for a second. the four layer delight is not just your average chocolate layer dessert. this beauty has its roots in british tea times, where layering cakes and treats were all the rage.
You can almost feel the afternoon tea vibes wash over you when you whip this up, right in your own kitchen! nowadays, it’s a fan favorite at potlucks, birthday parties, or even as a cozy treat for movie night.
One of the coolest things about this dessert is its impressive appearance like, talk about instagram goals! it feels fancy, but the truth is, you only need about 1 hour and 50 minutes to whip it up (a lot of which is chilling time).
It’s categorized as medium difficulty because, let's be real, getting those layers right can be a teeny bit tricky. but hey, if i can nail it, so can you!
As far as cost goes, you can keep this dessert pretty budget friendly. most ingredients are pantry staples, making it an easy go-to for anyone looking to impress without breaking the bank.
You’ll get 8 servings , so it’s perfect for sharing, which, like, i always say is the best part about dessert!
Why You’ll Love Making This
Now, let’s dive into some delightful benefits. first and foremost, this chocolate layer dessert is deliciously rich in flavor without going overboard on sweet.
You've got dark chocolate for a kick of antioxidants, heavy cream adds a bit of richness, and then we hit it with those zesty citrus notes.
Honestly? it’s like a flavor explosion!
Plus, this dessert is an absolute show stopper for special occasions. birthdays? check. anniversaries? double check. just a random tuesday? why not! it’s such a treat to serve good friends because it shows you really put in the effort.
And let’s not forget how versatile it is: switch out the different layers for something totally unique. one time, i used raspberry puree instead of citrus, and it was divine!
And if you’re comparing this to other rushing pudding desserts, let me tell ya there’s nothing like it. It uniquely balances rich and zesty flavors, and that nut crunch layer? It's the cherry on top, or should I say, the nut on top?
So are you ready to take that plunge into the yumminess? up next, i’m spilling the beans on what you need to whip up this luscious four layer delight .
Trust me, you don’t want to miss this. time to gather those ingredients and let's get layering!
Essential Ingredients Guide: Your Go-To for Layered Goodness!
Okay, folks! let’s take a moment to dive into the essential ingredients that make all those delicious layer desserts especially that rich four layer delight absolutely epic! seriously, there’s nothing quite like a fancy layered dessert to impress your friends, am i right?
But, before we get to the glorious stacking, let’s chat about the building blocks.
Premium Core Components
Detailed measurements: whether you measure in cups or grams, precision is key. trust me, you don’t want to overdo the chocolate or skimp on some crucial cream.
For example, you'll want 1 cup (170g) of dark chocolate chips for that chocolate layer. if you're a metric gal or guy, stick to 70% cocoa content and you won’t go wrong!
Quality indicators: look for dark chocolate chips that aren’t loaded with random fillers. you want that rich chocolate flavor to shine.
Go for heavy cream that feels thick and smooth trust your gut here!
Storage guidelines & shelf life: store your ingredients properly. chocolate can hang out for quite a while, but cream? that’s a quick turnaround, folks.
Keep heavy cream chilled and use it within a week or two after opening.
Freshness Tips: When choosing citrus for your layers, pick fruits that are firm with vibrant skin. No one wants a sad, dried-up lemon ruining their dessert!
Signature Seasoning Blend
Now, let’s get to the fun part— signature seasonings! This is where you can mix and match to create your own signature touch. Here’s what I’ve learned:
Essential Spice Combinations: For a wow factor, consider a pinch of sea salt to enhance the chocolate flavor. Sea salt and chocolate are like the dynamic duo of the dessert world!
Herb Selections: Fresh mint can really brighten up that creamy vanilla layer if you decide to switch things up. Just chop it fine and sprinkle it right in major flavor upgrade!
Flavor Enhancers & Aromatics: Vanilla extract is a must don’t skimp! And if you're feeling fancy, a bit of almond extract can have your guests singing your praises.
Smart Substitutions
Okay, life happens, right? You may not always have what you need on hand, but no worries!
Common Alternatives: If you’re out of heavy cream, go for coconut cream! You won’t even miss the dairy, and the tropical vibe is a game changer for a cake or layered dessert.
Dietary Modifications: If someone’s dodging sugar, swap out powdered sugar with a sugar substitute like erythritol or stevia. Your dessert will still shine, trust me!
Emergency Replacements: No citrus? No problem! Maybe try a layer of pureed berries instead like raspberries or strawberries for a fresh twist.
Kitchen Equipment Essentials
Let’s not forget your gadgets! Here’s the deal:
Must Have Tools: A 9 inch square baking pan will be your best buddy for layering. If you don't have one, an oval cake dish works too.
Alternative Equipment Options: Need a mixer? Whip it old school with a whisk hello, arm workout!
Preparation Tips: Make all your layers ahead of time and chill, chill, chill. Each layer needs to cool before you stack it up like a pro.
Storage Solutions: If you have leftovers (not likely, but who knows!), wrap the dessert tightly in plastic and stick it in the fridge where it can stay fresh for up to three days but let’s be real, it probably won’t last that long!
And there you have it! when you combine these essentials with the delightful flavors of the four layer delight , you're cruising toward dessert success, my friends.
Now, let’s move on to how you can pull all this deliciousness together, layer by heavenly layer. get ready to impress!
Mastering the Art of Professional Cooking: Unlock Your Inner Chef
Cooking can feel like a wild ride sometimes, kinda like a rollercoaster you didn’t quite sign up for. but, trust me, if you can level up your game with some professional cooking methods , it’s gonna be smooth sailing.
Today, let’s dive into the essential steps, a solid step-by-step guide, expert techniques, and success strategies to get you cooking like a boss.
Essential Preparation Steps
First things first, mise en place . honestly, this french term just means “everything in its place.” lay out all your ingredients before you start cooking.
It’s like having your favorite playlist ready before a party - it sets the vibe!
Time management? critical! block out your prep time (about 20 minutes for the four layer delight) and cook time (around 30 minutes ).
You’ll feel like a pro when you tick those off your list!
Organization is key, too. keep your work surface clean, especially between layers for that stunning four layer delight . and safety! always remember, a clean kitchen is a happy kitchen.
Wash your hands and keep those surfaces sanitized. who wants to make a mess of their awesome layered desserts, am i right?
Step-by-step Process
Now, the real fun begins! Let’s break it down into bite sized chunks:
Prepare the Chocolate Layer : Melt 1 cup of dark chocolate chips with 1/2 cup heavy cream until smooth. Let it cool and chill for about 30 minutes .
Vanilla layer next! : whip 1 cup of heavy cream until soft peaks form. fold in 1/2 cup powdered sugar and 1 teaspoon vanilla extract .
Spread this on top of your chilled chocolate layer and let it chill for another 30 minutes .
Moving on to the citrus layer : mix cream cheese with the zest of a lemon and orange plus 1/4 cup granulated sugar until smooth.
This zesty kick adds a fresh vibe, don’t you think?
For the nut crunch layer , gently heat 2 tablespoons of butter and 2 tablespoons of brown sugar in a pan, toss in your mixed nuts , and let them get all golden.
Cool slightly and spread over the citrus layer.
Last chill? Chill the whole dessert for at least 30 minutes before slicing it up. You want that perfect square cut, right?
Expert Techniques
Little tricks can take your cooking from good to extraordinary! Here are a few gems:
Quality Ingredients Matter : You can’t rush greatness. Use high-quality chocolate and real vanilla for that decadent taste in your chocolate layer dessert .
Timing is Everything : Watch your temperatures. When melting chocolate, keep it at around 120° F . This keeps it smooth and silky!
Visual Cues for Doneness : Look for that rich sheen on your chocolate. That’s the sign of perfection!
Troubleshooting : If your layers start to mix, fret not! Just pop it back in the fridge and give it a little extra chill. Sometimes desserts just need a little timeout!
Success Strategies
Let’s talk about what not to do to nail this recipe. avoid the urge to layer when things aren't fully cool.
Trust me! you’ll end up with a gooey mess instead of those stunning layered desserts .
Want perfect results every time? Make sure each layer is chilled just enough before moving on. Try out some make-ahead options too. This dessert can be prepped a day in advance!
Lastly, don’t forget to have fun! Cooking should feel like a celebration. Whether you’re whipping it up for a gathering or just for yourself, enjoy every step.
Transition Time: Additional Information
Now that you're set to tackle the four layer delight and wow your guests, hang tight for a moment while i whip up some additional info and ideas to turn your cooking game on its head.
You got this, superstar! whether it’s chocolate delights or new layer cakes , every step is a chance to create something yummy and sweet.
Remember, cooking is just as much about the journey as it is about the end result!
Pro Tips & Secrets for Your Four Layer Delight
So, you’re ready to dive into the rich, creamy world of Four Layer Delight ? Awesome! But before we get started, here are some chef's secrets to help you make your chocolate layer dessert stand out!
First off, cooling is key . each layer has to fully chill before adding on the next. trust me, i’ve ruined many a layered dessert by rushing this step.
Just scroll through your phone for a bit while you wait it’ll be worth it!
For a flawless flavor boost, using quality ingredients is a game changer. grab some dark chocolate that’s at least 70% cocoa.
You’ll really taste the difference, and your friends will be all like, “what’s your secret?” ha!
Oh, and if you’re all about that time saving life, consider making a batch of whipped cream ahead of time. just store it in the fridge, and it’s ready whenever you need it.
Less stress = more dessert.
When it comes to presentation, try to serve this masterpiece in a trusty glass dish . You’ll want to show off those glorious layers!
Perfect Presentation: Plating Your Dessert
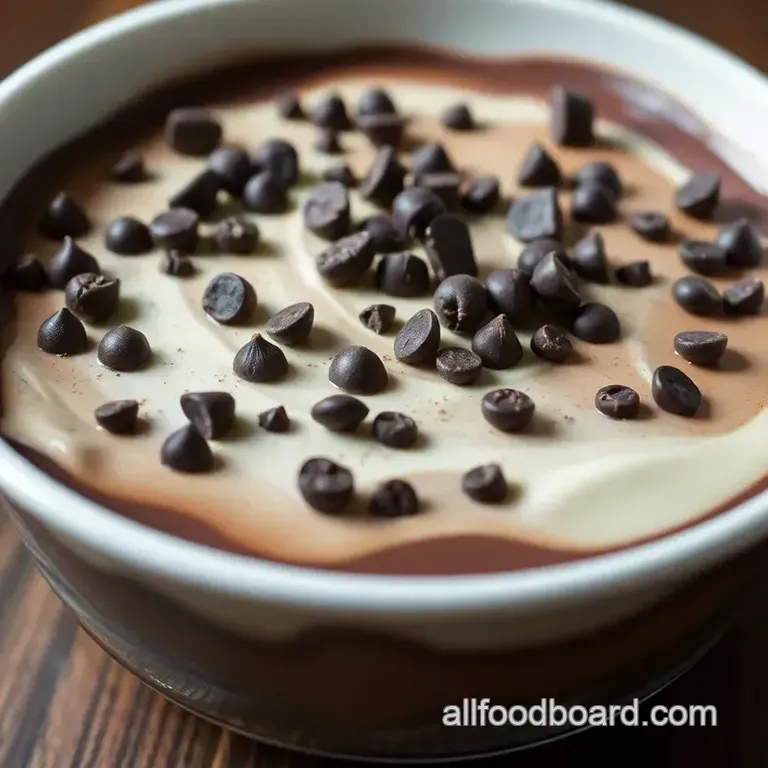
Okay, let's talk about making this beauty look as good as it tastes! Layered desserts are all about the visual appeal. This Four Layer Delight deserves some love in the presentation department.
Plating is simple but effective. start with a nice flat base, and make sure you slice with a hot knife .
Just run it under warm water for a minute, dry it off, and then slice through your dessert. this way, you’ll get clean edges that are instagram ready !
For garnish, think outside the box! a sprinkle of zest from the lemon or orange used in the citrus layer instantly elevates your dish.
Plus, you can’t go wrong with a handful of chopped nuts on top. they bring texture and that lovely crunch; seriously who doesn’t love a little crunch?
Storage & make-ahead Tips
Let’s face it, life gets busy! If you want to whip up this yummy treat ahead of time, you’ve got options.
Storage is simple : keep your Four Layer Delight in an airtight container in the fridge. It should last three days —if it makes it that long, that is!
Got leftovers? To reheat , make sure to only warm it slightly in the microwave. You don’t want to turn that lovely chocolate layer into a molten mess!
Creative Variations for Your Dessert
Feeling adventurous? There are loads of ways to jazz up your Four Layer Delight. How about swapping out that chocolate layer for caramel ? Yeah, you heard me right! Talk about a flavor explosion!
Want to go seasonal? toss in some fresh strawberries or raspberries instead of zest for a berry flash! the bright colors will pop against the creamy layers and trust me, they’ll taste heavenly.
For a touch of fun, replace the mixed nuts with crushed Oreos or graham crackers. Instant s’mores vibes, anyone?
Complete Nutrition Guide
Alright, let's crunch some numbers! when it comes to desserts, it’s all about balancin' indulgence with health. each serving of your four layer delight is around 350 calories .
Not too shabby for a layered dessert, right?
This beauty offers a good dose of healthy fats from the nuts and some protein thanks to the cream. Plus, using real cream cheese has its perks calcium boost, anyone?
Remember, moderation is key! Don’t forget to enjoy it in a balanced way. Sharing is caring, so why not slice it into tiny squares and enjoy with friends?
Wrapping It Up!
So there you have it, folks! your delicious journey into the world of four layer delight is just starting. don’t be afraid to play with flavors and presentation.
Whether you're dishing it out at a bbq or enjoying it solo on a netflix night, you’re in for a treat.
Remember, folks, desserts are meant to be fun and delicious and your delicious layer dessert is going to steal the show! enjoy those yummy sweets !
Frequently Asked Questions
What is Four Layer Delight, and what are its layers?
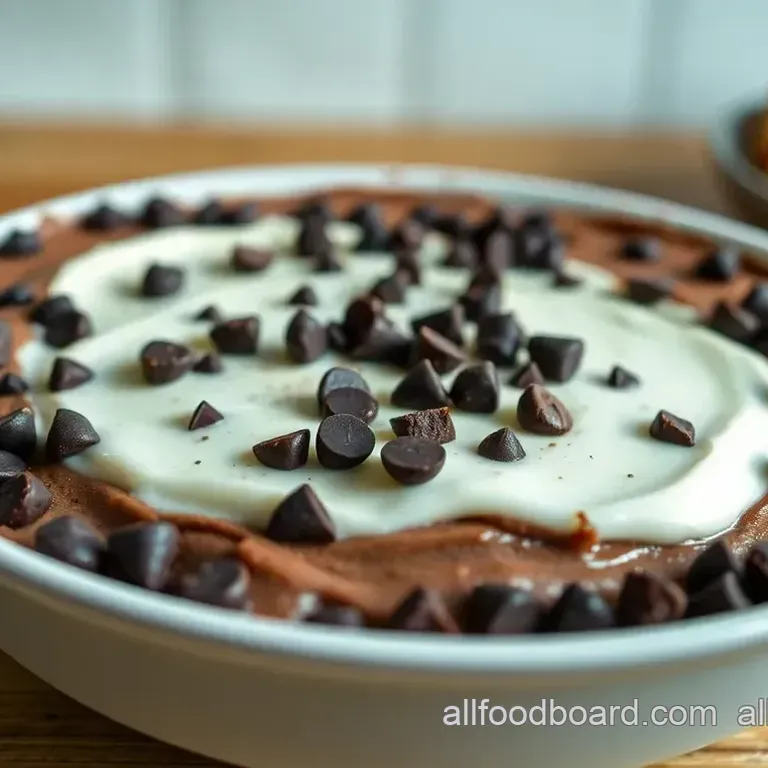
Four Layer Delight is a decadent dessert that consists of four distinct layers: a rich chocolate layer, a creamy vanilla layer, a zesty citrus layer, and a crunchy nut topping. Each layer adds a unique flavour and texture, making it a showstopper for any gathering or a delightful treat at home.
How do I ensure each layer of my Four Layer Delight is set properly?
For the best results, make sure to chill each layer thoroughly before adding the next. After spreading a layer, pop it into the fridge for at least 30 minutes or until firm. This prevents the layers from mixing and keeps the dessert looking sharp!
Can I customize the ingredients in my Four Layer Delight?
Absolutely! Feel free to swap the chocolate layer for caramel or use different citrus zests. If you're looking for a healthier twist, you might also consider using coconut cream instead of heavy cream for a dairy-free option.
How should I store leftover Four Layer Delight?
Store any leftovers in an airtight container in the fridge. It will keep well for about 3-4 days, although it's best enjoyed fresh as the layers can start to blend over time. Just give it a quick chill before serving again!
What are some serving suggestions for Four Layer Delight?
This dessert pairs beautifully with a light English Breakfast tea or fresh berries drizzle with honey for a touch of freshness. For added indulgence, consider serving it with a scoop of vanilla ice cream or a dollop of whipped cream on top for that extra treat!
Is Four Layer Delight suitable for special diets?
Yes, with a few adjustments! You can use dairy-free alternatives like coconut cream to make it vegan and lactose free. If you have nut allergies, simply swap out the nut crunch for chocolate sprinkles or crushed cookies.
Four Layer Delight A Heavenly Decadence