Simply Splendid the Ultimate Homemade Butter Toffee Crunchy Buttery Perfection

- Why This Homemade Butter Toffee Recipe Is Your New Obsession
- Unlocking That Signature Crunch: The Magic Behind the Batch
- Gathering Your Golden Components for Rich Toffee
- Essential Tools: What You Need Before the Boil Begins
- The Alchemy of Heat: Mastering the Candy-Making Stages
- Transitioning Your Toffee from Pan to Perfect Crunch
- Troubleshooting & Tips for Next-Level Toffee Brilliance
- Recipe FAQs
- 📝 Recipe Card
Why This Homemade Butter Toffee Recipe Is Your New Obsession
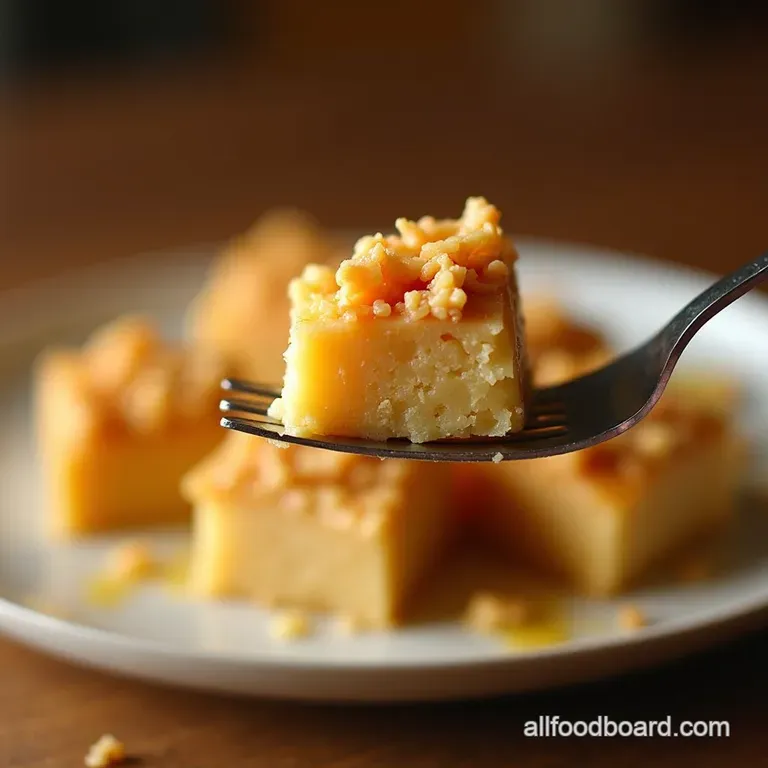
Forget those hard-to-chew supermarket versions; this recipe delivers the quintessential, deeply caramelized butter toffee that shatters beautifully when you bite into it. Rich, dark, and intensely buttery, this classic confection has roots stretching back centuries, proving that simple, high-quality ingredients, treated right, yield the most extraordinary results.
It’s addictive, trust me! Making a proper batch of Homemade Butter Toffee is less about complex culinary technique and more about trusting your thermometer and your timing.
This "Simply Splendid: The Ultimate Homemade Butter Toffee (Crunchy & Buttery Perfection)" is designed to be conquerable, even for those new to candy making. With a relatively short ingredient list butter, sugar, water, and corn syrup the magic lies entirely in the method, transforming basic pantry staples into a sophisticated, show stopping treat.
Unlocking That Signature Crunch: The Magic Behind the Batch
The texture of a perfect toffee is what separates the sublime from the sadly disappointing. We are aiming for a hard, resonant snap, not a chewy, taffy like pull. This signature crunch is achieved by pushing the sugar butter mixture precisely to the "hard crack" stage, which is 300° F ( 149° C).
Any lower, and you risk a soft set; any higher, and the mixture risks burning and tasting bitter. The inclusion of a small amount of light corn syrup is a subtle but vital step in this Homemade Toffee Candy process, as it acts as an invert sugar, ensuring the sucrose molecules remain beautifully separated and crystalline free, resulting in a smooth, non-gritty mouthfeel.
Elevating the Everyday: A Truly Authentic Toffee Experience
While the process is straightforward we combine and boil the resulting flavor profile of this English Toffee Recipe is anything but mundane. By using high-quality, unsalted butter (we provide a full cup, or two sticks!), you ensure the caramelization process yields a deep, nutty, butterscotch note rather than a flat sweetness.
This richness is what makes this confection so versatile. Once you master the base, you can easily create Homemade Toffee Nuts by adding toasted pecans, or even incorporate the shards into your baking to create incredible Homemade Toffee Cookies .
The authenticity comes from respecting the slow, steady development of that deep amber color.
The Chef’s Pledge: Simple Steps to Flawless Finish
This Easy Toffee Recipe requires commitment during the cooking phase but offers immediate gratification afterward. The commitment involves standing by the stove, monitoring that thermometer religiously.
We use a heavy bottomed, 3-quart saucepan because this ensures the heat is distributed evenly across the bottom, preventing localized scorching that can ruin the entire batch. After reaching the critical temperature, the final flourish the addition of baking soda is what transforms the dense sugar mixture into something airy and light.
This rapid aeration is the secret weapon for achieving that perfect brittle shatter we all crave.
Beyond Christmas: When to Indulge in Rich Butter Toffee
While toffee is traditionally associated with holiday gift giving, there is no reason to limit this indulgence. A handful of this crunchy confection pairs spectacularly well with a scoop of ice cream or can be folded into popcorn kernels for a celebratory batch of Butter Toffee Popcorn .
For those looking for a protein boost alongside their treat, crushing cooled toffee over yogurt mixed with Butter Toffee Peanuts makes an inspired breakfast. Truly, any day that requires a moment of intense, buttery joy is the perfect day for this candy.
Gathering Your Golden Components for Rich Toffee
To begin crafting this exceptional Homemade Butter Toffee , preparation is paramount. We need a meticulous collection of ingredients to ensure a smooth transition from stove to setting pan.
The core components for the toffee itself butter, sugar, water, corn syrup, and salt must be measured precisely. Remember, candy making is chemistry in action; slight variations can throw off the delicate balance.
The recipe calls for 1 cup (227g) of unsalted butter and 2 cups (400g) of granulated sugar, balanced by 1/2 cup of water and 1/4 cup of light corn syrup. Keep your vanilla extract and baking soda ready nearby, as they are added right at the very end, off the heat.
Related Recipes Worth Trying
- The Proper Job Homemade Butter Toffee Recipe Crisp Buttery — Forget fiddly recipes This homemade toffee recipe guarantees a crisp shatteringly perfect English Toffee every time Get the temperature tips now
- The Proper Crunch Foolproof Homemade English Butter Toffee — Stop buying disappointing candy This brilliant Homemade Toffee Recipe guarantees a shatteringly crisp deeply butterscotch snap every single time Get the...
- The Ultimate Fall Potluck Dishes Butternut Squash Bake — Forget boring sides This creamy Butternut Squash Ricotta Bake is one of the best fall potluck dishes that travels perfectly See what to bring to a fall potluck
Essential Tools: What You Need Before the Boil Begins
Before you even turn on the burner, ensure your workspace is ready. The most critical piece of equipment is a heavy bottomed 3-quart saucepan. This thickness is not optional; it insulates the mixture, allowing the heat to rise evenly and preventing the sugar from burning where it touches the metal.
Next,, a reliable, calibrated candy thermometer is non-negotiable for mastering How To Make Toffee . Eyeballing the color is risky when targeting 300° F.
You will also need a 9x13 inch baking pan lined with parchment paper that slightly overhangs the edges this acts as a sling to lift the finished product out later.
The Dairy Decision: Selecting Superior Butter and Cream
Since butter is the star of Homemade Butter Toffee , its quality directly influences the final flavor. Always opt for high fat, high-quality unsalted butter. Unsalted is specified so we can control the exact amount of salt added to balance the sweetness.
Do not be tempted to substitute margarine or lower fat spreads; the milk solids and fat content in real butter are essential for achieving that deep, cooked, caramelized note characteristic of excellent toffee.
Precision Pointers: Why Thermometer Use is Non-Negotiable
The goal temperature for this recipe is 300° F ( 149° C), the hard crack stage. At this temperature, the sugar solution is intensely concentrated, and upon cooling, it becomes rigid and brittle. Using a thermometer ensures you hit this exact point.
If you pull it off the heat at 295° F, the toffee will set up too softly. If you let it go to 310° F, you'll likely burn the sugars, resulting in a bitter, dark brown product that may not set correctly.
Mapping Out Your Mise en Place for Seamless Success
"Mise en place," or everything in its place, is vital here because the final stages move very quickly. Once the mixture hits 300° F, you have mere seconds before you must remove it from the heat, stir in the vanilla and baking soda, and pour.
Ensure your baking pan is prepped, the vanilla is measured, and the baking soda is spooned out, ready to go. Speed and confidence are your allies in the last few moments of this candy making endeavor.
The Alchemy of Heat: Mastering the Candy Making Stages
The true alchemy begins on the stovetop. Start by combining the butter, sugar, water, corn syrup, and salt in your heavy bottomed pan over medium heat. Stir gently but thoroughly until the butter is completely melted and the sugar grains have dissolved you should no longer feel any grit when pinching a little between your fingers.
Once dissolved, insert the candy thermometer and stop stirring. Increase the heat to medium high and let the mixture come to a rolling boil. Resist the urge to stir once the boil begins; stirring introduces air bubbles that can cause crystallization.
Transitioning Your Toffee from Pan to Perfect Crunch
The time between 250° F and 300° F is where you must remain utterly focused. The temperature rises exponentially during this phase, moving quickly toward that crucial hard crack point.
Phase One: The Gentle Start of Melting and Mixing
As mentioned, the initial melt must be complete and crystal free. The inclusion of water and corn syrup stabilizes the sugar, ensuring that when the water boils off, the remaining sugar molecules solidify into a uniform matrix rather than fracturing into inconsistent crystals.
Maintain a steady medium high heat, allowing the mixture to boil vigorously without scorching.
Hitting the Hard Crack: Recognizing the Critical Temperature Point
We are aiming squarely for 300° F ( 149° C) . Watch the thermometer closely. As the mixture approaches this mark, it will transform from a light straw color to a deep, rich amber the color of dark honey or polished mahogany.
This deep color indicates deep caramelization and superior flavor depth for your Homemade Butter Toffee .
Pouring Protocol: Ensuring Even Thickness for Your Homemade Butter Toffee
The moment the thermometer reads 300° F, remove the pan immediately from the heat source. Swiftly stir in the vanilla extract. Next, immediately whisk in the baking soda.
This addition causes an immediate, dramatic foaming reaction; the mixture will expand rapidly and become lighter in color. This is exactly what we want! Quickly, yet carefully, pour the foaming mass into the prepared pan.
Do not scrape the sides of the saucepan, as any residual, sticky sugar left behind can encourage the entire batch to seize. A gentle tilt of the pan should encourage it to spread evenly across the surface.
The Chocolate Climax: A Quick Chill for Ultimate Snap
Let the toffee cool undisturbed at room temperature for a minimum of 1. 5 hours. Do not rush this in the refrigerator unless you are applying a chocolate coating, as rapid cooling can sometimes lead to condensation issues.
Once fully hard and cool, lift the entire slab using the parchment paper overhang. If you choose to top it, melt 6 oz of dark or milk chocolate and spread thinly over the surface, immediately sprinkling with flaky sea salt.
Return the pieces to parchment until the chocolate sets, yielding that satisfying snap when broken.
Troubleshooting & Tips for Next Level Toffee Brilliance
Most issues stem from temperature misjudgment or humidity. If you find your toffee remains sticky or chewy even after cooling overnight, it likely didn't reach the 300° F target. If it tastes burnt, you went too far past it.
Always check your thermometer's accuracy against boiling water ( 212° F/ 100° C at sea level) before starting.
When Your Toffee Won't Set: Expert Recovery Methods
If your batch seems unusually soft after cooling for several hours, all is not lost. You can carefully break the soft mixture into small pieces, place them back into the heavy saucepan with a tablespoon of fresh butter and a splash of water, and re-boil it gently until it reaches the 300° F mark again.
Proceed with the baking soda addition and pour as normal. This works surprisingly well for salvaging soft batches.
Flavor Remix: Delicious Variations on Classic Butter Toffee
To move beyond the standard, consider adding toasted Homemade Toffee Nuts —pecans or almonds work beautifully to the pan just before pouring. For a spicy kick, a half teaspoon of ground ginger stirred in with the sugar adds wonderful complexity.
Or, use this rich base to create chunks for melting into cookies for truly decadent Homemade Toffee Cookies .
Nutrition Snapshot: Understanding the Indulgence
While this is a truly indulgent treat, remember that the primary components are simple sugars and fat. A standard serving (about 1/36th of the batch, without chocolate) hovers around 110 calories, offering a burst of energy derived from its high sugar content. Enjoy these potent squares mindfully!
Long Term Keeping: Airtight Containers and Climate Control
To preserve that perfect snap, storage is key. Store your finished Homemade Butter Toffee in an absolutely airtight container. Layer pieces between sheets of fresh parchment paper to prevent sticking. Keep them in a cool, dry pantry.
Avoid storing them in humid environments or near heat sources, as moisture is the enemy of crunchiness. Properly stored, this candy will remain spectacularly brittle for several weeks.

Recipe FAQs
Why is my Homemade Butter Toffee coming out soft instead of hard and crunchy?
This almost always comes down to temperature, mate. To achieve that delightful 'hard crack' needed for shatteringly crisp toffee, your sugar mixture absolutely must reach 300°F (149°C).
If it cools down below this point, it stays chewy; if you’re below 295°F, you need to pop it back on the heat to bubble up a bit more before pouring.
Can I make this toffee recipe without a candy thermometer?
While I wouldn't recommend it if you want perfect results, you can try the cold water test, but honestly, it’s a bit of a fiddle! Drop a tiny bit of the syrup into a glass of ice-cold water; if it immediately forms hard, brittle threads that snap when bent, you’re there.
However, for something as precise as toffee, a thermometer is the best investment you can make it stops you from having a sticky kitchen disaster!
How should I store my Homemade Butter Toffee to keep it fresh and crisp?
Humidity is the sworn enemy of brittle toffee, so airtight storage is crucial. Once completely cooled and set (especially if you’ve dipped it in chocolate), layer the pieces between sheets of parchment paper inside a sturdy, airtight container.
Keep it somewhere cool, like a cupboard, but avoid the fridge, as condensation can make it sticky.
I accidentally stirred the mixture after it started boiling will my toffee seize up?
Don't panic just yet! Stirring sugar once it boils can introduce sugar crystals that cause the whole batch to turn grainy, or 'seize'. If you notice crystallization starting on the sides of the pan, quickly take a pastry brush dipped in hot water and gently wash the stray crystals back down into the mixture.
If it seems fine, just stop stirring immediately and let the thermometer do the work!
What’s the deal with adding baking soda right at the end? What does it do?
That baking soda addition is the secret weapon for that classic, lighter texture! When the hot syrup hits the baking soda, it creates a burst of carbon dioxide gas, which causes the mixture to foam up dramatically like a tiny volcano, only delicious.
This aeration prevents the toffee from setting into a solid, glass like lump, giving it that perfect, satisfying crunch.
Easy Homemade Butter Toffee
Ingredients:
Instructions:
Nutrition Facts:
| Calories | 53 kcal |
|---|---|
| Protein | 0.2 g |
| Fat | 1.1 g |
| Carbs | 7.2 g |
| Fiber | 0.1 g |
| Sodium | 1866 mg |
