Grateful Dead Cocktail: a Colorful Tribute in a Glass
- Let’s look into into the Grateful Dead Drink!
- Recipe Overview: A Party in a Glass
- Key Benefits: Sip Your Way to Happiness
- Ready to Get Mixing?
- Essential Ingredients Guide: The Backbone of Amazing Drinks
- The Art of Professional Cooking: Mastering the Basics
- Shake It Up: Your Ultimate Grateful Dead Cocktail Guide
- Frequently Asked Questions
- 📝 Recipe Card
Let’s look into into the Grateful Dead Drink!
Alright, let me take you back to one of those summer nights when the only thing on the agenda was good vibes, great friends, and a whole lot of colorful cocktails.
Picture this: we’re lounging in my backyard, music flowing, laughter bubbling up like soda pop, and then someone pulls out the fixings for a grateful dead drink .
Now, if you’ve never had one, oh my gosh, you’re missing out! it’s not just a drink; it’s a vibrant masterpiece that perfectly captures all the rave of the 70s.
Creating this cocktail is like pouring a psychedelic sunset into a glass. seriously, who doesn't love watching that beautiful layering? trust me, all your friends will be asking for your secret once they see that stunning rainbow effect.
Let’s break it down a bit.
Recipe Overview: A Party in a Glass
So, where did this grateful dead cocktail come from, you might wonder? as far as cocktails go, it’s a classic tribute that emerged when the dead were rocking the stages in the 70s.
This drink is all about fun, creativity, and a bit of that renegade spirit just like the band itself!
Nowadays, it's a staple at parties, beach weddings, or just a laid back bbq. with a simple boring buzz of vodka and rum jazzing it up with flavors like blue curaçao and grenadine, it’s no wonder why this colorful drink still reigns supreme.
Time wise, you’re looking at a mere 10 minutes of prep. and let me tell you, i’m no master mixologist, but this is totally doable! it’s marked as a medium difficulty mainly due to the layering, which might throw some off at first.
As for costs? This little gem won't break the bank. Most of the ingredients are standard liquor cabinet staples. You can definitely whip up several servings without feeling guilty about your wallet who doesn’t love a party on a budget?
Key Benefits: Sip Your Way to Happiness
Now, let’s talk about why you should whip up this beauty tonight. first off, it’s got some health benefits ! okay, maybe not a ton, but think about the fruits you could throw in there.
Fresh fruit garnish? check! a little vitamin c from that lemon garnish? double check!
And let’s be real this drink isn’t just pretty; it’s got serious unique selling points . forget your average cocktail this drink is a conversation starter.
You show up at a party with a tray of these, and suddenly you’re the life of the bash. perfect for occasions like summer cookouts or even holiday parties if you’re feeling cheeky enough to serve something so colorful during a long winter night!
The key advantages over other cocktails? the skillful layers! it’s not just about the taste; it’s about the presentation. plus, it pairs easily with a salad with goat cheese or spicy shrimp cocktails.
Ready to Get Mixing?
Alright, are you feeling that cocktail fever yet? it’s time to gather your goodies. there’s nothing like pulling out those vibrant ingredients the malibu rum, vodka, and that blue curaçao liqueur and mix them all together into a glorious boozy rainbow.
Trust me, it’s going to be a blast! so, grab those ingredients, and let’s get this grateful dead cocktail party started!
Essential Ingredients Guide: The Backbone of Amazing Drinks
So, let’s dive right into the essential ingredients guide ! whether you’re a newbie in the kitchen or a seasoned pro, knowing your ingredients can totally elevate your game.
Plus, it makes whipping up that grateful dead drink a whole lot easier. for anyone who's ever found themselves staring blankly at a shelf of spices or wondering which mixing glass to use, this one's for you.
Premium Core Components: The Building Blocks
First things first let's talk about the premium core components . you really want to make sure you get the right measurements down, whether you’re measuring in good old fashioned cups or grams.
For example, a perfect cocktail like the grateful dead needs just the right amount of each liqueur. trust me, nobody wants a drink that’s too sweet or too boozy!
- Measurements: For your base spirits, think about this: 1 oz (30 ml) of vodka, gin, and rum is a good start. If you’re cooking, this same rule applies accuracy is key.
- Quality Indicators: Look for bright colors in your liqueurs. If that blue curaçao liqueur doesn’t pop, it might be time for a new bottle!
- Storage Guidelines: Please keep your spirits in a cool, dark place. They'll last longer, and that’s just smart. Most liqueurs can sit happily for a year or more.
- Freshness Tips: Check for any weird smells or colors. If it looks questionable, it probably should be tossed. No one wants those bad vibes in their drinks!
Signature Seasoning Blend: Flavor Town Awaits
Now onto the signature seasoning blend ! You just can’t go wrong with a good mix of spices and herbs. They can make all the difference.
- Essential Spice Combinations: A pinch of nutmeg or cinnamon can really elevate cream cocktails or punch. So don’t skip nearly anything if you’re looking to impress your pals!
- Herb Selections: Fresh herbs like mint or basil can give cocktails or salads with goat cheese a refreshing kick. Seriously, you gotta try it.
- Aromatic Flavors: Think citrus zest or fresh ginger they’ll make your cocktails sing!
- Regional Variations: Don’t shy away from experimenting either. An Italian twist on your Grateful Dead drink? Go for a splash of amaretto. Who says you can’t be creative?
Smart Substitutions: A Lifesaver in the Kitchen
Let’s be real, we’ve all run out of something crucial right before a party. That’s where smart substitutions come in handy.
- Common Alternatives: No vodka? How about white rum instead? You’ll still roll out a fabulous drink.
- Dietary Modifications: If you’re avoiding sugar, swap out grenadine for something like agave syrup.
- Emergency Replacements: Out of ice? Chill your glass with cold water instead for a quick fix.
- Seasonal Options: Use whatever berries are in season for a fresh twist on your cocktails. It’s a win-win!
Kitchen Equipment Essentials: Tools You Can’t Live Without
Let’s not forget about your kitchen equipment essentials !
- Must Have Tools: A cocktail shaker is a must! It’s like a magic wand for your drink.
- Alternative Options: No jigger? Use a tablespoon or even a coffee cup; just know that a regular cup is about 8 oz.
- Preparation Tips: Chill your glass in the freezer for a few minutes for an extra frosty refreshment when you serve your ‘Crazy Cocktails.’
- Storage Solutions: Keep your spices in airtight containers. Nothing ruins a drink faster than stale spices!
With these guidelines, you’re set up to create unforgettable cocktails like our grateful dead cocktail and beyond. preparing these ingredients and tools ahead of time will save you a ton of hassle, especially when your friends are ready for those vibrant gin punches or ice cream cocktails .
Now that you’re armed with the essentials, let’s get into the step-by-step instructions for crafting that fun, layered drink. I promise, your friends will be raving about it all night long! Cheers, and let’s mix it up!
The Art of Professional Cooking: Mastering the Basics
Alright, friends, let’s talk about the nitty gritty of professional cooking! i don’t mean to sound all fancy and chef like, but there’s a bit of magic in knowing how to whip up an impressive dish that’ll wow your friends.
You know, the kind of meal that makes you feel like a superstar in the kitchen, wearing that imaginary chef hat.
So, let’s dive into some essential preparation steps, a step-by-step process, expert techniques, and those success strategies that’ll help you nail it every time.
Essential Preparation Steps
So, before we get our hands dirty, let’s kick it off with mise en place . it’s a fancy term but honestly, it just means “everything in its place.
” lay out all your ingredients like you’re preparing for a big party because, let’s be real, cooking is a party! get those fruits prepped, spices ready, and utensils lined up.
Time management is key, y’all! i remember the first thanksgiving i cooked; ya girl was running around like a headless chicken.
I learned the hard way. set a timer for everything. cook that chicken for about 1 hour and 20 minutes at 375° f until it reaches an internal temperature of 165° f .
Timing is everything, and trust me, no one likes dry turkey.
Keep it organized. i like to keep my cutting board and tools sorted. a messy kitchen can quickly turn into chaos.
Just think of this as organizing your sock drawer nobody wants to deal with a tangled pile.
And let’s not forget safety! Always wash your hands before cooking, and when using knives, go slow and steady. Don’t be that person who needs an ice pack mid-recipe.
Step-by-step Process
Alright, it’s game time. Here’s where all that prep pays off. Follow these clear, numbered instructions like a pro:
- First things first, heat your pan to medium high heat (around 350° F is sweet).
- Throw in some oil, just enough to coat the bottom. Heat it up until it shimmers; that’s your sign!
- Now, toss in your protein if it’s chicken, let it sizzle for about 6- 7 minutes on one side before flipping it.
- For veggies, keep an eye on those. Cook them until they’re tender, about 5- 10 minutes , depending on the veggies.
- You’ll know it’s done when everything smells mouth watering and looks colorful.
Expert Techniques
Here comes the magic let's talk about those professional methods. for instance, that perfect sear on a steak? it’s all about high heat and patience.
If you crank up your skillet to that 400° f sweet spot, you’ll create a crust that’s out of this world.
Now, let’s talk about quality checkpoints. always taste your food! if it’s lacking flavor, just add a little more salt or a splash of lemon juice.
Remember, no dish is too far gone if you're willing to adjust.
And if you hit a snag, like your sauce splitting? Chill! Just whisk in a little bit of cold water, and voilà! You’re back in business.
Success Strategies
Now, let’s avoid those typical cooking pitfalls. Don’t rush! If you do, your risks of burning or overcooking go up. Settle in and enjoy the process.
Learn to trust your instincts. if a recipe calls for 30 minutes in the oven , but your dish doesn’t look right, pull that sucker out a few minutes early.
Always use visual cues golden brown means you’re on the right track.
And here’s a little secret: make-ahead options are your best friend for busy nights! You can prep your ingredients a day or even two ahead. Just store them properly, and you’re golden.
So folks, armed with these secrets and short instructions, you’re all set to tackle just about any recipe out there.
And when you're ready to celebrate your culinary wins, don’t forget that vibrant grateful dead cocktail ! perfect for toasting those moments when things just click the ultimate crowd pleaser with its stunning layers of color and fruity flavors.
Whether you’re serving it up at a bbq or a family gathering, it’s sure to be a hit!
Additional Information…
If you want to dive deeper into cooking techniques, i’ve got more tips and tricks up my sleeve, covering those strong cocktail recipes and even some crazy cocktails like that unforgettable gin punch .
Remember: learning to cook is a journey. enjoy every step, and may your dishes always bring good vibes!
Shake It Up: Your Ultimate Grateful Dead Cocktail Guide
Alright, friends, let’s dive into the colorful world of the grateful dead cocktail ! if you’re looking to impress at your next party or just kick back with a vibrant drink, i’ve got your back.
Now, this isn’t just any drink it’s a whole experience in your glass. so grab your cocktail shaker and let’s get mixing!
Pro Tips & Secrets: Get the Most Out of Your Cocktail
First off, layering is key with this drink. it’s all about building those gorgeous colors, like a sunset right in your glass.
Use the back of a spoon when pouring in the blue curaçao and grenadine. seriously, slow is the name of the game here.
The colors need their time to shine without blending into a muddled mess.
Want to save a little time? mix your vodka, gin, and rum with the sweet and sour in a shaker ahead of time.
Just keep it in the fridge until you’re ready to pour. if you want to kick those flavors up a notch, consider using a lemon garnish or even a splash of fresh fruit juice for a zingy twist.
Perfect Presentation: Wow Your Guests
Now, let’s talk about making this cocktail look as stunning as it tastes. remember, don’t just throw it in a glass.
Layering is where the magic happens. a tall glass or a hurricane glass works wonders to showcase those beautiful colors.
For garnishes, you can’t go wrong with a classic like an orange slice or a cherry on top. feeling fancy? add a sprig of mint for that pop of green it not only looks great, but it’ll add a fresh aroma while you sip.
The key here is visual appeal . so, think about color combinations! the blue from the curaçao against the red of the grenadine? pure fire.
Storage & make-ahead: Plan for Fun
Listen, nobody wants to be stuck mixing cocktails all night. if you’re throwing a bash or hosting a game night, prep is crucial! you can mix the base of your cocktail ahead of time and let it chill in the fridge.
Just remember, once your cocktail is poured with the layers, it’s best enjoyed fresh. if you’re storing extras, separate the layers, and assemble them just before serving.
That way, you’ll ensure the freshness lasts longer than a snow cone in july!
Creative Variations: Put Your Twist on It
Here’s where you can get really wild! Want to make a Berry Cocktail version? Switch out the blue curaçao for raspberry liqueur and voilà your cocktail just turned into a berry bomb of flavors!
Feeling adventurous? try adding some ice cream! blend in that creamy goodness for an ice cream cocktail that’ll knock your socks off.
Seasonal adaptation? in the fall, throw in some apple or pumpkin flavors for a fall themed twist that’ll keep your guests talking.
Complete Nutrition Guide: Drink Smarter
Now, let’s get real for a second. the grateful dead cocktail isn’t exactly a health drink, but hey, life’s about balance, right? each serving packs in around 300-400 calories, so if you’re watching your intake, maybe stick to one or two.
But here’s the good news: using fresh fruit as a garnish not only elevates the look but also adds some natural fiber and vitamin goodness.
So, tea-time margarita with a salad with goat cheese on the side, anyone?
In Conclusion: Get Ready to Mix!
There you have it your full guide to crafting the perfect grateful dead drink ! with these tips, tricks, and variations, you’ll not only master the art of layering but also bring your own unique flair to each cocktail.
So go ahead, mix it up, and let the good vibes roll. cheers to fruity flavors, festive gatherings, and unforgettable nights! your friends will be so grateful they’ll keep asking for your signature sip again and again! 🎉
Frequently Asked Questions
What is a Grateful Dead drink?
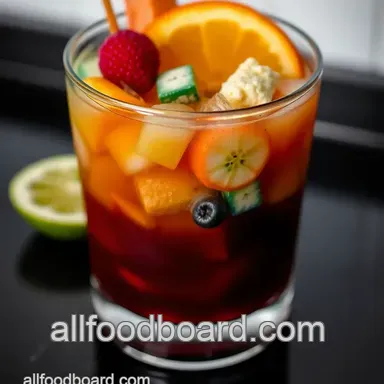
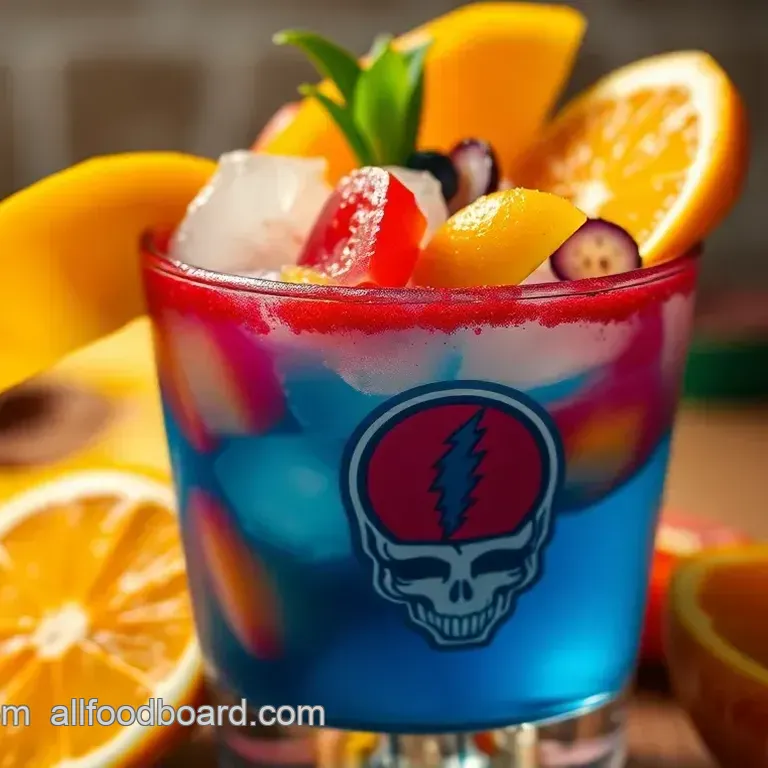
The Grateful Dead drink is a vibrant cocktail featuring various layers of colorful liqueurs, giving it a delightful fruity and sweet flavor. It’s named after the iconic band, and captures the essence of fun and festivity typical of their concerts.
Perfect for any gathering, it’s visually stunning and sure to be a crowd pleaser!
How do I achieve the perfect layering for my Grateful Dead drink?
To get those gorgeous layers in your Grateful Dead drink, make sure to pour each liqueur slowly over the back of a spoon or down the side of the glass. This gentle approach allows the liquids to float on top of each other without mixing too much, giving you that beautiful rainbow effect.
Can I make a non-alcoholic version of the Grateful Dead drink?
Absolutely! To create a non-alcoholic Grateful Dead drink, simply replace the spirits with sparkling water and increase the use of fruit juices. You can mimic the colorful layers with the various fruit juices for a fun and refreshing mocktail that’s just as festive without the alcohol!
What are some good garnishes for the Grateful Dead drink?
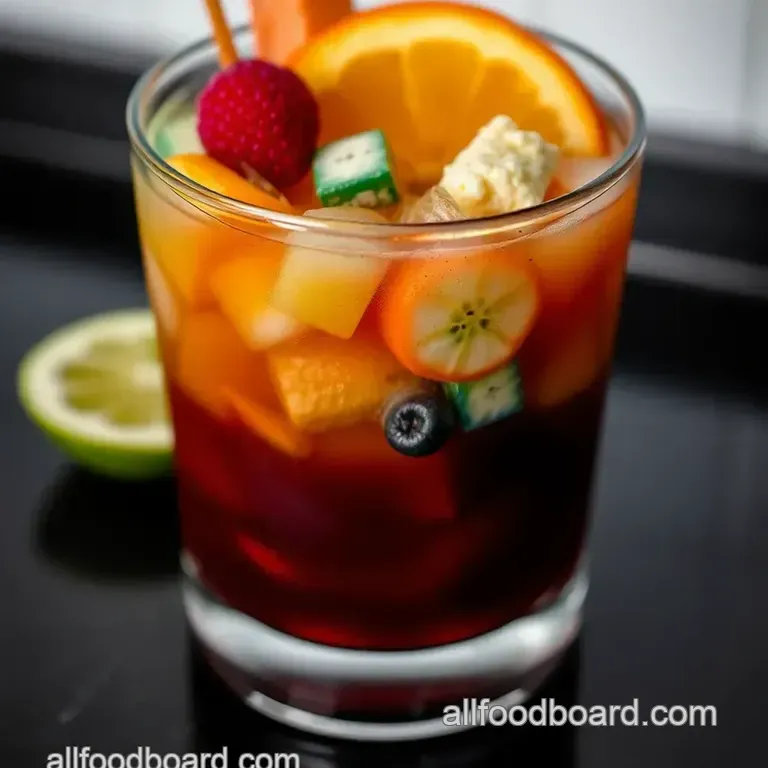
For the perfect finishing touch, consider garnishing your Grateful Dead drink with fresh fruit like an orange slice or a cherry. A sprig of mint can also add a refreshing aroma and elevate your cocktail's presentation. Just imagine sipping it while enjoying a sunny afternoon in the garden delightful!
How can I store leftover Grateful Dead drink ingredients?
For best results, store your opened liqueurs in a cool, dark place. However, cocktails like the Grateful Dead are best enjoyed fresh, so it’s advisable to mix only what you plan to consume in one sitting.
If you have leftover ingredients, consider prepping a batch of cocktails for your next friends’ gathering!
Are there any nutritional considerations for the Grateful Dead drink?
While the Grateful Dead drink can be a delightful treat, keep in mind it can be calorie dense, ranging from 300 to 400 calories per serving. If you're watching your sugar intake, be mindful that this cocktail contains quite a bit due to the fruity liqueurs and grenadine.
Enjoy in moderation, perhaps as a festive indulgence at parties!
Grateful Dead Cocktail A Colorful Tribute In A G